Part 2 of the crochet-a-long for how to crochet the Tessellated Triangles Sweater is on Triangle section in the body.
This post contains affiliate links for LoveCrafts. If you make a purchase by clicking on them, I make a small commission at no extra cost to you. Thanks for your support!
In the CAL Announcement post, I shared the yarn I used, and provided alternatives, plus the yardage required for each size, and YARN GIVEAWAY.
Part 1 of the CAL is on the Gauge (a must!) and the bottom Ribbing.
We will take two weeks to work on the triangle section. We will start on the top front and back panels Monday, September 16th.
If you would like a PDF version of this post, you may get one through either my EyeLoveKnots Etsy Shop, Ravelry or LoveCrafts Shop for a small fee. This fee is to compensate for the views lost when you no longer need to return to the blog to for the information, as you will have your own copy. Plus! It helps fund supplies for new projects to share with you!
Shop EyeLoveKnots Etsy: Tessellated Triangles Sweater.
Shop EyeLoveKnots LoveCrafts: Tessellated Triangles Sweater.
Are you a Raveler? Share your version of this project on Ravelry – Tessellated Triangles Sweater.
Abbreviations
- SC – Single Crochet
- BLO – Back Loop Only
- MC – Main Color
- CC – Coordinating Color
- RS – Right Side of Work
- WS – Wrong Side of Work
Pattern Notes
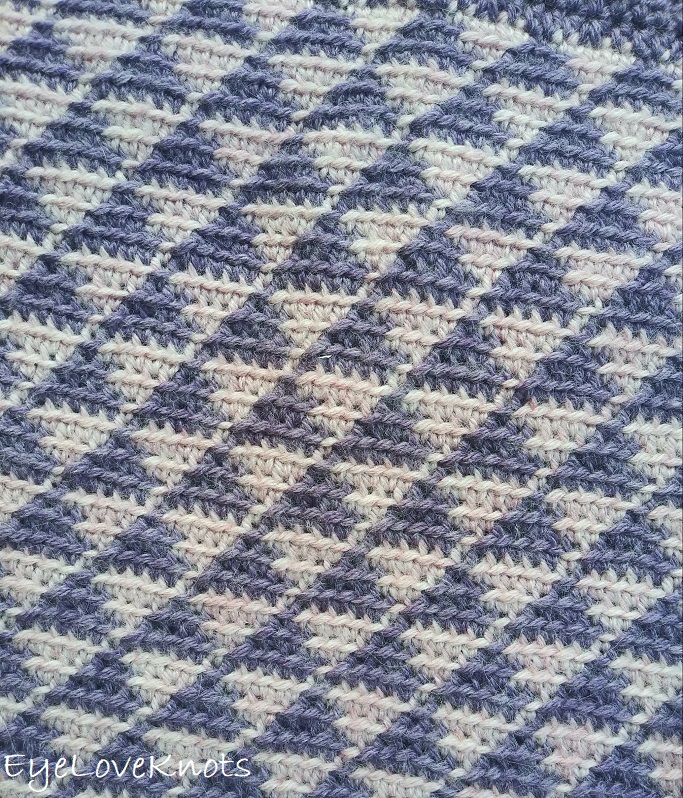
The yarns I have used in these samples are Lion Brand’s Touch of Alpaca (Pink and Purple version) and Hobby Lobby’s I Love This Yarn (Gray and Red version).
Instructions for size XS given with S, M, L, XL, 2X, 3X in parenthesis.
For the triangle pattern in the body of the sweater, you can adjust by adding or subtracting a multiple of 12 stitches (6 for front, 6 for back).
For the main body of the sweater (the triangle part), you will work carrying the unused yarn behind and crocheting over, switching colors as needed. Even though the back of the sweater is a solid color, you will still need to continue carrying the coordinating color behind it, working over, to keep the same tension throughout. DO NOT CUT THE YARN.
The body of this sweater is worked in the round, continuously with no joining between rounds.
I highly recommend a stitch marker or scrap yarn to mark the first stitch of the round in the body of the sweater while there aren’t any joins.
Caution: Based on gauge, 2X should be 252 stitches, and 3X should be 264 stitches, but in measuring finished sweater, I changed the numbers to the 240, and 288 respectively. I’d like to think math doesn’t lie, but for some reason with these two sizes, my measurements did not match the math.
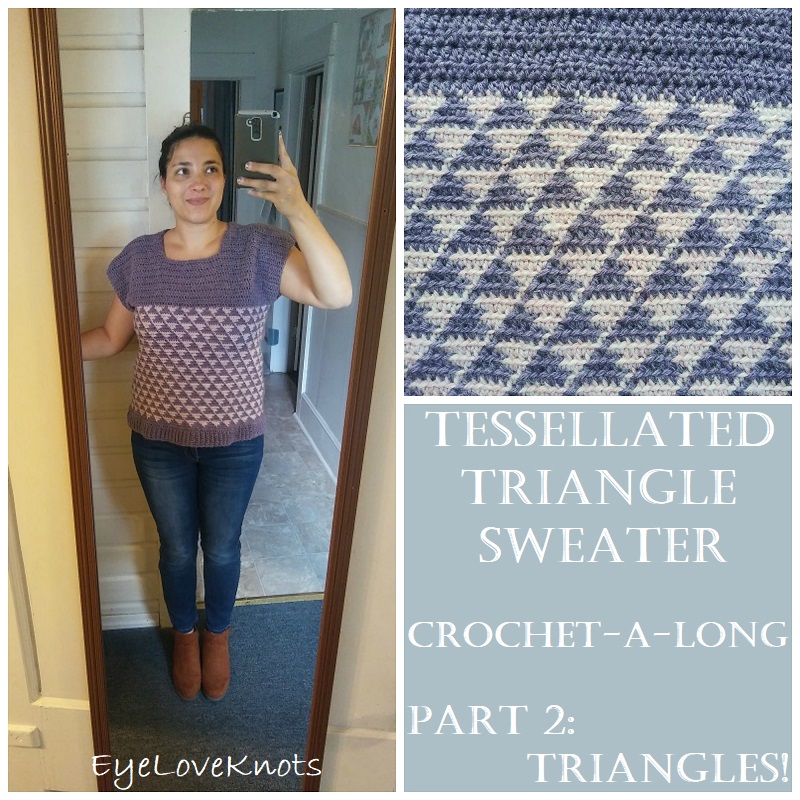
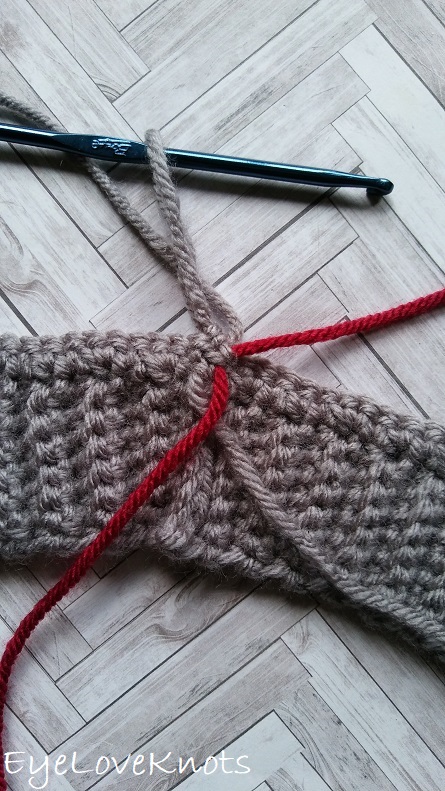
My photos show working into both stitches, but remember, we are working into the Back Loop Only (BLO). For help with this stitch pattern, see Part 1: Gauge and Ribbing, where I have photos.
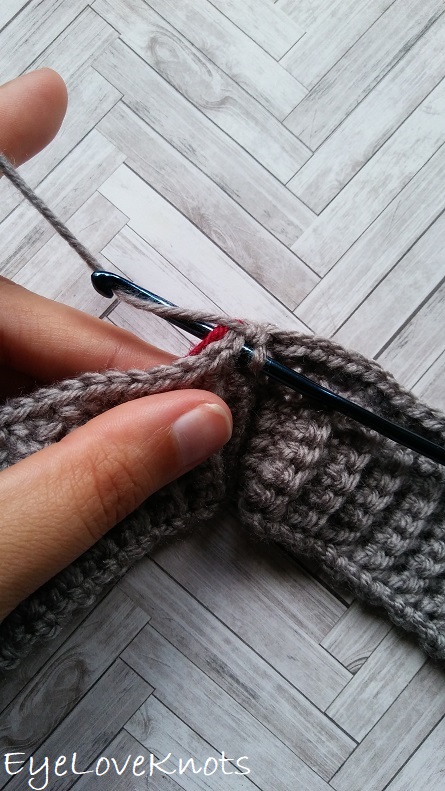
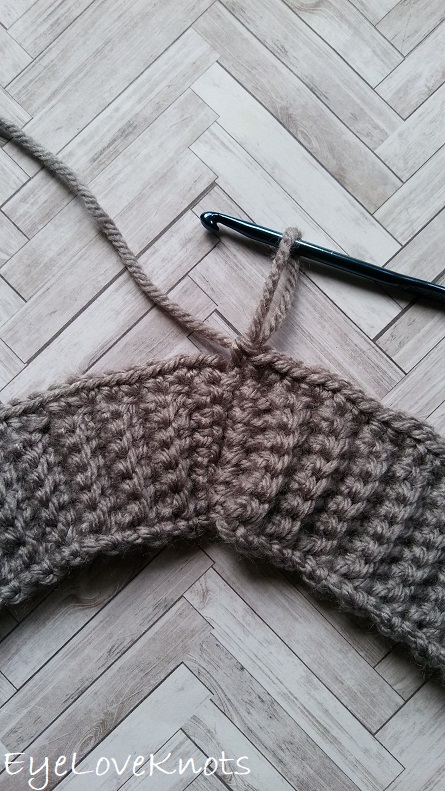
To pick up second color (CC) in the beginning of Round 2, hold it over your snug over your hook as if to work over, and complete the single crochet in CA.
It will trap CC under the stitch you just worked.
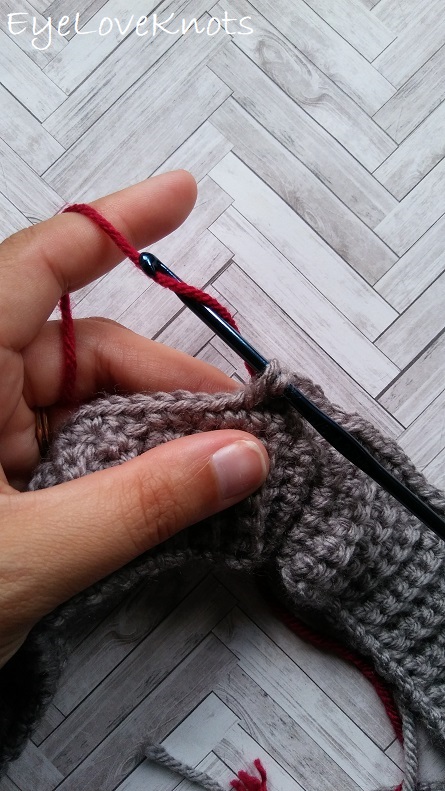
To change colors, do so in the last yarn over of the previous stitch.
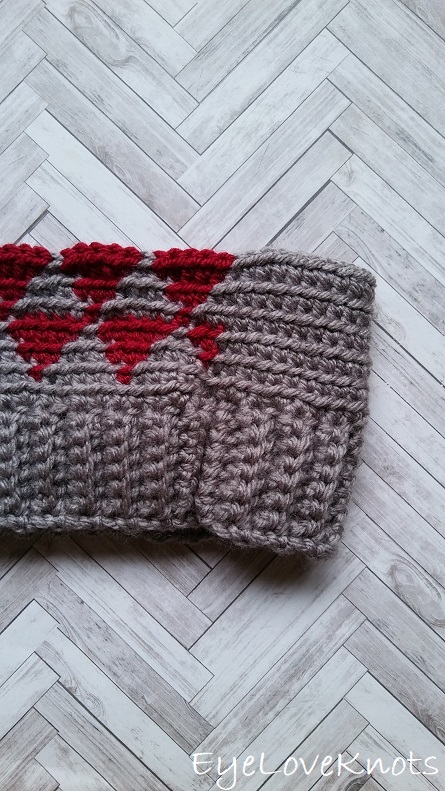
Triangles – Body of Sweater
Entire triangle section is worked in SC, in the BLO and in a continuous round with no joining.
Round 1: Turn to RS. Chain 1 (doesn’t count as a stitch). SC around. [144, (168, 192, 204, 228, 240, 288) SC]
Start the Triangles
Round 2: Pick up CC (see Pattern Notes for help), (5 MC, 1 CC) 12x (14x, 16x, 17x, 19x, 20x, 24x), in MC: SC next 72 (84, 96, 102, 114, 120, 144).
Round 3: 1 CC, 3 MC, (3 CC, 3 MC) 11x (13x, 15x, 16x, 18x, 19x, 23x), 2 CC, in MC: SC next 72 (84, 96, 102, 114, 120, 144).
Round 4: 2 CC, 1 MC, (5 CC, 1 MC) 11x (13x, 15x, 16x, 18x, 19x, 23x), 3 CC, in MC: SC next 72 (84, 96, 102, 114, 120, 144).
*Take a moment to try the sweater on around your hips to see how it fits. At this point, you can rip back, and add or subtract a multiple of 12 rows to the ribbing, and continue in pattern with more or less repeats.
Round 5: 2 MC, 1 CC, (5 MC, 1 CC) 11x (13x, 15x, 16x, 18x, 19x, 23x), in MC: SC 75 (87, 99, 105, 117, 123, 147).
Round 6: 1 MC, 3 CC, (3 MC, 3 CC), 11x (13x, 15x, 16x, 18x, 19x, 23x) , in MC: SC 74 (86, 98, 104, 116, 122, 146).
Round 7: (5 CC, 1 MC) 12x (14x, 16x, 17x, 19x, 20x, 24x), in MC: SC next 72 (84, 96, 102, 114, 120, 144).

*Try on sweater one more time, and make sure it fits the way you’d like before continuing.
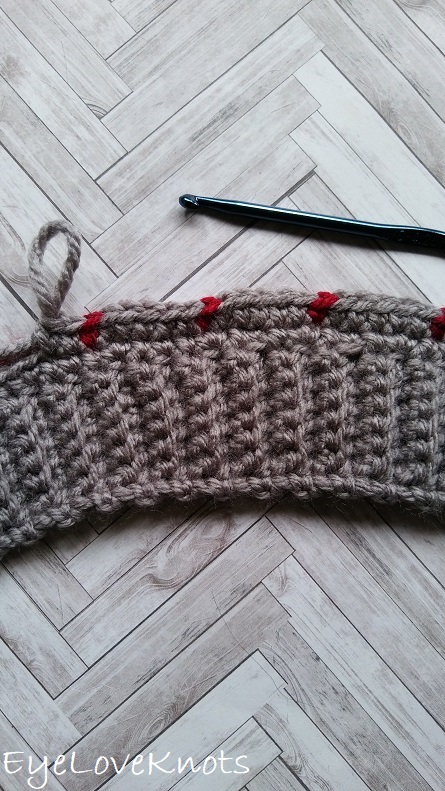
This is how the beginning side edge of the pattern looks…
Repeat Rounds 2 – 7 until you have 49 (49, 46, 46, 43, 43, 40) complete rows of the triangle part worked, ending on a round 3 or 6.
At this point, lay your work so the solid back piece is facing you. Count back 5 single crochets from the top right side (of solid stitches only, not any from front/triangle side), and measure the length down to the bottom of the waistband. It should measure 17” [17”, 15.75″, 15.75”, 15”, 15”, 14”, 14”]. This should go from your hips up to just under your underarm.
- IF IT DOESN’T MEASURE THIS LONG or you want your sweater to be longer, continue repeating the 6 repeat cycle to lengthen.
- Make sure you are measuring from the back piece because this one is going to be longer than the front. The front will naturally scrunch up a little more, which is okay because it will correct itself later.
When you have the correct length, slip stitch join to the first stitch of the round, and fasten off CC (BUT not CA). We will begin the front and back top panels when we return on September 16th.
Can’t wait to see your projects! Tag @eyeloveknots and/or #tessellatedtrianglesweater on Instagram!
Join the EyeLoveKnots Crafting Community on Facebook to share your creations, and see what others are up to!
Linked Up To…
In Stitches Link Party #44 – Maria’s Blue Crayon
Craft Schooling Sunday – Creative Jewish Mom
Ginx Woolly Linx September – Ginx Craft
Craftastic Monday Link Party – Sew Can Do
Handmade Monday #142 – Sum of their Stories
Creative Mondays – Claire Justine
Little Cottage Link Party #18 – Love my little Cottage
Weekday Wear Linkup – Away from the Blue
Fabulous Party #284 – Lou Lou Girls
The Really Crafty Link Party #184 – Keeping it Real
One More Rows Free Pattern Link Party #10 – Loops and Love
Tutorials & Tips Link Party #405 – Home Stories A to Z
Hookin’ on Hump Day #198 – Moogly Blog
The Linky Ladies Party #167 – The Purple Poncho
To Grandma’s House We Go Link Party #156 – Chas’ Crazy Creations
Waste Not Wednesday #172 – Faeries and Fauna
Crochet Patterns and Anything Crochet Link Party #15 – Joy of Motion
Turning Heads Linkup – Elegantly Dressed and Stylish
Confident Twosday Linkup – I do deClaire
The Wednesday Link Party #312 – The Stitchin’ Mommy
Talk of the Town #191 – My Repurposed Life
{Wow Me} Wednesday #320 – Ginger Snap Crafts
Your Whims Wednesday #424 – My Girlish Whims
Pin Party #333 – The Pin Junkie
Thursday Favorite Things #406 – An Artful Mom
Thursday Fashion Files Link Up #227 – Curly Crafty Mom
Best of the Weekend – Calypso in the Country
Link Up – Lizzie in Lace
Scrappy Stitchers Link Party #55 – Stitches n Scraps
Handmade & Otherwise Weekly Link Up Week 16 – Petals, Pies and Otherwise
Link Your Stuff – Annemarie’s Haakblog
Snickerdoodle Create Bake Make Link Party #301 – EyeLoveKnots
That pattern is really cute!! Love how you’re making some fall fashion items now. 🙂
Carrie
curlycraftymom.com
Thanks! I am trying.
Repeat Rounds 2 – 7 until you have 49 (49, 46, 46, 43, 43, 40) complete rows
I’m not understanding this: are you going from X3 to XS …here –don’t you usually go from XS to X3 or am I reading this wrong ?? You did this from Repeat rounds: 2-7 your referring large to small ?? and again for the waistband large to small ?? Or i’m reading this wrong / wich wouldn’t be unusual..
It’s correct as written. Refer to the notes underneath it.
Love this stitch pattern thanks so much for the tutorial! And of course for sharing on craft schooling Sunday!
Thanks, Sara! I had a lot of fun putting this design together, and even making a second sweater!
Thank you for sharing at The Really Crafty Link Party. Pinned!
Love the rich red triangles! Your stiching is lovely!
thanks for linking!
jess xx
http://www.elegantlydressedandstylish.com
Thanks, Jess! I am a little behind with this one, but I am really looking to getting it done to wear this Winter. The definition of the yarn I used with it is quite nice.
What a great pattern! The sweater is adorable. can do a few basic stitches, and can crochet blankets 2 ways–one big, never ending granny square, or straight lines of double crochet! 🙂 I really need to spend some time with patterns and up my game. Your skill is so impressive! Thanks for sharing at Thursday Favorite Things!
Hehe. There is so much possibilities using just those two blanket techniques 🙂
I love crochet triangle patterns! This sweater is super cute and looks great on you!
Thank you! When I was in elementary school, I actually colored a picture of tessellating triangles, and that was my inspiration for it. Now, I have been brainstorming what else I can do with it because I just love it!