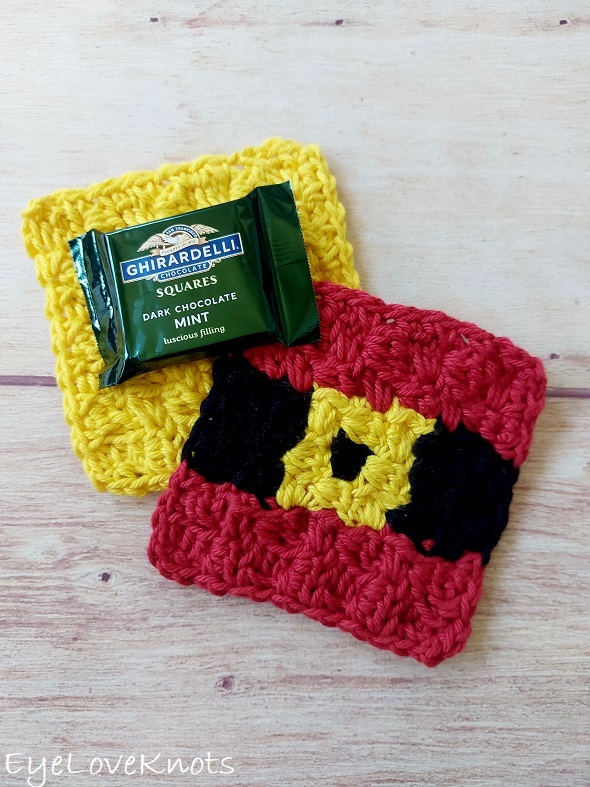
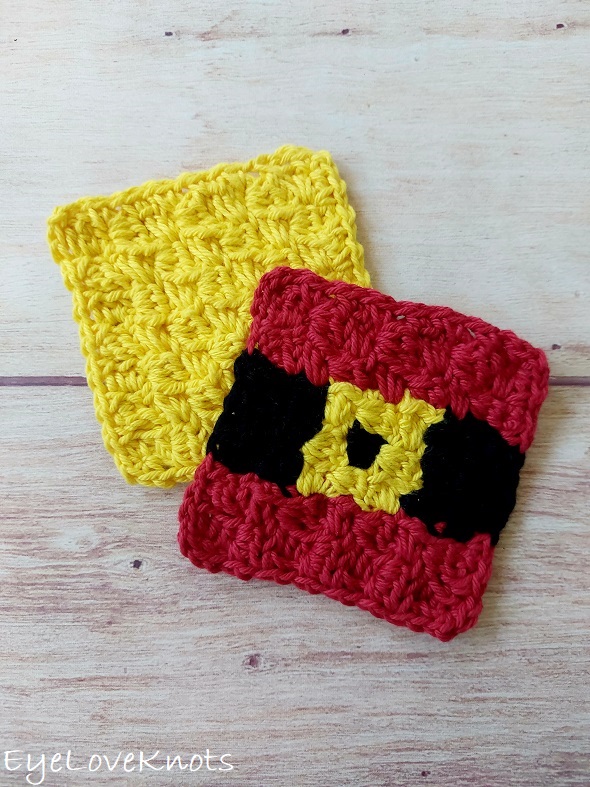
This is a free crochet pattern and video tutorial showing how to crochet a C2C Santa Coaster worked in half double crochet boxes that is perfect for Christmas cocoa while you’re enjoying your favorite holiday movie! You can also use this little square as a mini washcloth, or large facial scrubbie.
This post contains affiliate links for WeCrochet, Etsy, Lion Brand and LoveCrafts. If you make a purchase by clicking on them, I make a small commission at no extra cost to you. Thanks for your support!
Find the free crochet pattern instructions below, or purchase a printer-friendly, ad-free PDF on Ravelry by clicking here.
In a hurry? Pin it for later when you have some more time.
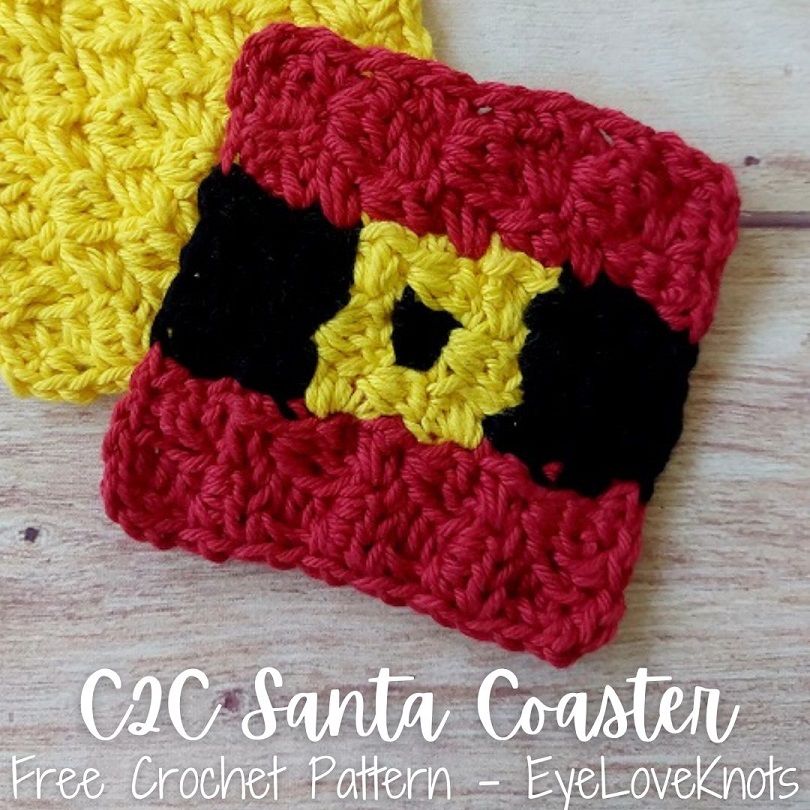
Our 3rd project for Christmas in July is here! This fun C2C Santa Coaster is great for using scraps of yarn, and the perfect piece to add to your living room, kitchen or dining room to house your favorite coffee or cocoa while decorating Christmas cookies and watching your favorite holiday movies!
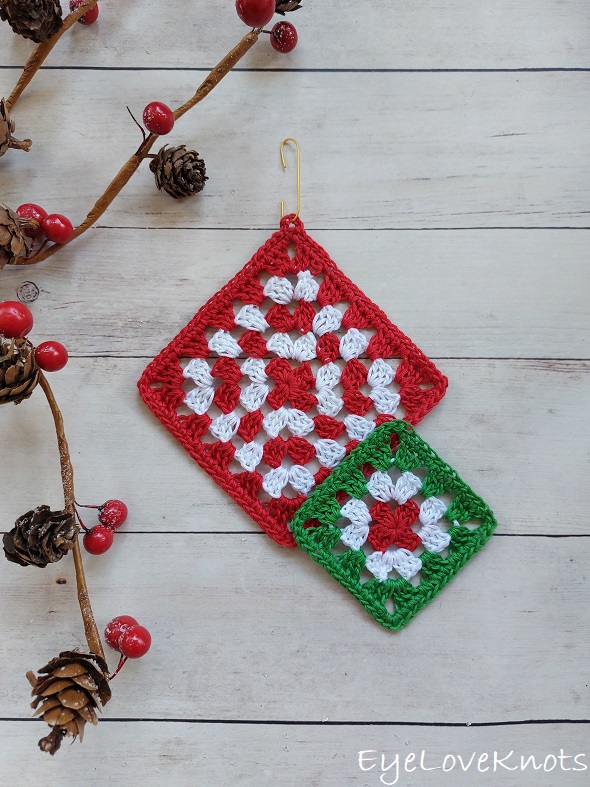
Our 1st project was the Gia Ornament.

2nd was the Santa Cosmetic Bag or Hook Pouch.
If you’re new to corner to corner or need a refresher, I have a photo tutorial for C2C in HDC. There is also a video tutorial for this project.
I worked my coaster up to look like Santa, but you could work it in green for an Elf or Leprechaun, or in Brown for a Pilgrim. Santa’s suit does have white trim that I did not add, but you could work the center most 5 or 7 stitches in white to represent the trim.

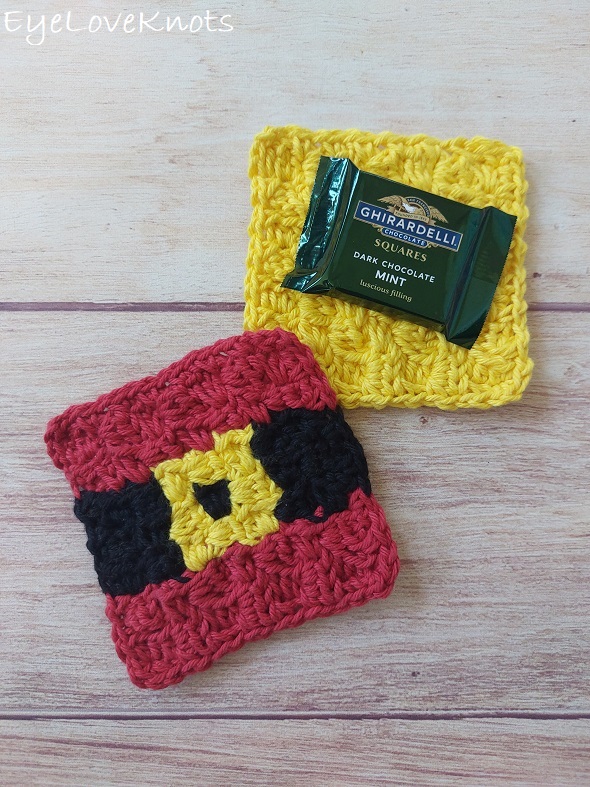
I used WeCrochet Dishie Yarn for my coasters, both the Santa one and yellow one. I like using WeCrochet Dishie because it’s colorfast, which means the colors are set, plus cotton is more durable and absorbent, but you can use any worsted weight yarn out of your stash! I have several coasters I’ve made myself using Red Heart Super Saver Yarn, which is a 100% acrylic yarn. A hot cup of coffee is not hot enough to melt synthetic fibers, and while it doesn’t quite absorb the same way with cold beverages, it still holds the water and does not seep through to the surface.
Fair warning! I counted 24 ends to weave in at the end of this project. I think I spent equal amounts of time crocheting and weaving. I did not carry any of my yarns through the project because I did not want to have any yarn floats across opposite colors, and I switched colors during the border to match the red and black. You can carry some of the yarn in forms of floats on the back, and work the border in one color to lessen the number of ends.
Gauge is not essential for this project. I am providing the measurements of the coaster prior to adding the border so you can check yourself if gauge is essential to you, but it’s not necessary. You can also add an additional round to the border to add extra height and width if desired. To add a border, simply chain 1, and work a single crochet into each stitch and space around, making sure to increase in the corner chain spaces as you’ve previously done.
If you would like to grab a free copy of the PDF for this pattern, make sure to check out the Pattern Notes section below.
Ad-Free Printer Friendly PDF:
If you would like a PDF version of this post, you may get one through either my Etsy Shop, Ravelry Shop or LoveCrafts Shop for a small fee. This fee is to compensate for the views lost when you no longer need to return to the blog to for the information, as you will have your own copy. In a hurry? Pin this for later when you have more time!
Save this to your Favorites on (sub 07/14/23): AllFreeCrochet, Crochet Pattern Bonanza, DIYideaCenter, FaveCrafts, Cheap Thrifty Living, AllFreeHolidayCrafts, AllFreeChristmasCrafts, Free Crochet Tutorials
What Supplies Do I Need to Crochet a Coaster?
- 22 Yards of Worsted Weight Cotton Yarn – I used WeCrochet Dishie Yarn; 12 Yards of Fiesta Red, 4 Yards of Bumblebee and 6 Yards of Black
- H8/5mm Crochet Hook – I love this Koi Fish Ergonomic Clay one from SiennasBowtique on Etsy
- Tapestry Needle
- Optional, Jewelry Pliers
Material Notes:
Yarn Alternatives: Lily Sugar n Cream, Crafters Secret Cotton
Dishie Yarn is a touch thinner than Lily Sugar n Cream – you may need to go down a hook size with this yarn if it’s your choice, though gauge is not essential in this project if the finished size isn’t.
I like to use cotton yarn because it’s durable and absorbent, but if you are only making a coaster that will house a cold or hot beverage, you can use acrylic as an alternative with an I9/5.5mm hook – just do not put anything fresh from the oven on the acrylic coaster, or you will melt the fibers and risk burning yourself.
If you wanted to use a wool or synthetic, some great yarns I recommend are {wools} WeCrochet Swish, Lion Brand Wool Ease, {non-wools} WeCrochet Brava, and Red Heart Super Saver with an I9/5.5mm crochet hook for the body.
I usually recommend jewelry pliers to use to help weave in ends, as cotton yarn can be quite tough on the fingers when weaving in with just fingers and a tapestry needle. Dishie Yarn is really smooth, and easy to weave the yarn in and out of.
How Long Does it Take to Crochet a Coaster?
About an hour.
Measurements:
4″ Wide by 4 1/8″ Tall
Gauge, Not Essential:
- In Pattern Measured End of Row 8: 7 Boxes = 3 3/4″ Wide
Abbreviations (US Terms):
- HDC – Half Double Crochet (Photo Tutorial)
- SC – Single Crochet (Photo Tutorial)
- C2C in HDC – Corner to Corner in Half Double Crochet Boxes (Photo Tutorial)
Pattern Notes:
This coaster grows from the bottom corner upward diagonally. This is the nature of C2C, or Corner to Corner.
This pattern is written with colors and boxes only. If you would like more details on how to work the corner to corner technique, check out my Corner to Corner in Half Double Crochet Photo Tutorial, or the C2C Santa Coaster Video Tutorial.
Beginning chain 1 in the boxes and the skipped stitches from the chain 5 does count as a stitch. In the border, the chain 1, does not count as a stitch.
A box is comprised of four stitches.
Working the final half double crochet into the top of the chain from the previous row helps to keep the edge more even. After completing the first box, you may also need to lightly tug on it to keep it even as well.
This is the way I like to change yarn colors for the most seamless color change:
To change yarn colors horizontally, drop the old color, and pick up new color in yarn over of slip stitch join. Continue in new color.
To change yarn colors vertically, yarn over with the new color before slip stitching with original color (so it’s over your hook as you complete the stitch locking it in place). After slip stitch, yarn over and pull through with new color, tug on the original color so the loop disappears and drop. Continue in new color.
For the border, you want to work your chain 1 loosely so the finished coaster will lay flat. If you crochet tightly, I recommend going up one hook size for the border only, otherwise it will cup.
The “space under the same chain joined to” is defined as the space between the last two half double crochets of the previous rows box.
I matched the colors for my border to match the red and black. You don’t have to, and can work the entire thing in one solid color. If you decide to match the colors, do so in the last yarn over of the previous stitch keeping in mind, this could include yarning over for the chain 1 in the new color.
Through 07/18/23 at 11:59pm EST, you can grab a free copy of the PDF for the C2C Santa Coaster on Ravelry using code FREECROCHET202314. I earn my income from the number of pageviews my blog sees, so please do not share the code, but instead share the link to this post so others can find it. Thank you!
If you’re viewing this after 07/18/23, you can still get a copy of the PDF on sale 50% off on Ravelry or on Etsy using code NEWCROCHET202313 until 07/23/23 at 11:59pm EST.
C2C Santa Coaster Video Tutorial:
C2C Santa Coaster Written Tutorial:
Rows 1 – 2: Increase in Red to 2 boxes.
Row 3: 2 Red, 1 Black (3 Boxes)
Row 4: 2 Black, 2 Red (4 Boxes)
Row 5: 2 Red, 1 Yellow, 2 Black (5 Boxes)
Row 6: 1 Red, 1 Black, 2 Yellow, 2 Red (6 Boxes)
Row 7: 2 Red, 1 Yellow, 1 Black, 1 Yellow, 2 Red (7 Boxes)
Begin Decreasing:
Row 8: Slip stitch over to begin decreasing, here and throughout. 2 Red, 2 Yellow, 1 Black, 1 Red (6 Boxes)
Row 9: 2 Black, 1 Yellow, 2 Red (5 Boxes)
Row 10: 2 Red, 2 Black (4 Boxes)
Row 11: 1 Black, 2 Red (3 Boxes)
Rows 12 – 13: Decrease down to 1 Box in Red.
Border:
Switch colors to match the belt if desired, keeping in mind it may be in the chain 1.
Chain 1. SC into the space just under the same chain joined to, [chain 1, (SC into the next space in between boxes, chain 1) across to the corner, (SC, chain 1, SC) into the corner] 4x, chain 1, slip stitch join to the 1st SC.
Fasten off, and weave in ends.
Join one of our awesome Facebook groups to share your creations, and see what others are up to!
– Yarn Crafts & Coffee Community
– DIY Home On Rockwood Lane
– Alexandra Lane Lifestyle



Ah this is SO cute!! What a good job you did with this. I use to work for the publishers of Vogue Knitting and Knit Simple, sadly there are not published anymore. Just love this!
Allie of
http://www.allienyc.com
Thanks so much, Allie! I had a lot of fun with these coasters. I even have a green version almost finished. I can only imagine working for these companies was an amazing experience! I love that!