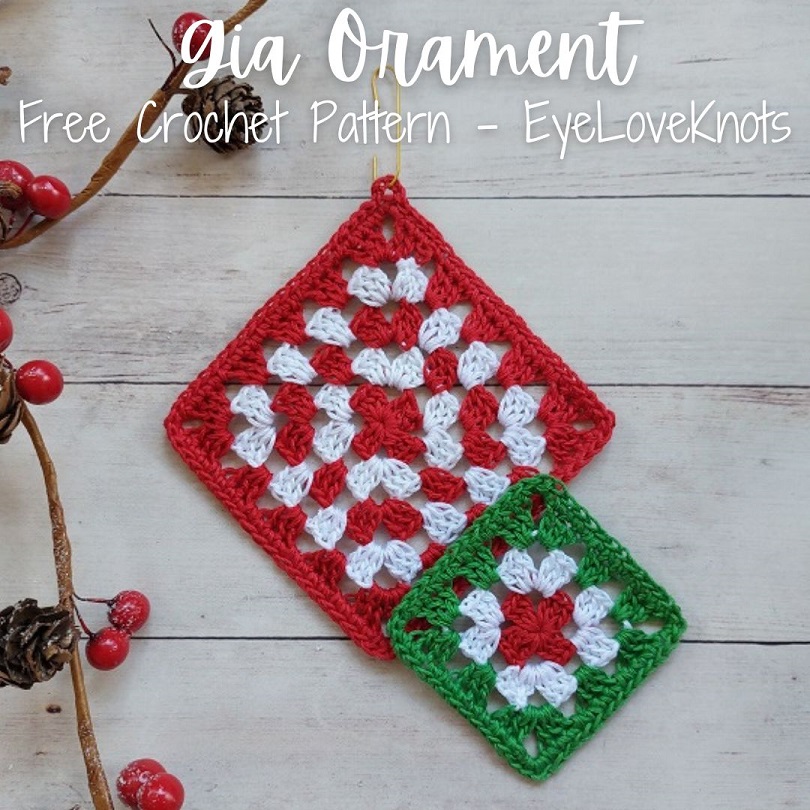
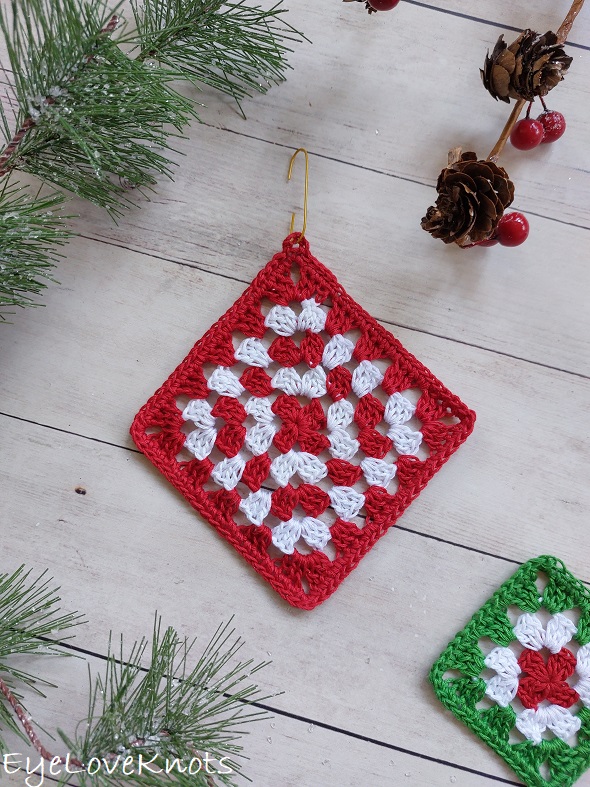
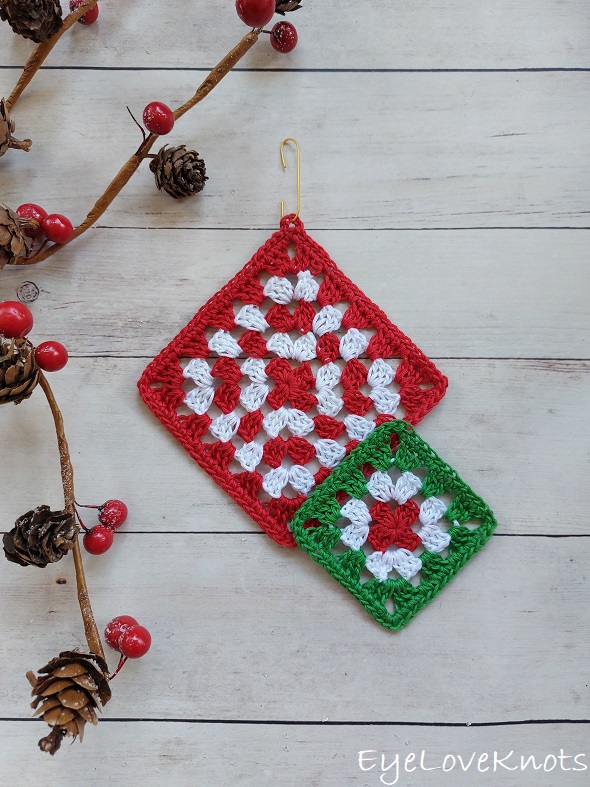
This is a beginner friendly, free crochet pattern and video tutorial showing how to crochet an easy granny square ornament in 4 sizes.
This post contains affiliate links for Etsy and Amazon. If you make a purchase by clicking on them, I make a small commission at no extra cost to you. Thanks for your support!
Find the free crochet pattern instructions below, or purchase a printer-friendly, ad-free PDF on Ravelry by clicking here.
In a hurry? Pin this for later when you have more time.
I started these ornaments last year just before Christmas. I worked up several different color combinations, but it was so close to Christmas that I ended up throwing them into my WIP bin and not completely finishing any of them. I’ve been working to finish up the projects that I’ve drafted videos for so I can clear those off my computer for space, so out of the WIP bin these ornaments came, and just in time for Christmas in July!
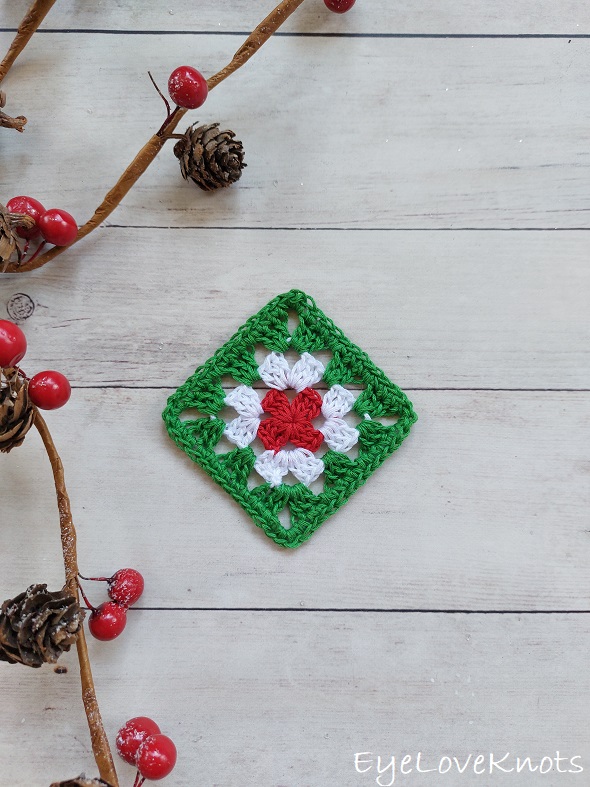
There is something special about the classic, traditional granny square that always warms my heart! I love it worked in a solid color, color blocks, or stripes, and it’s so versatile being that you can stop at the end of any round, and you basically have a finished project that can then be used in so many different ways.
I’ve turned my granny squares into ornaments, but there are so many other fun ways to use them – I’ll share a few:
- use it as a charm and turn them into earrings or a necklace
- use it as a gift tag
- string a bunch up and use as garland
- crochet them in a strip, add ties and you have a headband
- don’t frame, and sew on as an applique
What is the best yarn to use for crocheted Christmas ornaments?
I have used embroidery floss for my squares, which is 100% cotton, but you can use #10 crochet thread or a fingering weight yarn for similar results. Gauge is not essential for this project so feel free to change it up even more.
I will say that while lots of crocheted ornaments are made of acrylic yarn – I myself use acrylic yarn for many of mine – that the trick for ornaments is really to find a yarn that is durable. Ornaments can see a lot of wear even if you don’t realize. They’re handled to put on and take off the tree, sometimes played with by kids and pets, roll around inside storage totes and can see some pretty hot conditions depending on how they’re stored. I try to pick yarns that are durable for my Christmas ornaments. I like using embroidery floss and #10 cotton crochet thread for lightweighter ornaments, and Red Heart Super Saver for heavier ornaments.
I have been toying with the idea of crocheting some ornaments with 24/7 to test it out because that is a lovely yarn with great stitch definition and colorways plus it is mercerized so it’s really durable and more resistant to pilling/fuzzing up and mildew – I only question if it will stretch enough and still hold it’s shape well so if I get to try it out, I will be sure to update!
What size Christmas ornaments should I use? What size Christmas ornaments do I need?
Most Christmas ornaments range in size from 2″ – 4″ so I’ve kept my squares around this, but feel free to add more rounds to create Jumbo size Christmas ornaments, which range in size up to about 10″ in diameter! You can find Jumbo Christmas ornaments larger than 10″, but I find they’re usually for outdoors or used for other forms of decor.

Do I Have to Add a Border to my Granny Square?
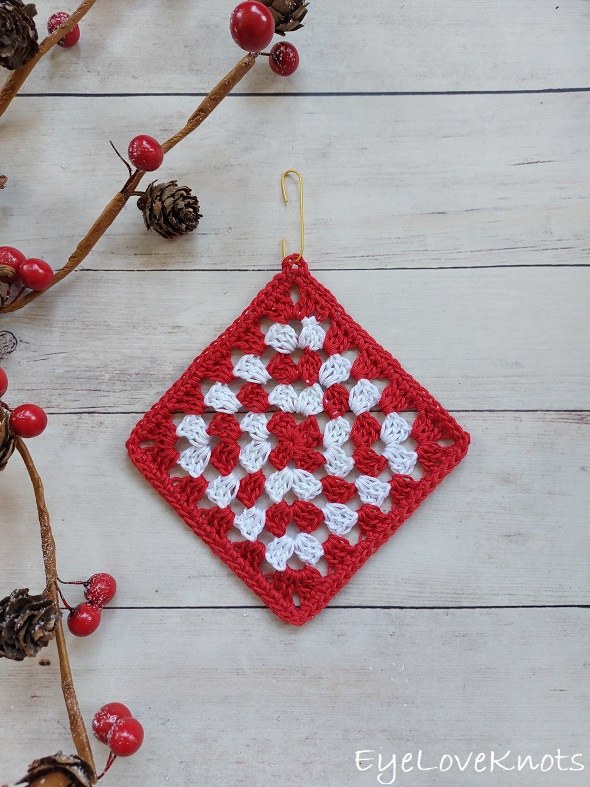
A border on your granny square is completely up to you! I like to add a border to give the square more of a finish. The beauty of this project is it looks great without a border, with a small border as I’ve done and with a thicker border.
Do I Have to Add the Frame to my Granny Square?
Not at all! I added a plastic canvas frame to my granny square because I am not a blocker, and it helps the granny square keep it’s shape and still be lightweight and flexible.
Gia Series: Free Granny Square Projects
Gia is one of my easy, beginner friendly series that features the classic granny square in one, continuous manner, and I have several free home decor and accessory crochet patterns!
You May Also Like:
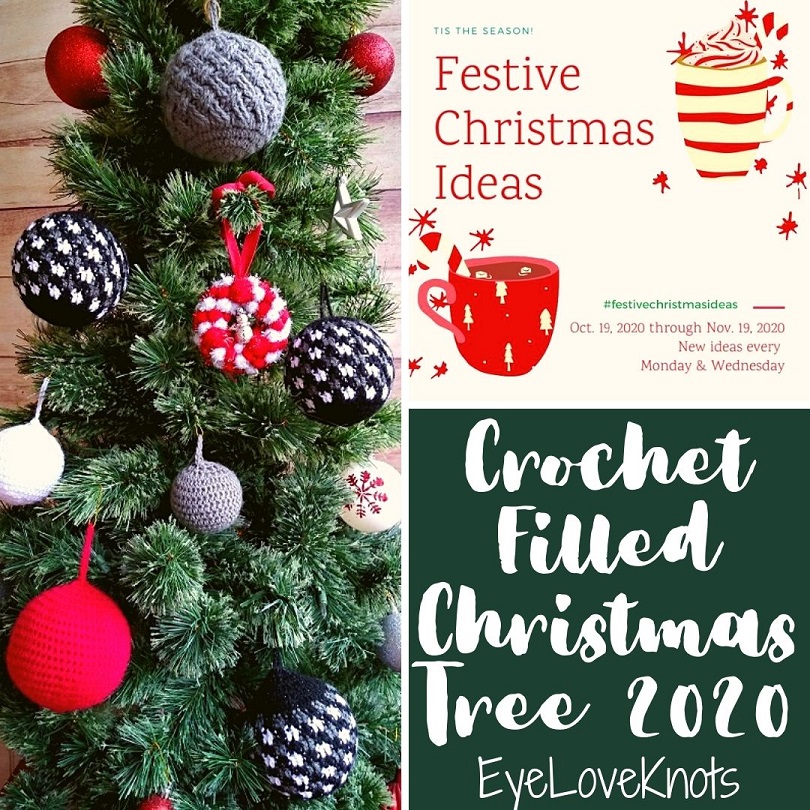
Want to crochet more ornaments for your Christmas tree? Come check out my Crochet Filled Ornament Tree 2020, where I’ve linked all the free crochet patterns, or check out my other crocheted ornaments!
Ad-Free Printer Friendly PDF:

If you would like a PDF version of this post, you may get one through either my Etsy Shop, Ravelry Shop or LoveCrafts Shop for a small fee. This fee is to compensate for the views lost when you no longer need to return to the blog to for the information, as you will have your own copy. In a hurry? Pin this for later when you have more time!


Save this to your Favorites on (sub 7/1/23): AllFreeCrochet, Crochet Pattern Bonanza, DIYideaCenter, FaveCrafts, Cheap Thrifty Living, AllFreeHolidayCrafts, AllFreeChristmasCrafts, Free Crochet Tutorials, The Free Crochet Family
What Supplies Do I Need to Crochet a Granny Square Ornament?
- 10 (15, 20, 30) Yards of Embroidery Floss – I used a variety of colors of Iris, DMC and Loops & Threads brands
- D3/3mm Crochet Hook
- Tapestry Needle to weave in ends
- Soft Tape Measure
- Small Amount of 7 Mesh Plastic Canvas – 10 Mesh can also work
Material Notes:
One skein of embroidery floss is 8.75 yards. I found that one skein can work 28 clusters.
You can use #10 crochet thread or a fingering weight yarn for similar results. Because you can custom cut the plastic canvas frame or block to the desired measurements, gauge is not essential for this project so feel free to change it up even more.
How Long Does It Take to Crochet a Granny Square Ornament?
The granny square takes about 15-20 minutes, and then cutting and framing takes another 10 or so, so about 30 minutes.
Measurements After Framing:
- Small: 2 1/8″
- Medium: 2 3/4″
- Large: 3 1/2″
- Extra Large: 4 1/8″
Gauge (Before Frame):
Round 2 = 1 5/8″ in diameter
Abbreviations (US Terms):
- DC – Double Crochet (Photo Tutorial)
- SC – Single Crochet (Photo Tutorial)
Helpful Tutorials:
- How to Crochet a Granny Square – Photo Tutorial
- 4 Ways to Change Yarn Colors on Granny Squares – Photo Tutorial & Video Tutorial
- How to Fix Wonky Granny Squares – Photo Tutorial & Video Tutorial
- How to Add a New Ball of Yarn When You Run Out on Your Granny Square – Photo Tutorial & Video Tutorial
Pattern Notes:
If you would like to change colors to create stripes, I recommend fastening off after joining the round, and joining the new color over in the next corner chain space, unless you’ll be using the same color in the 3rd round – then I would carry.
Slip stitch join to the beginning chain 2.
Gia Granny Square Ornament, Video Tutorial:
Gia Granny Square Ornament, Written Pattern:
Chain 5. Slip stitch join to form a ring. Chain 2, work 2 DC into the ring, (chain 3, 3 DC into the ring) 3x, chain 2. Join. (12 DC)
R2: Slip stitch into the next 2 DC, then into the next chain space. Chain 2, 2 DC, chain 3, 3 DC into the same chain space, chain 1, [(3 DC, chain 3, 3 DC) into the next chain space, chain 1] 3x. Join. (24 DC) Stop here for the Small size, and proceed to the Border.
R3: Slip stitch into the next 2 DC, then into the next chain space. Chain 2, 2 DC, chain 3, 3 DC into the same chain space, chain 1, [(3 DC, chain 3, 3 DC) into the next chain space, chain 1, 3 DC into the next chain space, chain 1] 3x. Join. (36 DC) Stop here for the Medium size, and proceed to the Border.
R4: Slip stitch into the next 2 DC, then into the next chain space. Chain 2, 2 DC, chain 3, 3 DC into the same chain space, chain 1, [(3 DC, chain 3, 3 DC) into the next chain space, chain 1, (3 DC into the next chain space, chain 1) 2x] 3x. Join. (48 DC) Stop here for the Large size, and proceed to the Border.
R5: Slip stitch into the next 2 DC, then into the next chain space. Chain 2, 2 DC, chain 3, 3 DC into the same chain space, chain 1, [(3 DC, chain 3, 3 DC) into the next chain space, chain 1, (3 DC into the next chain space, chain 1) 3x] 3x. Join. (60 DC) Stop here for the Extra Large size, and proceed to the Border.
Border if Not Adding Frame:
I added the plastic canvas frame because I am not a blocker, and it helps the granny square keep it’s shape and still be lightweight and flexible, but if you don’t want to add the frame, just work the following border:
Chain 1. SC into the first stitch, and each of the next 2 DC, 5 SC into the next corner chain space, (SC into each DC and each chain space across to the next corner chain space, 5 SC into the next corner chain space) 3x, SC into each DC and each chain space across to the beginning. Join to the first SC.
Option 1, No Loop: Fasten off, and weave in ends.
Option 2, Hanging Loop: Slip stitch into each stitch over to the 3rd SC over the corner, chain 4, slip stitch into the next 6 stitches, which will leave you in the SC that’s just above the chain 1 space and equal to the right side. Fasten off, and weave in ends.
How to Cut the Plastic Canvas Frame:
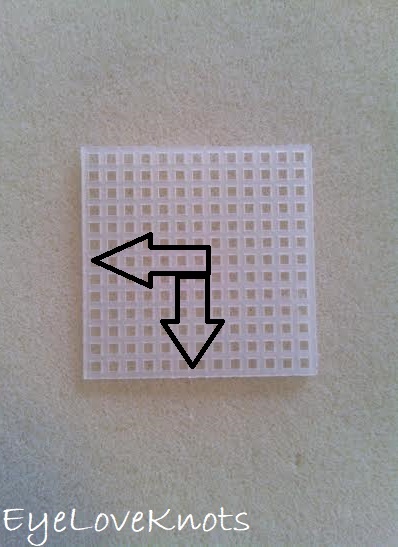
Your square may be slightly smaller or larger than mine. The plastic canvas frame can be custom cut to your square. If the frame is not cut correctly, it will not be squared – it will cave in on itself if it’s too large, or the center will puff out if it’s too small. To custom cut the frame: lay the ornament on top of the plastic canvas mesh lining it up on the inner part of the left side and bottom. Slightly stretch to the next box on the right, and that is where you will cut – on the outer part of that box.
For my squares, I’ll provide my measurements and the number of holes that I cut my frame to:
- Small: 1 5/8″; 12 Holes
- Medium: 2 1/4″; 16 Holes
- Large: 3″; 21 Holes
- Extra Large: 3 5/8″; 25 Holes
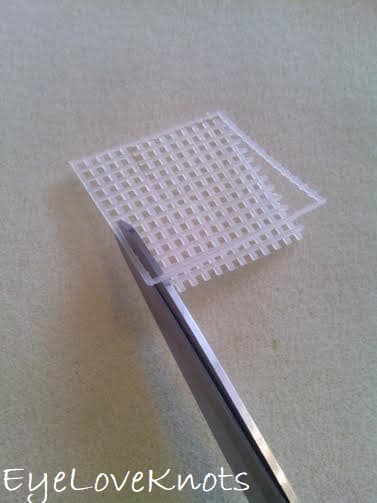
Then cut all of the insides out so you are left with just the outer frame.
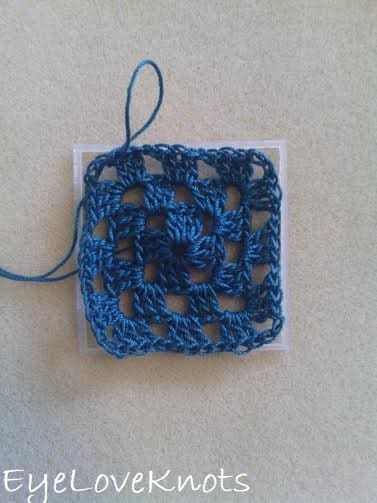
This frame should be about the size of your granny square unstretched. This one shown is one hole too small for my square, but I wanted to show how to place it. You will lay the frame down first, then lay the granny square on top.
Crochet the Frame Border:

Chain 1. Working through both layers: SC into the first stitch, and each of the next 2 DC, 3 SC into the next corner chain space, position the fabric so the last SC is covering the point of the canvas, 2 SC back into the same corner chain space, (SC into each DC and each chain space across to the next corner chain space, 3 SC into the next corner chain space, stretch the fabric so the last SC is covering the point of the canvas, 2 SC back into the same corner chain space) 3x, SC into each DC and each chain space across to the beginning. Join to the first SC.
Option 1, No Loop: Fasten off, and weave in ends.
Option 2, Hanging Loop: Slip stitch into each stitch over to the 3rd SC over the corner, chain 4, slip stitch into the next 6 stitches, which will leave you in the SC that’s just above the chain 1 space and equal to the right side. Fasten off, and weave in ends.
Please feel free to make and sell your own items made using this pattern, but keep in mind, this written pattern and my photos are protected by copyright. Please DO NOT claim this pattern as your own nor should you sell my pattern. DO NOT re-publish my photos as your own. DO NOT copy and paste my pattern anywhere, link to it instead so other’s can visit. Making videos providing instructions how to make my projects on any social media platform is also not permitted.
Join one of our awesome Facebook groups to share your creations, and see what others are up to!
– Yarn Crafts & Coffee Community
– DIY Home On Rockwood Lane
– Alexandra Lane Lifestyle
Leave a Reply