This post contains affiliate links for LoveCrochet. If you make a purchase by clicking on them, I make a small commission at no extra cost to you. Thanks for your support!
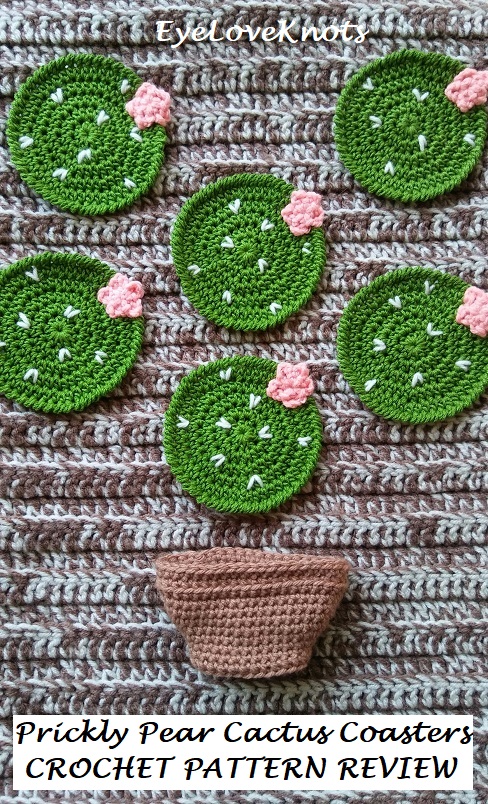
10/28/18 UPDATE: Originally, this was an exclusive design for Happy Yarn Mail – a monthly crochet kit subscription that ended mid-2018. After Happy Yarn Mail ended, designer Ashleigh of Sewrella published the pattern for free on her blog.
I will admit, I ran into quite a bit of issues with June’s kit, mostly due to technical issues that could have been avoided with either a pattern tester or tech editor over looking the pattern, but nonetheless, I was able to work through them all, and I will share with you so you can overcome any confusion you might have.
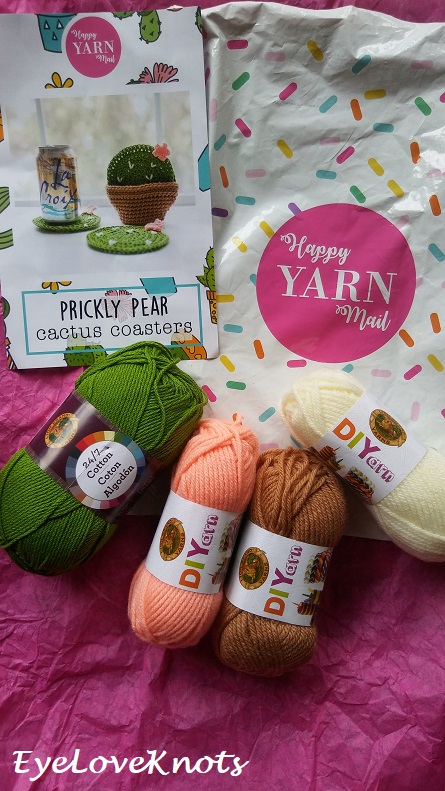
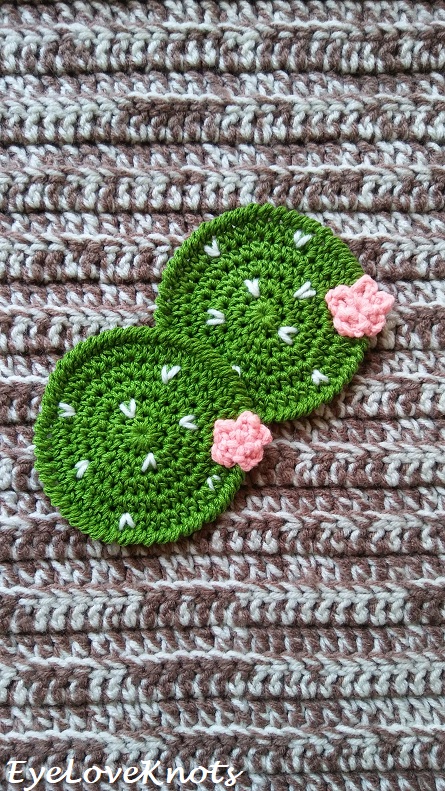
June’s Happy Yarn Mail contained one skein of Lion Brand’s 24/7 Cotton Yarn, three skeins of Lion Brand’s DIYarn, and instructions for a set of Prickly Pear Cactus Coasters, which are right on trend right now, printed on some fun cacti paper, and wrapped in a bright pink piece of tissue paper.
While I did receive some of the DIYarn in the kit for my Parisenne Beret, I hadn’t used it, so this month, I got to try out two different yarns with my kit that I hadn’t used before. I will add that I have seen the 24/7 Cotton Yarn at my local JoAnn’s, and patterns floating all about, but I was skeptical in using it simply because it was a 100% cotton, which means though cotton is great for warm weather, it does not have any other fiber within it to help it bounce back, and maintain it’s shape, so even though there are tons of garments patterns out there using this yarn, it is NOT a good yarn to use with them, unless the garment is open, like a cardigan. It might also be too rough for use as a scarf. I found it tough on my hands when working with, similar to how crocheting with a rope is, but on a smaller scale. I am interested in getting some more of this yarn though – I have a table runner in mind. I also read in reviews that one maker hand washed her project twice, and both times the color bled, so use caution when washing.
Shall we?
Materials I Used:
- 102 Yards (55 grams) of Lion Brand’s 24/7 Cotton Yarn for a set of 6 [or about 17 yards (9 grams) per coaster – Grass colorway
- 9 Yards (4 grams) of Lion Brand’s DIYarn in the Peach colorway – for 6 flowers
- Less than 1 gram of Lion Brand’s DIYarn in the Cream colorway – for the spike embroidery
- 26 Yards (12 grams) of Lion Brand’s DIYarn in the Camel colorway – for the holder
- G6/4.25mm Crochet Hook
- Tapestry Needle for Weaving in Ends and Embroidery
- Jewelry Pliers (Optional) for Help Weaving
- Fresh Cut Coasters, Free Crochet Pattern on the EyeLoveKnots blog
- Crochet Cactus Coasters, Free Crochet Pattern from Sewrella
Material Notes:
One skein of the 24/7 Cotton will make 10 coasters.
Yarn Alternative: For 24/7 Cotton – Berroco’s Weekend Yarn, two strands of Paton’s Grace Yarn, or several strands of #10, #5 or #3 Cotton Thread held together; For the DIY Yarn – Red Heart’s Super Saver, Bernat’s Super Value.
24/7 Cotton Yarn is listed as a worsted weight (#4) yarn, when it feels more like a lightweight (#3) yarn. While gauge isn’t important for coasters, I will say, I don’t believe you’d be able to achieve the same size with a worsted weight cotton like Lily Sugar n Cream, though you could always adjust the number of roqws/stitches.
I used a 4.25mm hook only because the neck is a little larger on my 4.25mm making it easier to work with.
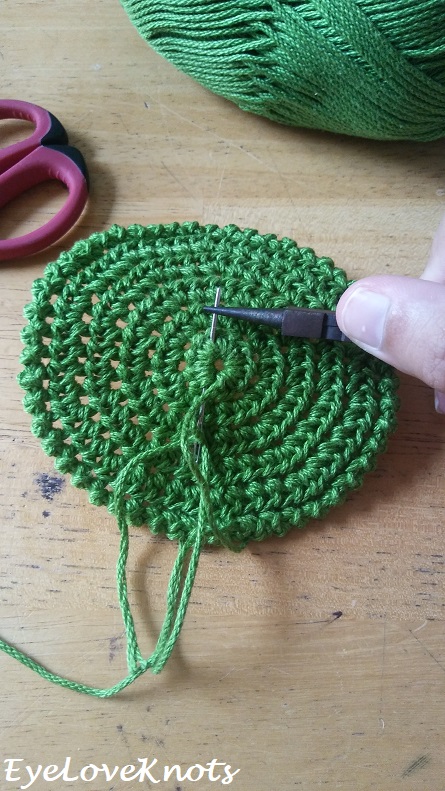
I like to using jewelry pliers to help me when it comes to using cotton yarn, and weaving in my ends. It really helps a lot, and then you don’t get frustrated not being able to get the needle through, or have to deal with a sore thumb later.
Time Spent:
Each coaster took me just under 30 minutes to whip up, and I made a set of 6, plus another 30 minutes for the holder so about 4 and a half hours for my set.
Measurements:
My coasters measure 4 1/8″ in diameter. I did not measure anything else. Flower does extend a touch from the coaster.
Pattern Notes:
I was a little disappointed in this kit, as I had to fix quite a bit to make it work…
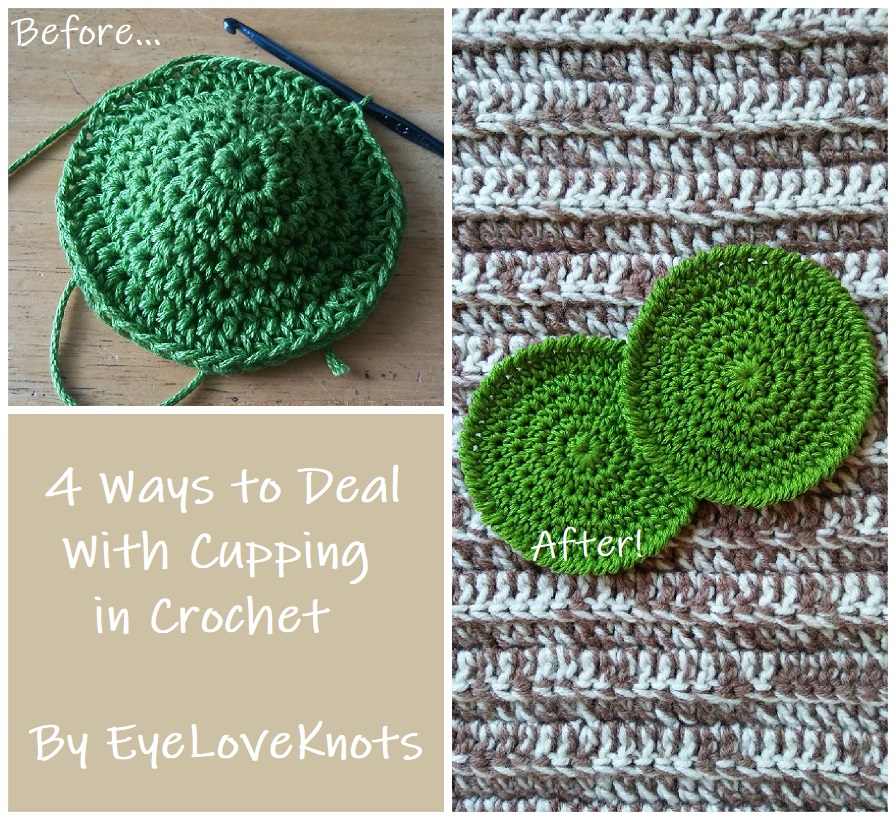
First off, I had an issue with my coasters cupping. I ripped back, and tried 6 different ways, before I ripped back one last time, and just worked up my own coaster pattern, which I shared on the blog last week – Fresh Cut Coasters.
If you experience issues with cupping too, I wrote up a post of 4 Ways to Deal with Cupping in Crochet.
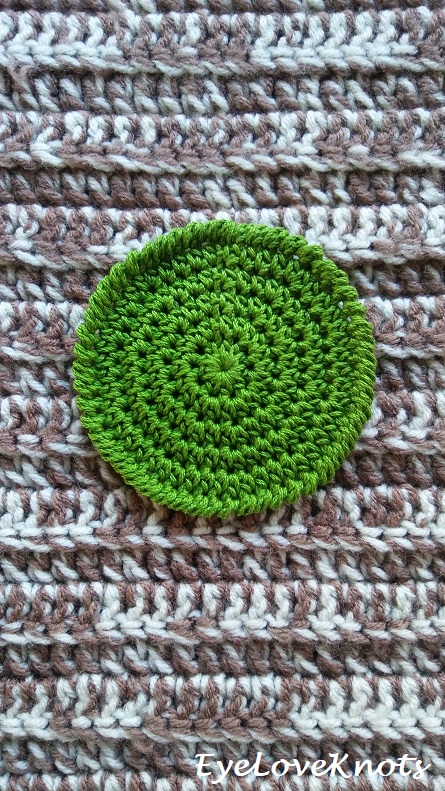
To keep the seam straight, and nearly invisible, I split the first set of increases, working the first one to the left of the beginning chain, and the second one at the end, to the right of the beginning chain, both into the first stitch.
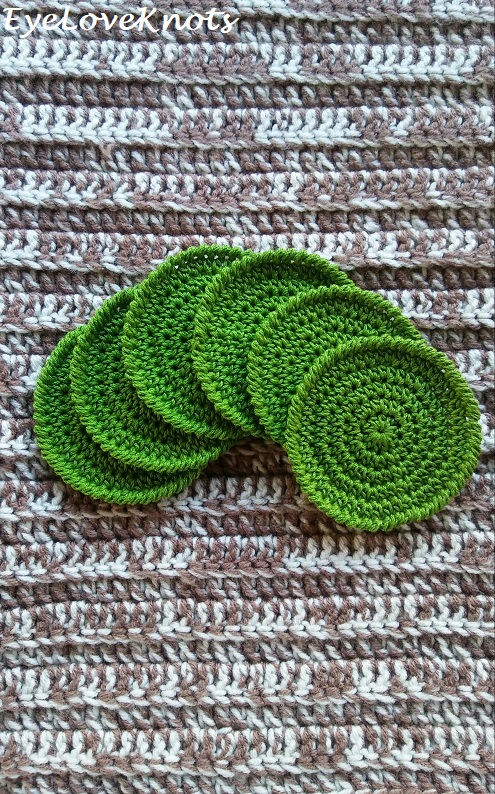
Time to work some embroidery!
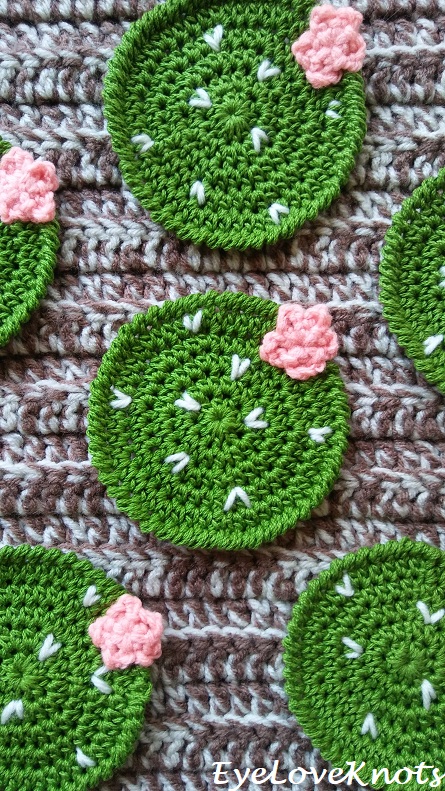
To better hide the cream colored yarn, I first weaved in the tail to secure (2 passes in this case, though normally I do 3), then I proveeded to create a “V”. To get to the next desired spot, I insert my needle under several stitches along the way, making sure to check the right side of the coaster to double check that the carried yarn wasn’t show through at any point. I continued in this manner for all my “V’s”, and at the end, weaved in my end 2 more passes.
I work in this manner because it looks cleaner, but the yarn being carried will be on the back of the coasters, which won’t really be seen so you could just leave all your floats visible.
I will add that adding these spikes caused me anxiety! I do not do well with randomly placed items (or random color placements). I did not make a plan, and no two coasters have the same placement, which is an achievement for me, hehe. I found it the easiest to add them in a spiral pattern, working from the center outward, and I placed 8 per coaster.
Don’t forget those cute little peachy flowers!
The flowers really bring the coaster together, but a few technical points to the flower instructions…
1. After the petals, the instructions state to “sl st once more into ring”, but instead, I pulled up on the finished loop, and then inserted my hook through the foundation ring, and pulled the tail through to the wrong side. Working in this manner helps to maintain the shape. I also cut this tail longer for sewing, but you could easily hot glue the flower on.
2. The flower instructions end at “Pull magic ring tight and finish off yarn. Sew flower over Round 7 sl st to join & finish off”, but this is a typo. Just fasten off (in my case, with a long tail for sewing), and then sew flower on. I laid my flower down so there were two petals on the cactus, and then centered the next two petals with the edge of the coaster, and sew’d along the flower so all but the top point were stitched down so they don’t curl later with use.
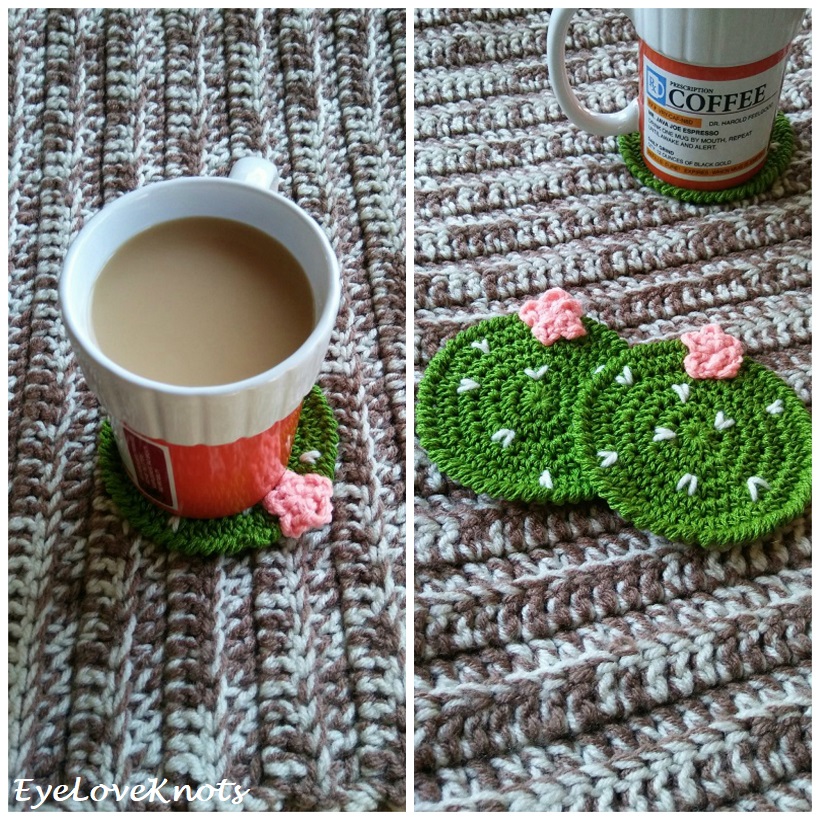
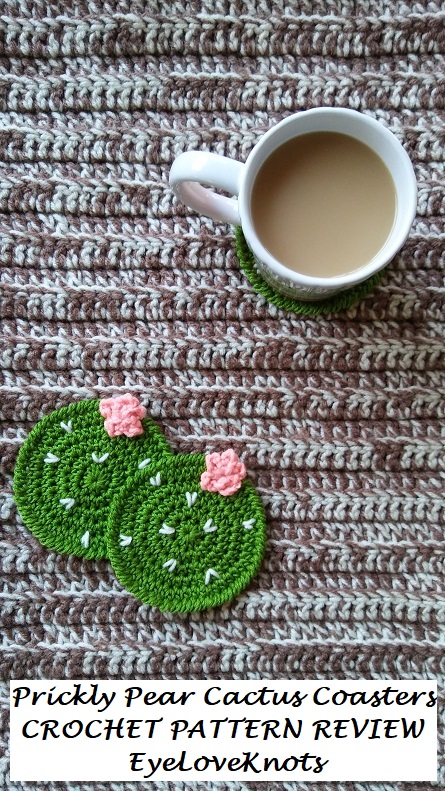
With my coffee mug, my cup fit perfectly between the two bottom petals, and the coaster edging, and with a drinking glass, I had plenty of room. I would just say, watch when you set your cup down that it isn’t uneven on top of the flower so it doesn’t accidentally spill.
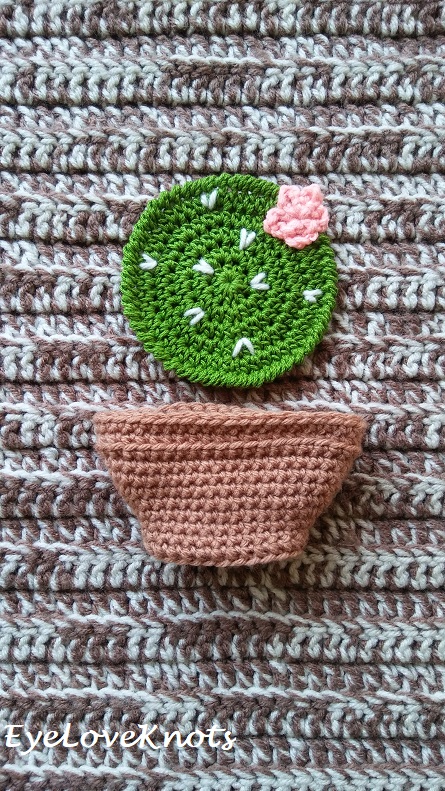
What’s a cactus without it’s terracotta pot?
I love the idea of the little pot to sit the cacti in, and I was skeptical about whether it would stand well, or fall over, but it stands really well! For my set of 6, the holder as written worked perfectly, but if you make a set with more than 6, I recommend increasing some more to accommodate.
I did have to rework quite a bit of the pot to make sense, and I will share here with you in case you get confused. The 3 single crochet clusters should match up within each round…
- In Round 1, keep in mind, when you “…Sc… to end…”, the last single crochet counts as the first single crochet of the 3 single crochet cluster, the same way that the first single crochet worked into the second chain is the last single crochet of the other 3 single crochet crochet. The final stitch count should be 18 single crochet, not 20.
- Round 2 should start with “Sc in the first 8…” and after the cluster, “…Sc in the next 8…”, with a final stitch count of 22.
- Round 3 should start with “Sc in the first 9…” and after the cluster, “…Sc in the next 10, 3 Sc in next stitch, Sc in the last stitch…”, with a final stitch count of 26.
- At the end of Round 6, omit “Sc to end”, and the final stitch count should be 30.
- At the end of Round 7, omt the same “Sc to end”, and the final stitch count should be 34.
- Now, when you work Rounds 8 and 9, you will leave in the “Sc to end” because it will actually be needed there.
- For Rounds 8 and 9, the instructions state to repeat Rounds 6 and 7, but you will have different stitch numbers, as follows…
- Round 8 will start with “Sc in the 1st 12…” and after the cluster, “…Sc in the next 16…” with the “Sc to end”, and have a final stitch count of 38, and Round 9 will start with “Sc in the 1st 13…” and after the cluster, “…Sc in the next 18…” with the “Sc to end”, and have a final stitch count of 42.
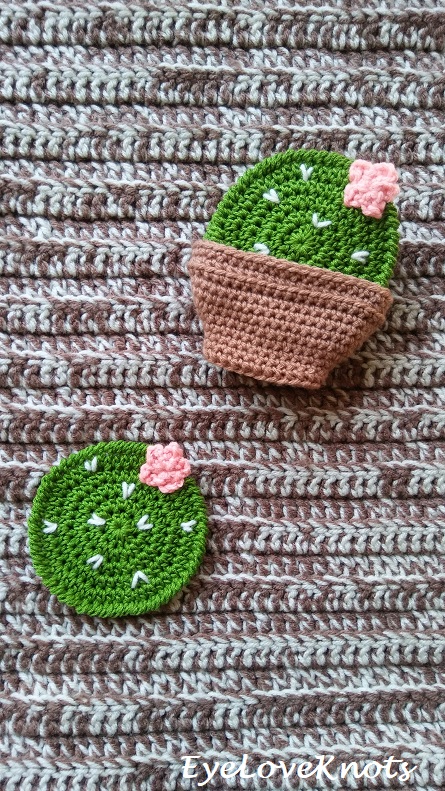
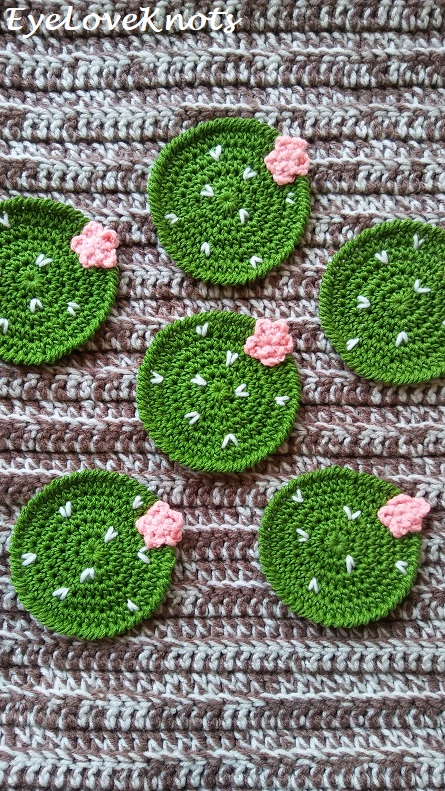
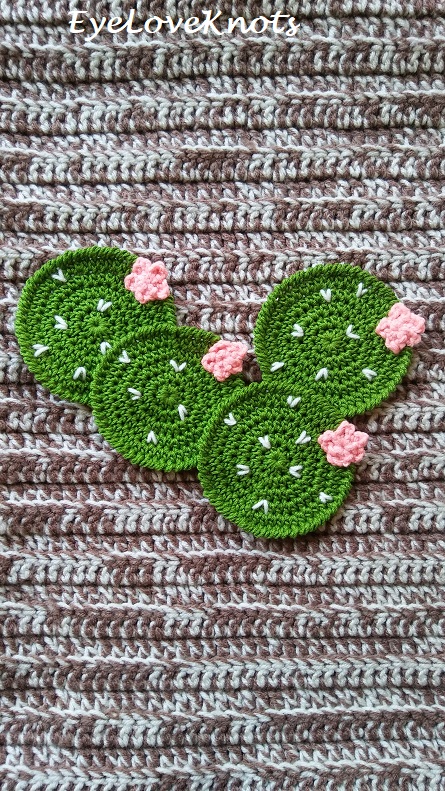
And now your set is complete! Put the coasters into the holder, and display, or gift. I gave this set to my mom, who is a gardener. I will leave you with some fun photos.
Join the EyeLoveKnots Crafting Community on Facebook to share your creations, and see what others are up to!
Linked Up To…
Nifty Thrifty Sunday #343 – Meet Our Life
Craft Schooling Sunday – Creative Jewish Mom
In Stitches Party #14 – Nicki’s Homemade Crafts
Inspiration Monday Party – Scattered Thoughts of a Crafty Mom
Creative Monday Bloghop – Claire Justine
Handmade Monday #84 – Sum of their Stories
Merry Monday Link Party #213 – A Wonderful Thought
The Really Crafty Link Party #128 – Keeping it Real
Ginx Woolly Linx Party July – Ginx Craft
Craftastic Monday Link Party – Sew Can Do
431st Inspire Me Tuesday – A Stroll Thru Life
Tutorials & Tips Link Party {359} – Home Stories A to Z
The Scoop Link Party #335 – Worthing Court Blog
Fabulous Party #224 – Lou Lou Girls
The Linky Ladies Party #137 – The Purple Poncho
Sew It Cook It Craft It Link Party #63 – Sew Historically
From Dream to Reality #317 – The DIY Dreamer
{wow me} wednesday #360 – Ginger Snap Crafts
Hookin’ on Hump Day #171 – Petals to Picots
Talk of the Town #132 – My Repurposed Life
Your Whims Wednesday #364 – My Girlish Whims
The Wednesday Link Party 254 – The Stitchin’ Mommy
Crafty Love Link Party #35 – Jessie at Home
Scrappy Stitchers Link Party #43 – Stitches ‘N’ Scraps
Link Your Stuff – Annemarie’s Haakblog
Create Bake Make Party #241 – Across the Boulevard
Sundays at Home #215 – Celebrating Everyday Life
Pin Junkie Pin Party #275 – The Pin Junkie
Funtastic Friday 189 Link Party – Olives n Okra
Sweet Inspiration Link Party #117 – Boondocks Blog
Friday Frenzy Link Party – Kelly Lynn’s Sweets and Treats
Home Matters 194 – Domestic Deadline
Personally i would like to see the pattern in its entirety. Thanks
Wish I could share it with you, but since the pattern is copyrighted to another designer, I can’t. You can contact Ashleigh of Sewrella (she is the designer) about the pattern and/or ordering this kit though.
I went to her site but there is no pattern for the prickly pear coaster. I searched by that name then I searched for coasters. 🙁
That is correct. The pattern is part of the Happy Yarn Mail subscription, but you may contact her to see if she has extra kits available.
Alternatively, you can use my coaster pattern (linked in this review), and work up your own flowers to add, and just embroider the spines on.
Thanks for your review. I tried this service a year ago for a few months. I ran into issues with the patterns and ended up feeling like it was too expensive. I do think this is a very cute pattern though.
Hi Wendy! I will admit, I love the idea of the monthly kit, but I did have minor issues with both ones I have received and completed. This is why I love to review (and pattern test) because through them, I can help any who struggle. It makes me want to start my own monthly crochet kit subscription, but with the rise in the popularity of monthly kits and yarn boxes, it would be a little more difficult to grow right now.
The price of the Happy Yarn Mail has gone down to $19.99 including shipping, which is much easier to figure in financially than what it as at the start. If you are interested in trying again, you can look to my blog as a resource 🙂
Oh wauw! So simple, yet so lovely!
I’m totally into cactus things!
I’m going to pin this!
Found you with the really crafty linkparty! 🙂
Greetings from Belgium!
Though I do not have cactus themed items in my home, I am a fan of the fresh new theme. The coasters turned out perfectly, and I gifted them to my mom – a gardener. Thanks so much for visiting!
These are pretty Alexandra. They are so much fun. I wish I could crochet 🙂 Thanks for sharing at Creative Mondays.
The are pretty fun! And were fun to put together. Never too late to learn 😉
Thanks again for sharing at Creative Mondays Alexandra, you will be one of my featured blogs today 🙂
Thank you!! Popping over now 🙂
These are so cute! I especially love the little pot to keep the coasters stored.
Thank you for sharing at The Really Crafty Link Party. Pinned.
Yes, the pot was a fantastic addition to the set! My mom really love receiving this set.
These are so eye-catching. Love all the detail.
Thanks, Ginny!
These coasters are adorable! I love cactus, so I had to feature your cactus coasters at this week’s Snickerdoodle Create▪Bake▪Make Party! Thanks for sharing!
Oh, I did not realize you were a co-host. Great party to be a part of. Thanks so much for including my coasters! Looking forward to the party.
These are so adorable! I have pinned it for the day I finally learn how to crochet. Thanks for sharing at #HomeMattersParty
Happy to help with the learning in any way I can! Thanks for the feature, and support! So appreciative.
I’m glad I’m not the only one who had issues with the patterns. I’ve had this subscription for a while and thought about cancelling due to the pattern problems every month.
I am with ya. One of the reasons why I kept my subscription was so I could post my reviews, and help others, but now the service is ending anyway. I was a little disappointed to see it end so quickly, but my bank account will appreciate the extra spending money.
I just wanted to thank you for this. I have been trying to make sense of the pattern for the pot all night. It just wouldn’t work no matter how many times I started over. I thought it was me. I was about to move on to another project when I found your redo. So thankyou very much for that and all your tips.
So glad I could help! Thank you so much for dropping me a line 🙂
Hi Alexandra, I am trying to crochet the case for the cactus coasters but I can’t find the pattern for it. Would you be kind enough to send me the pattern please. Thanks Annette
Hi Annette. The original design is by Sewrella, and is linked in the Materials section. This post is only my review with the adjustments I made.
Hi there! Just a quick question. What are your terms of use for selling the products made from this pattern? Thank you!
Hi, Allie! This is not my pattern, this is just a review, but regardless of what a designer says, you always have the right to sell products you make from any pattern (you just can’t sell their pattern).
So glad I found this review! I’m working on these and having trouble with the seam. Could you explain a little better how you made it invisible/straight? I don’t know if I’m starting or ending the rounds in the right stitch.
Thanks!
I need to update this post, but there are photos here: https://eyeloveknots.com/2015/07/how-to-crochet-flat-circle-keep.html
Basically, when increases normally you would work two stitches into the first stitch, and the rest accordingly, but I split that very first increase working the first one as normal into the first stitch, and then I work in pattern around, and then I work the last stitch of the first increase into the same as the first stitch. The one first will be in the first stitch but on the left side of the beginning chain, and the last will be in the first stitch but on the right side of the beginning chain.
Hello
I would love to purchase a completed set of cactus crochet coaster, could you please let me know how I can do that
Thank you heaps
Feray
I just emailed you.