This is a free crochet pattern and video tutorial showing how to crochet my Taryn Throw Pillow, which is an easy, basic, envelope-style Tunisian Simple Stitch Throw Pillow including 8 sizes.
This post contains affiliate links for WeCrochet, Etsy and Amazon. If you make a purchase by clicking on them, I make a small commission at no extra cost to you. Thanks for your support!
Find the free crochet pattern instructions below, or purchase a printer-friendly, ad-free PDF on Ravelry by clicking here.
Short on time? Pin it for later when you have more time.
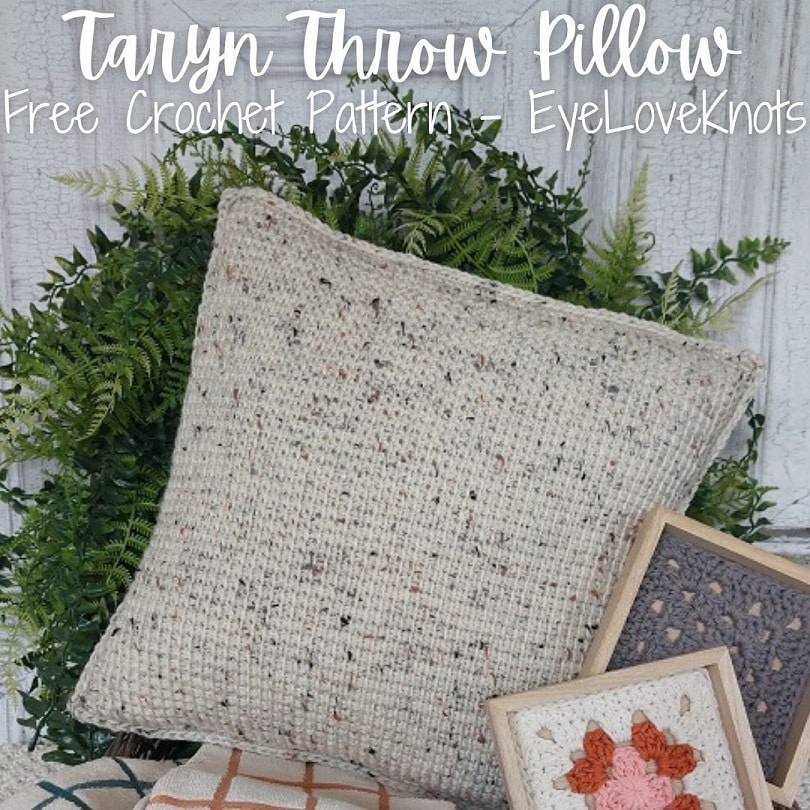
Throw pillows are one of my favorite things to make. So small in the scheme of things, but so versatile, and so easy to dress up a room with. Check out all my free throw pillow crochet patterns, and some reviews too.
I started on this throw pillow last September (2022) so excited about using the cozy Aran Fleck colorway for a Fall throw pillow.
Step one – create the front panel of the throw pillow. I ended up working up 12 sizes for the Taryn Afghan Square. You can create lots of matching pieces with this afghan square pattern!
Step two – creating the back panels. I actually got mine done shortly after finishing the top panel last year, but it took me until July to work on the video tutorial so in between, all the panels just sat in my WIP bin on my desk staring sadly at me.
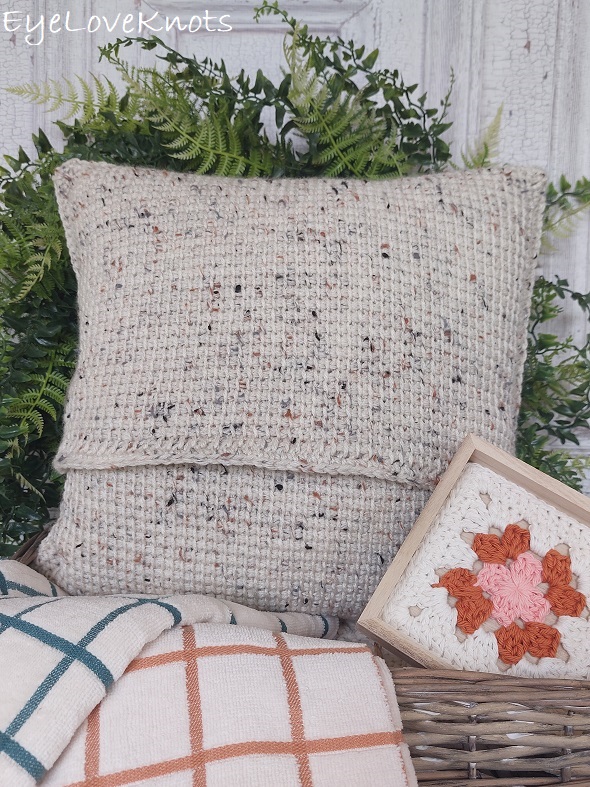
I like envelope style covers so that I can easily store them, and change them out depending on the season plus no guess work in stuffing, and it makes washing very easy too. This pattern is written in this form, but if you don’t want an envelope style, you can crochet two front panels, and then crochet them together placing in a pillow form or stuffing prior to seaming closed.
Step three – you guessed it! Assembly. It’s a quick and easy one round single crochet border that is worked through all the layers together to join them.
How Do You Crochet a Simple Envelope Style Throw Pillow?
Step 1: Crochet a square to your desired size for the front panel.
Step 2: Crochet two back panels that overlap at least 3″, and are the same width as your front panel.
Step 3: With wrong sides facing up, lay the back top panel down, then lay the back bottom panel down with the two pieces overlapping, then lay the front panel on top with the wrong side facing down and line the stitches up all the way around.
Step 4: Seam through all the layers to join – my preferred way is to single crochet the layers together, and I do this with the right side of the pillow facing up to get the nicest, most defined edge.
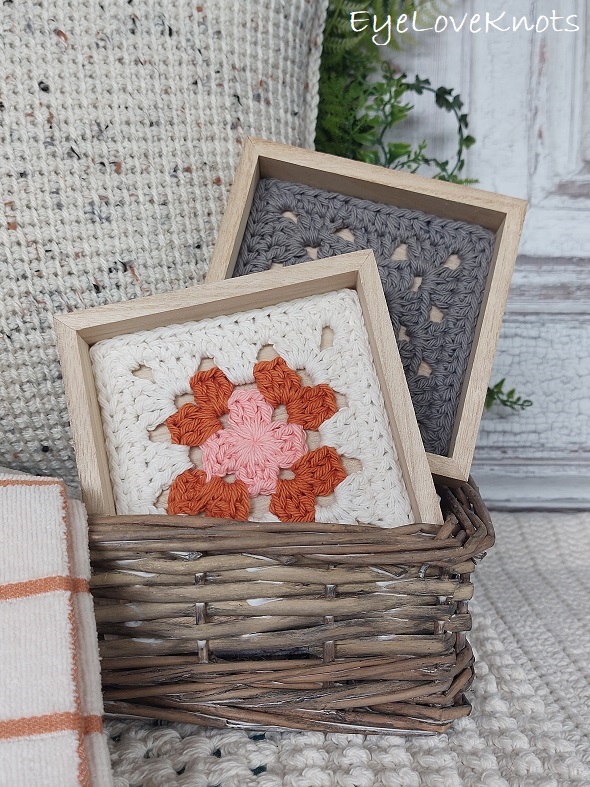
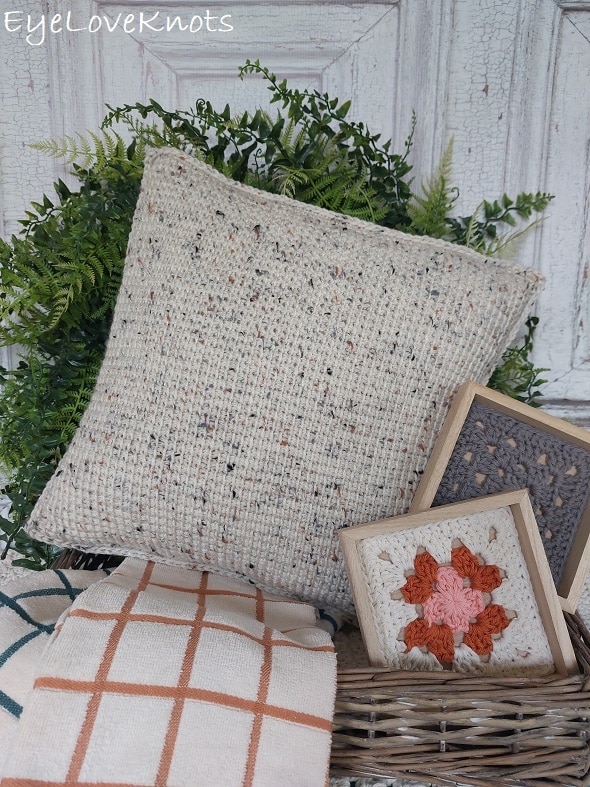
The cute shadow box you see is my Gia Shadow Box.
The textured piece underneath the basket is my Volume One Hand Towel.
If you would like to grab a free copy of the PDF for this pattern, make sure to check out the Pattern Notes section below.
AD-FREE, PRINTER FRIENDLY PDF:

If you would like a PDF version of this post, you may get one through either my Etsy Shop, Ravelry Shop or LoveCrafts Shop for a small fee. This fee is to compensate for the views lost when you no longer need to return to the blog to for the information, as you will have your own copy. In a hurry? Pin this for later when you have more time!

Save this to Your Favorites on: AllFreeCrochet, FaveCrafts, Cheap Thrifty Living, DIYideaCenter, Crochet Pattern Bonanza, AllFreeHolidayCrafts, Free Crochet Tutorials, The Free Crochet Family
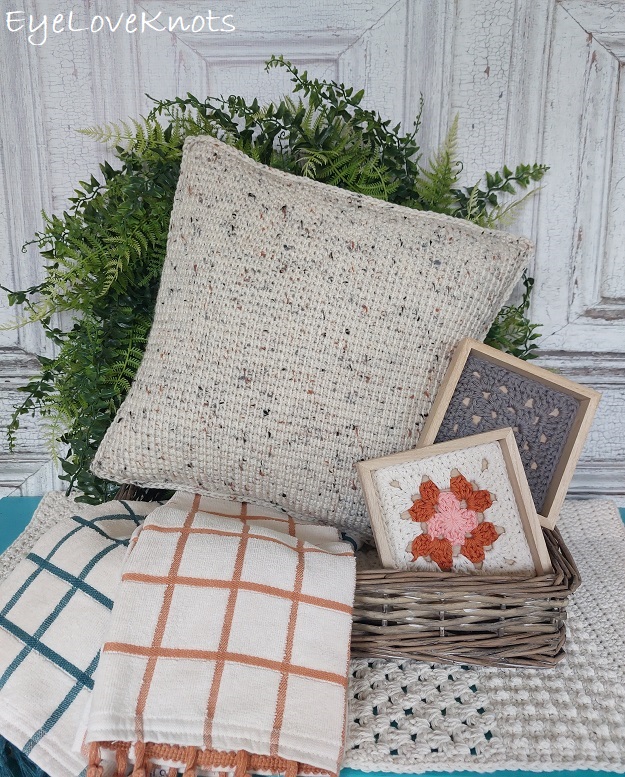
What Supplies Do I Need to Crochet a Tunisian Simple Stitch Throw Pillow?
- 310 (420, 550, 680, 840, 1010, 1190, 1515) Yards of Worsted Weight Yarn – I used Red Heart Super Saver in the Aran Fleck colorway
- J10/6mm Tunisian Crochet Hook
- Tapestry Needle
- Soft Tape Measure – Gauge is essential if using a pillow form
- Envelope Style: Pillow Form – I get mine at JoAnn, but there are a lot of options on Etsy, and on Amazon
- Closed: Poly-fil Stuffing
- Optional, Locking Stitch Markers
- Optional, Jewelry Pliers
Material Notes:
Similar Yarns: Caron’s One Pound, Bernat’s Super Value.
I like Red Heart’s Super Saver for my home projects because it’s affordable, durable, and machine washes well.
The yardage has been tested with the 14″ size, and the rest are estimated based on this.
Hook: I have the Clover Set of Interchangeable Bamboo Tunisian Hooks, but you can also buy just the interchangeable hook and the interchangeable cord.
Locking Stitch Markers are excellent for holding the fabric together during assembly. Alternatively, you can use safety pins or scrap yarn.
Jewelry pliers are a great tool to use to help weave in ends, as it can be quite tough on the fingers when weaving in with just fingers and a tapestry needle.
Sizes Included:
12″ (14″, 16″, 18″, 20″, 22″, 24″, 27″)
Gauge:
- 16 TSS = 4.13″ (4 1/8″) Wide;
- 14 Rows (forward pass + return pass = 1 row) = 4.5″ (4 1/2″) Tall immediately…
- …OR 14 Rows 4.25″ (4 1/4″) Tall after resting (see Pattern Notes)
Abbreviations (US Terms):
- TSS – Tunisian Simple Stitch (the forward pass)
- How to Tunisian Simple Stitch: (insert hook behind the front vertical bar, yarn over and pull through leaving the previous loop on the hook) as needed to end of row
- Return Pass
- How to Return Pass: (yarn over, pull through 2 loops) as needed to end of row
- SC – Single Crochet (Photo Tutorial)
Pattern Notes:
Instructions for smallest size – 12″ shown with 14, 16, 18, 20, 22, 24 and 27 in parenthesis.
If making adjustments to the finished size, keep in mind that the slip stitch row adds 0.13″ (1/8″) to the finished height, and the border adds 0.5″ (1/2″) to the overall size.
When taking measurements, keep in mind that as the fabric “rests” over time, it will shrink up a little bit. After working a swatch or sample, I like to leave it overnight, and come back the next day to check. If I want to work with it sooner, I still try to leave it for several hours. In working this square up, I found that for every 14 rows, the sample shrunk about 0.25″ after resting so you’ll want your immediate measurement to be a little taller then needed in the end.
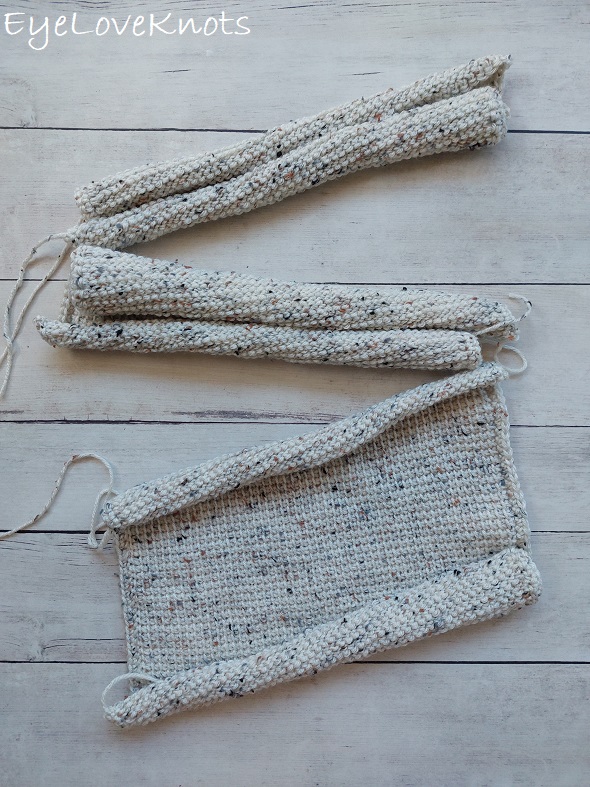
Your fabric will curl – it is the nature of the stitch pattern so don’t be alarmed. You can block it if you like, but the weight of the border and project seams will help to straight the fabric out.
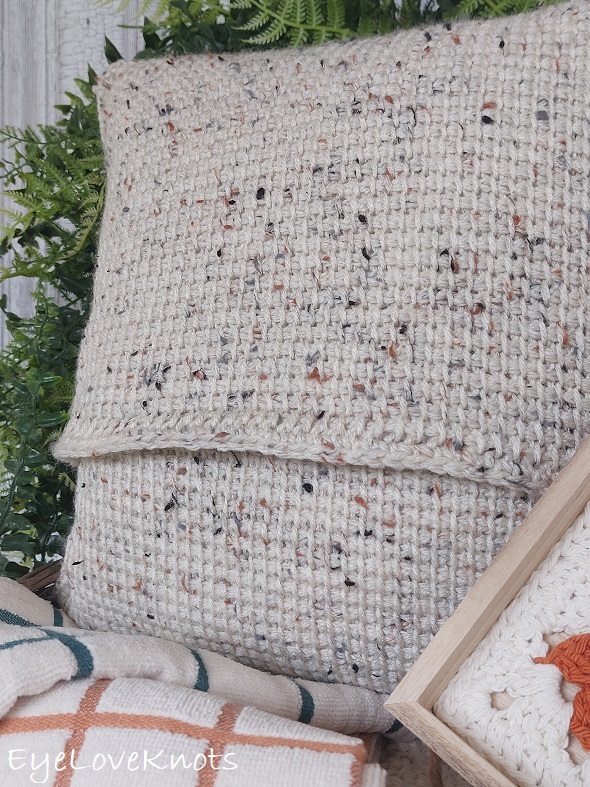
In the end, you will still see a curl in the center back of the pillow where this fabric is not supported. Pull the bottom layer up and finger press flat, then pull the top layer down and finger press flat. For mine, this was enough to remove the curl, though a small lip remains.
For added security, you can attach your yarn into the right chain space (of the assembled throw pillow) from the wrong side (so it follows in pattern). Chain 1, and single crochet across working a loop or buttonhole halfway, and then sew a button on for it to secure to, or leave off the loop and sew on the button. Additionally, you can work single crochet all the way across from the original chain space to the next, then chain 1 again, and work backwards – this will add extra weight and length, then finger press. Lastly, you can block the finished project if desired.
Through 10/31/23 at 11:59pm EST, you can grab a free copy of the PDF for the Taryn Throw Pillow on Ravelry using code FREECROCHET202325. I earn my income from the number of pageviews my blog sees, so please do not share the code, but instead share the link to this post so others can find it. Thank you!
Taryn Throw Pillow, aka Basic Tunisian Simple Stitch Throw Pillow, Video Tutorial:
Taryn Throw Pillow, aka Basic Tunisian Simple Stitch Throw Pillow, Written Tutorial:
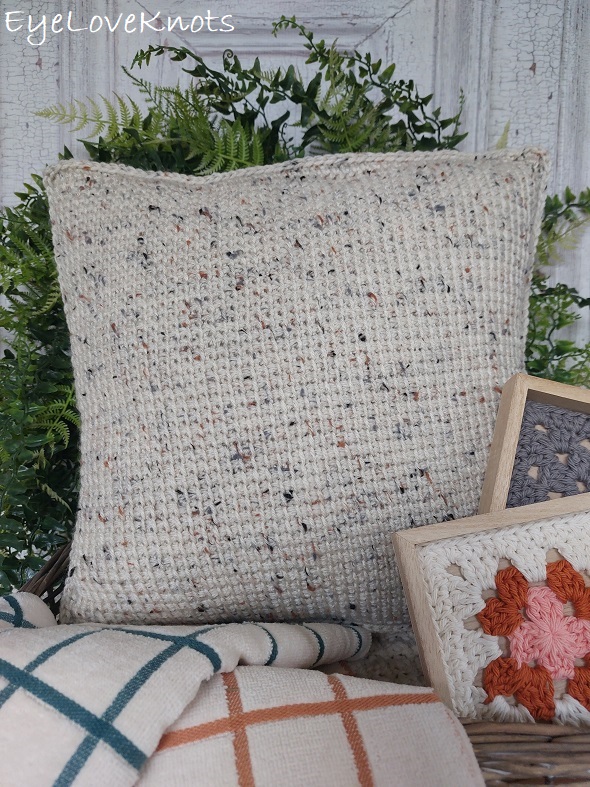
Front Panel:
Chain 44 (52, 60, 67, 75, 83, 90, 102). TSS across, then return pass. [44 (52, 60, 67, 75, 83, 90, 102) TSS]
- How to TSS: (insert hook behind the front vertical bar, yarn over and pull through leaving the previous loop on the hook) working all the way across the row
- How to Return Pass: yarn over, pull the yarn through 1 loop (this is to chain 1 for the start of the row), then (yarn over, pull through 2 loops) working all the way across until you have just one loop on the hook.
R2 – 37 (44, 51, 57, 64, 70, 77, 87): TSS across, then return pass. [44 (52, 60, 67, 75, 83, 90, 102) TSS]
Respectively, your panel should measure in height: 11 1/4″, 13 3/8″, 15 1/2″, 17 3/8″, 19 3/8″, 21 1/4″, 23 3/8″, 26 1/2″
Bind Off: Loosely slip stitch across. [44 (52, 60, 67, 75, 83, 90, 102) slip stitches]
Border: Chain 1, turn. Evenly SC (that’s 1 stitch per row) down the side of the panel, chain 3 to form a corner, SC across the opposite side of the foundation chain over to the last stitch, chain 3 to form a corner, evenly SC (that’s 1 stitch per row) up the side of the panel, chain 3 to form a corner, SC across the top over to the beginning, chain 2 (to form final corner). Slip stitch join to the first SC. Fasten off, and weave in ends.
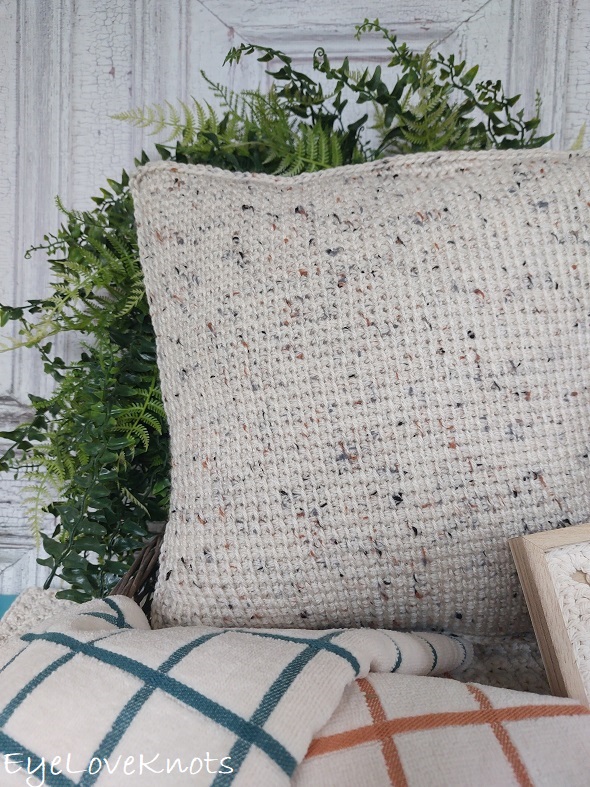
Back Bottom Panel – I recommend working this before the Back Top Panel:
Chain 44 (52, 60, 67, 75, 83, 90, 102). TSS across, then return pass. [44 (52, 60, 67, 75, 83, 90, 102) TSS]
R2 – 18 (21, 24, 28, 31, 34, 37, 43): TSS across, then return pass. [44 (52, 60, 67, 75, 83, 90, 102) TSS]
Respectively, your panel should measure in height: 5 1/2″, 6 3/8″, 7 3/8″, 8 1/2″, 9 3/8″, 10 3/8″, 11 1/4″, 13 1/8″
Bind Off: Loosely slip stitch across. [44 (52, 60, 67, 75, 83, 90, 102) slip stitches]
Border: Chain 1, turn. Evenly SC (that’s 1 stitch per row) down the side of the panel, chain 3 to form a corner, SC across the opposite side of the foundation chain over to the last stitch, chain 3 to form a corner, evenly SC (that’s 1 stitch per row) up the side of the panel, chain 3 to form a corner, SC across the top over to the beginning, chain 2 (to form final corner). Slip stitch join to the first SC. Fasten off, and weave in ends.
Back Top Panel – I recommend working this after the Back Bottom Panel for Ease in Assembly:
Chain 44 (52, 60, 67, 75, 83, 90, 102). TSS across, then return pass. [44 (52, 60, 67, 75, 83, 90, 102) TSS]
R2 – 27 (31, 34, 37, 41, 44, 47, 54): TSS across, then return pass. [44 (52, 60, 67, 75, 83, 90, 102) TSS]
Respectively, your panel should measure in height: 8 1/4″, 9 3/8″, 10 3/8″, 11 1/4″, 12 1/2″, 13 3/8″, 14 1/4″, 16 3/8″
Bind Off: Loosely slip stitch across. [44 (52, 60, 67, 75, 83, 90, 102) slip stitches]
Border: Chain 1, turn. Evenly SC (that’s 1 stitch per row) down the side of the panel, chain 3 to form a corner, SC across the opposite side of the foundation chain over to the last stitch, chain 3 to form a corner, evenly SC (that’s 1 stitch per row) up the side of the panel, chain 3 to form a corner, SC across the top over to the beginning, chain 2 (to form final corner). Slip stitch join to the first SC. Don’t fasten off as you can go right into assembly, and continue with the same strand (unless you want to change colors for the trim). Chain 1, and pull up a big loop so you don’t lose it. Weave in initial tail end.
How to Assemble an Envelope Style Crochet Throw Pillow, Shown with my Colin Harper Throw Pillow:
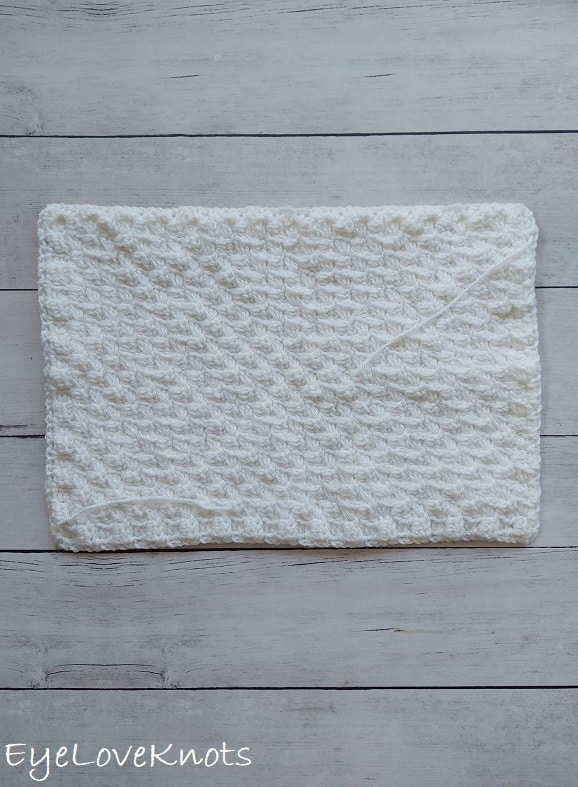
Lay the top back panel down with the wrong side facing up. This is why you chained 1 already, so you can reinsert your hook into that loop, and begin crocheting from the front panel side.
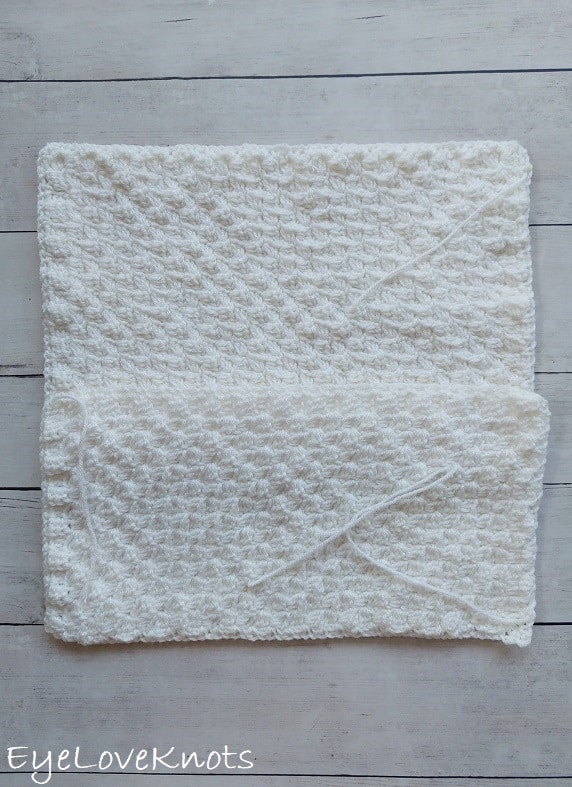
Lay with top bottom panel on top of the other panel also with the wrong side facing up overlapping about 3″ – it doesn’t have to be perfect because you’ll get it there in the next step.
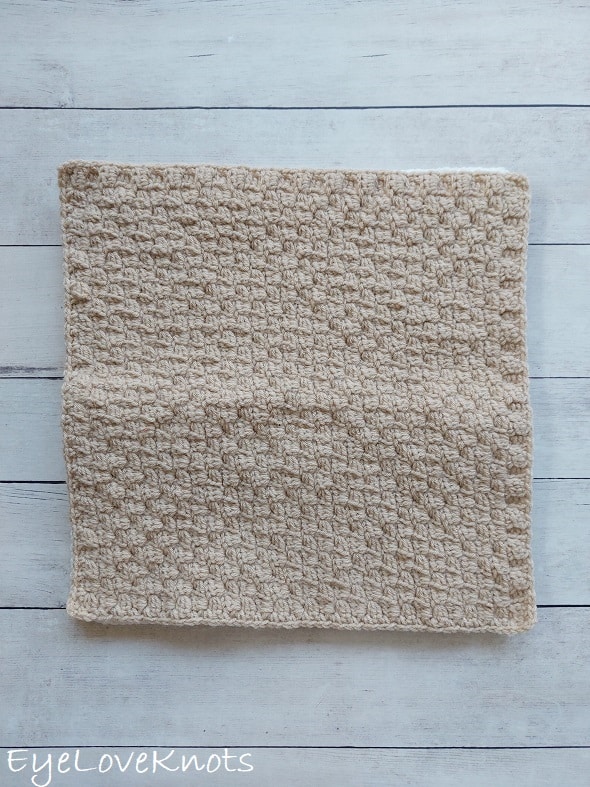
Lay the top panel down on top of the back panels with the wrong side facing down, and line up the sides.
You can use sewing pins or locking stitch markers to keep everything in place, but what I like to do is just work with the front panel and the top back panel until I get to the point where I add in the bottom back panel, then I realign everything, and add in the stitch markers.
With the front side of the pillow still facing you, insert hook into the loop from the top back panel, or if you’ve fastened off, then attach yarn into any stitch working through both layers, and chain 1.
Evenly SC through each single crochet stitch working through all given layers (mostly two layers, but will be three layers in the center where the two back panels overlap), and work a (SC, HDC, SC) in each corner. This will produce a corner that is more square, for a more round corner, work 3 SC. Once back to the beginning, slip stitch join to the 1st SC, and fasten off. Weave in final end/s, and then add pillow form.
Feel free to use this information to make and sell your own items. When sharing, designer credit is appreciated, but not required. All EyeLoveKnots Patterns, Photos and PDF’s are protected under copyright. They are not to be copied, distributed or sold – doing so is copyright infringement and stealing! DO NOT copy and paste my pattern anywhere, and DO NOT share the written pattern with others, share the link to the pattern instead so others can find it themselves.
Join one of our awesome Facebook groups to share your creations, and see what others are up to!
– Yarn Crafts & Coffee Community
– DIY Home On Rockwood Lane
– Alexandra Lane Lifestyle
Linked Up To…


Leave a Reply