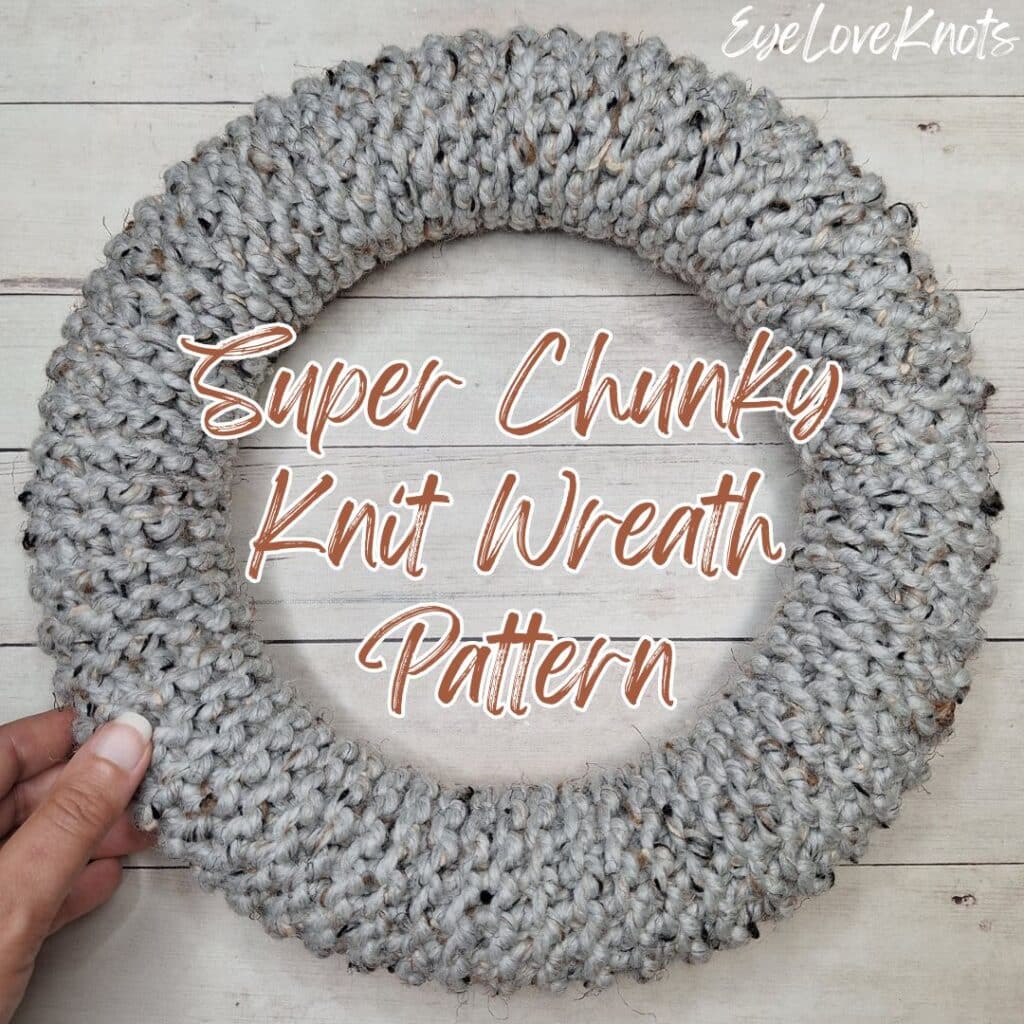
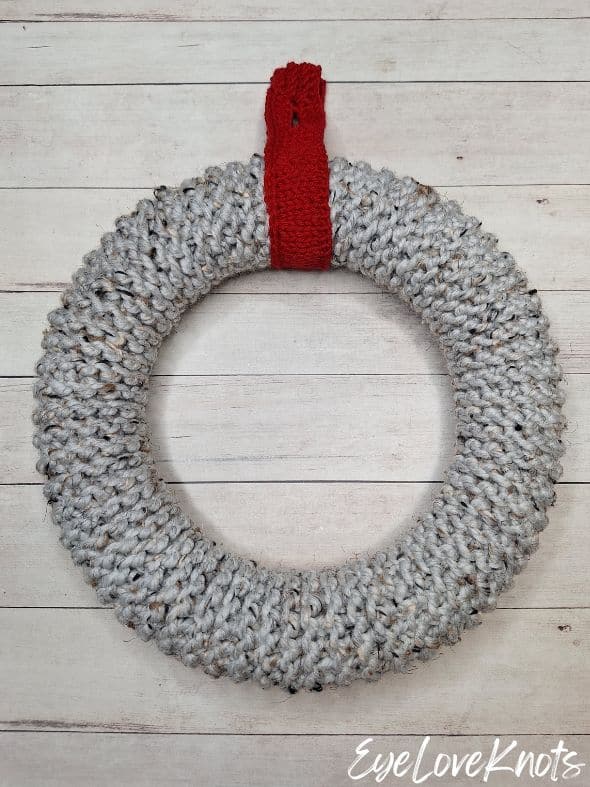
Learn how to knit a styrofoam wreath form cover using a variation of the beginner friendly garter stitch to transform it into a knitted wreath that looks beautiful with or without embellishments and can be used all year long with this free knitting pattern, plus the bonus is that it works up fairly quickly being in super bulky weight yarn.
This post contains affiliate links for Amazon. If you make a purchase by clicking on them, I make a small commission at no extra cost to you. Thanks for your support!
Find the free crochet pattern instructions below, or purchase a printer-friendly, ad-free PDF on Ravelry by clicking here.
In a hurry? Pin this for later when you have more time.
On my front door, you’ll always find a wreath. I just love coming home to a cheerful wreath – it really brightens up my day! Come Fall, my home decor takes on all the cozy vibes of the season so to pair with that, I’ve really been into wreaths inspired by sweaters, like my crocheted Cabot Wreath.

For 2025, I’m thrilled to be joining Marly Bird and tons of crochet and knitting friends for the 24 Days of Quickies with my newest sweater inspired wreath – the Super Chunky Kinsley Blake Wreath.
Each of the first 24 days in December, you’re in for a special treat! You’ll have holiday quickies from 3 designers – that’s 2 crochet and 1 knit – where the PDF for the pattern will be free to download for 24 hours. The focus in the 24 Days of Quickies is items that can be worked up in a day so you can get more of your holiday gifts crossed off the list.
Each day also features a Holiday Armadillo, which is a special discount from your favorite designers and shops! PLUS, the Jolly Holiday, which is a an additional free pattern designed by Marly Bird and Robyn Chachula. If I’ve done my math correctly, that is more that is 96 free crochet and knit patterns included this year! Make sure to visit with Marly HERE, and sign up to receive her newsletter so you don’t miss out on any of the beautiful designs!
To Embellish Your Wreath or Not?
In this tutorial, you’ll learn how to create your own easy wreath base that you can use all year long by simply embellishing it to fit the time of year, or leaving it bare, allowing the fabric and colorway to really shine.
If you choose to embellish your wreath, one way to make it something that you can continue to use throughout the year is by securing the embellishments with sewing pins so they are not permanent. The sewing pins stick down into the styrofoam to keep everything in place for as long as you need, and then when you are ready to change the embellishments out, simply pull them out and redecorate.
Otherwise, you can whipstitch or glue embellishments onto the knitted wreath base. Hot glue works well for several years, but it can look a little messy, especially if it’s hot where you are, and the embellishments start to loosen over time. I prefer sewing on the embellishments, or using Titebond Quick and Thick Multi-Surface to glue them in place.
Easy Knit Patterns Worked Through the Back Loop:
Kinsley Blake features easy knit patterns worked in a variation of the beginner friendly garter stitch – and that is simply Knitting Through the Back Loop instead when working the knit stitch. Working in this manner twists the stitches slightly in comparison to the traditional garter stitch, but the true magic for this novice knitter is that I find I have so much more control over my knit stitches allowing my fabric to turn out much neater. Feel free to follow the same pattern but work in the traditional manner if you prefer that more.
This is a beginner friendly series, and this wreath cover is great project to pair with watching your favorite TV show or movie because it’s just one stitch for the entire project, and you don’t have to even count rows if you don’t want you – you can use a soft tape measure to measure as you go, and stop at the length desired.
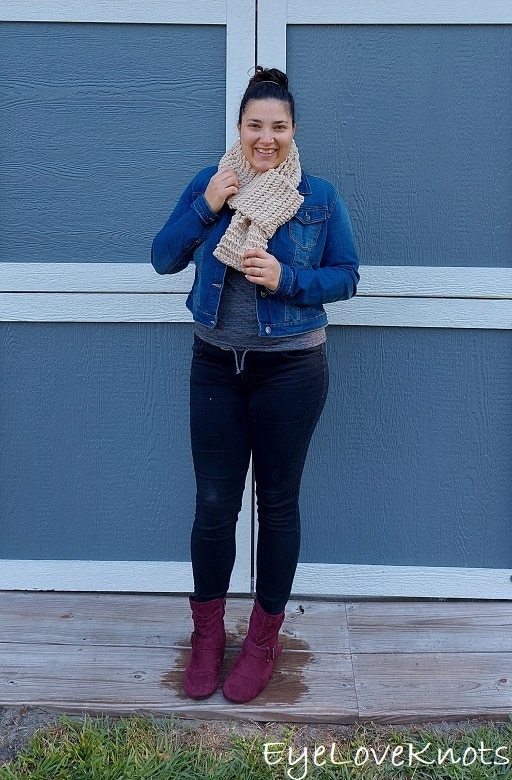
Super Chunky Kinsley Blake Scarf – Toddler through Adult sizes
Find more Kinsley Blake accessory and home decor knitting patterns here on EyeLoveKnots.
How do you make an easy crocheted wreath?
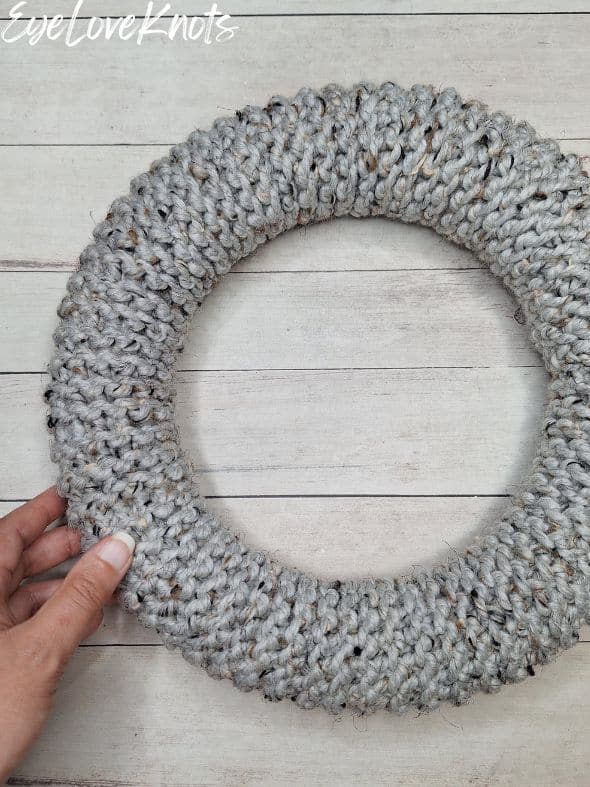
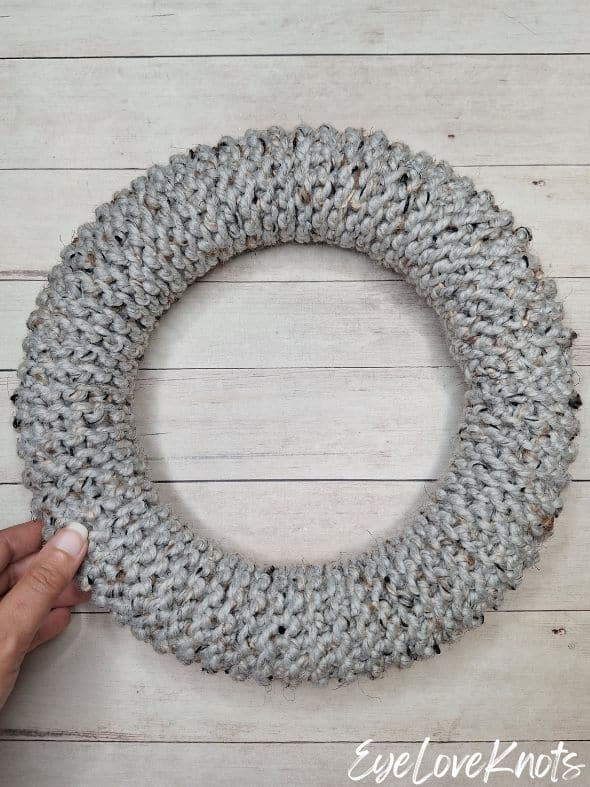
I love making easy wreath covers to cover styrofoam wreath bases! All you need is to knit a rectangle that is approximately 6″ smaller than the circumference of your wreath base cover, then whipstitch it around the wreath base, and voila! Instant wreath that looks beautiful with or without embellishments.
What is the best yarn to crochet a wreath with?
My favorite yarns for knitting a wreath are going to be 100% acrylic yarns, or at least mostly synthetic (ie acrylic, nylon, etc). These yarns hold up well to wear and tear, and while they will fade over time, I feel that these yarns hold their color and form the best compared to more natural fibers, which will disintegrate and fade faster. If the wreath will be inside only, you could go with cotton and cotton blends, but for outdoor wreaths, cottons fade quickly and begin to fall apart.
Does it matter what color my styrofoam wreath base is when crocheting a wreath?
Styrofoam wreath form bases come in green and white. It does not particularly matter which color you use for a knitted wreath that is made of a solid fabric, as we’ve done with our garter stitch version. Even as it stretches, the fabric is typically still solid enough that you don’t see your stitches through, but this is not always true so you will definitely want to test it before whipstitching closed. Personally, I always try to match light colored yarns with a white base, and darker colored yarns with a green base just so I don’t have to worry about it.
What can I use to crochet a wreath if I don’t have a styrofoam wreath base?
Styrofoam wreath bases can be found in craft stores, on Amazon and even at Dollar Tree, but if you don’t have one, you could use a straw wreath or a pool noodle with the two ends attached together with a strong tape. These tend to be thicker so you may need to add stitches to the beginning cast on to get a wider fabric. While I have not tested wire wreath forms, I think they would work about the same, but may be thinner around and require less stitches.
How high do you hang a wreath?
I feel like there is no right or wrong answer when it comes to placing your wreath because it’s whatever you like best, but the standard and a safe bet is going to be to hang your wreath at eye level.
Where do you hang a wreath that isn’t the front door?
When it comes to wreaths, I know your first thought is to hang it on the front door, and I absolutely agree! Hang the first wreath on the front door, and then make another one because they can be hung on a gallery wall, over an entryway table, mantel or fireplace, from windows, cabinets and the back of dining chairs and so much more! You can place a wreath anywhere you want for a little more cheer.
Ad-Free, Printer Friendly PDF:

EyeLoveKnots newsletter subscribers get access to Exclusive Subscriber Content, like the free PDF of this pattern via the Free File Library – you’ll find the tab on the top menu. The library is password protected so sign up for my newsletter and you’ll receive a Welcome email containing this month’s password, or if you are already a blog subscriber, reference your latest newsletter for this month’s password. From the library, you’ll be able to access the PDFs via Google Drive – you do not need to have a Google Drive account to view and download the PDF.
For a Limited Time…

From 12/04/25 8am EST through 12/05/25 at 11:59pm EST, you can grab a free copy of the PDF for the Kinsley Blake Wreath on Ravelry – no code needed. I earn my income from the number of pageviews my blog sees, so please do not share the Ravelry link, but instead share the link to this post so others can find it. Thank you!
After 12/05/25, if you would like a PDF version of this post, you may get one through either my Etsy Shop, or Ravelry Shop for a small fee. This fee is to compensate for the views lost when you no longer need to return to the blog to for the information, as you will have your own copy. Plus! It helps fund supplies for new projects to share with you!


Materials:
- 101 (147) Yards [or 92 (134) Grams] of Super Chunky #6 Yarn – I used Lion Brand Wool Ease Thick & Quick in the Grey Marble colorway
- N15/10mm Knitting Needles
- Tapestry Needle
- 12″ or 14″ Styrofoam Wreath Base
- Soft Tape Measure – Gauge is essential
- Optional, Jewelry Pliers
- Optional, Handful of stitch markers
- Optional for Wreath Hanger: 32 Yards (or 14 Grams) of Chunky Weight #5 Yarn – I used Lion Brand Pound of Love in the Cherry Red colorway – and L11/8mm Knitting Needles
Material Notes:
When choosing the yarn you are going to use, you’ll want to consider where the wreath will be. If you’ll be hanging your wreath on a door or window that is in direct sunlight and exposed to the elements, you’ll definitely want an acrylic yarn for the base and any embellishments you may add. Yes, these yarns will still fade, but they will hold up a lot better for a lot longer. Stay away from plant based materials, like cotton, as this fiber will disintegrate a lot faster.
I place wreaths on my front door, which is protected by an overhang, and inside over my entryway table, and if yours will be placed like mine, you have a lot more flexibility in the materials.
I really enjoy using Lion Brand Wool Ease Thick & Quick for super bulky weight projects, especially in the Grey Marble colorway – I use it almost exclusively! It is a wool/acrylic blend. If you are looking for an acrylic yarn option, there is Lion Brand’s Hometown, which comes in so many great colorways, or Mandala Thick & Quick. If you don’t have a Super Bulky weight yarn, or are having trouble finding one you like, you can also hold 3 strands of a Worsted Weight #4 Yarn together, like Lion Brand Pound of Love, Red Heart Super Saver, and Lion Brand Wool Ease.
Styrofoam wreath bases come in white and green and with a completely solid fabric, you can go with either option.
Jewelry Pliers are an excellent tool to use to help weave in the ends of tough yarns, like cotton yarn or bulkier yarns, as it can be quite tough on the fingers when weaving in with just fingers and a tapestry needle.
Another great tool, especially when working with tough and/or chunky yarns is a bent tip tapestry needle. Amazon has a lot of cute, colorful options.
Stitch Markers are really helpful to use when seaming the cover. Locking Stitch Markers, Lever Back Stitch Markers, scraps yarn, paper clips and safety pins are all great options.
If you’ll be knitting a wreath hanger to go with your knitted wreath, you’ll want to use a Chunky Weight #5 Yarn, or you can use 2 strands of a Worsted Weight #4 Yarn held together – I used 2 strands of Lion Brand Pound of Love to make mine.
Time Spent:
I worked up the 12″ size wreath, without the hanger, in about 3 hours, 15 minutes.
Sizes:
These covers will fit over a 12″ or 14″ styrofoam wreath base.
Fabric Measurements:
- 12″: 5 5/8″ Wide by 30 7/8″ Tall
- 14″: 5 5/8″ Wide by 45 1/4″ Tall
Gauge (Essential):
In Wreath Pattern: 15 Stitches = 5 5/8″ wide; 17 Rows = 4 1/8″ tall
The most important thing is to measure the width of your fabric after at least 8 rows – this will be the finished width, and you’ll want that to be between 5 1/2″ to 5 3/4″ wide. Anything less or more, I recommend going up or down a needle size or adding or taking away stitches in any multiple.
Height gauge is not essential as you can easily add or subtract rows as you go.
Pattern Notes:
Here is a video and photo tutorial for Long Tail Cast On.
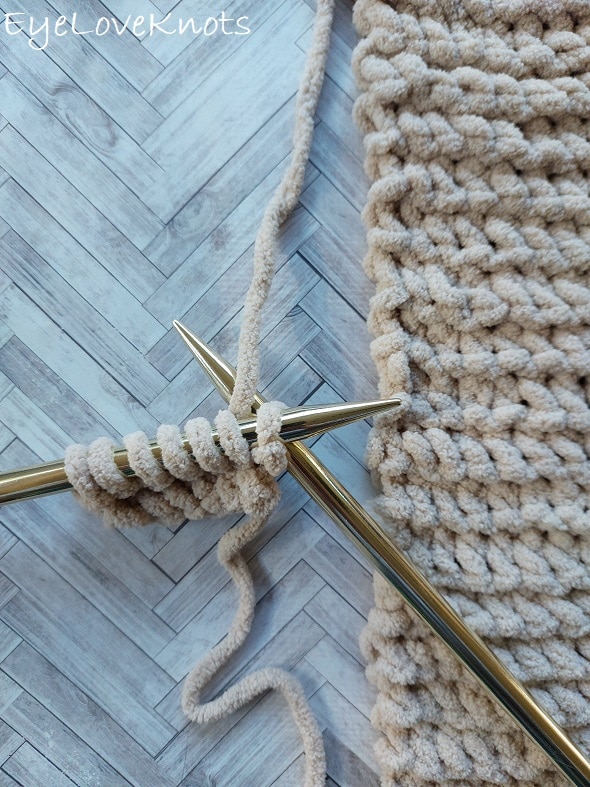
Here is how we insert our needles to knit into the back loop. Here is a video and photo tutorial for How to Knit Through the Back Loop.
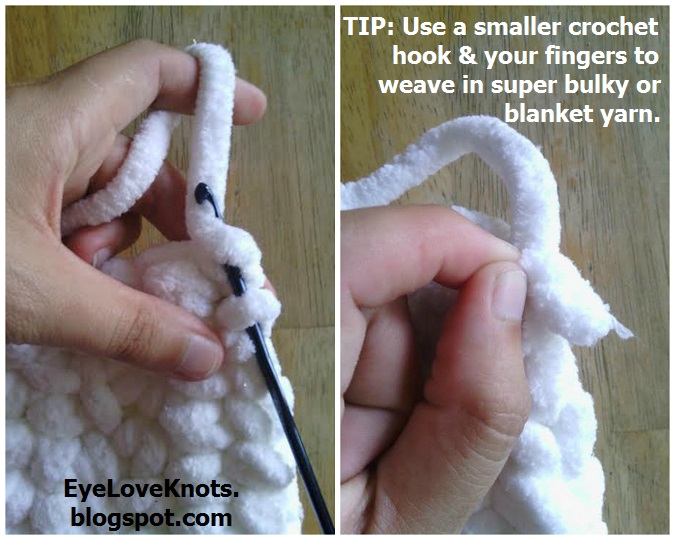
Depending on your yarn of choice, you may opt to weave in ends using a smaller crochet hook (shown on crocheted fabric, but same concept).
Super Chunky Kinsley Blake Wreath Video Tutorial:
I am working on the video tutorial for this knitted wreath, but in the meantime, you can follow the written instructions below and follow the stitch tutorial from the Super Chunky Kinsley Blake Scarf if needed.
Super Chunky Kinsley Blake Wreath Written Pattern
Super Chunky Knitted Wreath Cover:
Long tail cast on 15.
R1 – 127 (186): Knit through the back loop all the way across. (15 Stitches)
Bind off by also knitting through the back loop.
Fasten off with a long tail for sewing. Pull up on the last stitch to break.
Weave in the initial tail end. Thread tapestry needle with long tail end, wrap the wreath form cover around the wreath with the right side facing out, and whipstitch closed lining up the stitches stretching to fit as needed. Once you’re towards the end, it will look like it isn’t long enough to connect, but it will with a little stretching. Finish sewing the sides together, then sew the beginning foundation chain stitches to the stitches from the final row. Weave in your tail, and your wreath is complete!
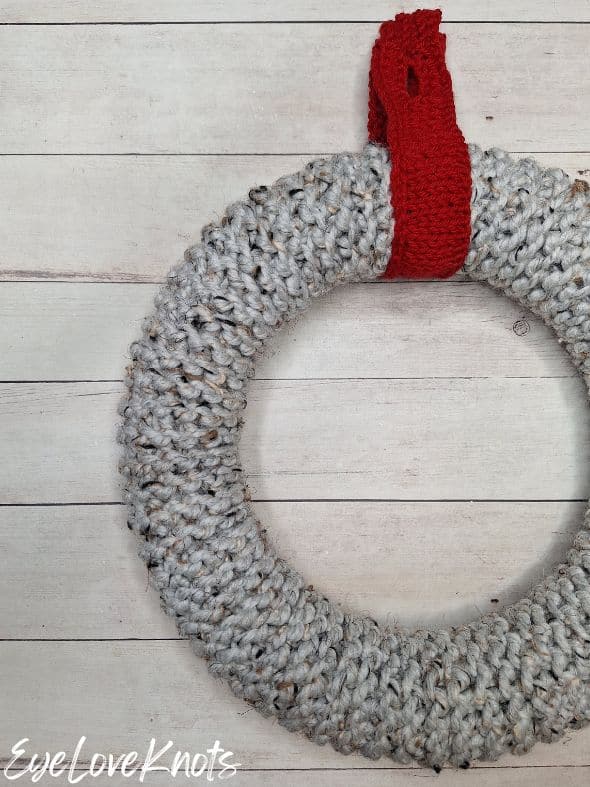
Optional, Super Chunky Knitted Wreath Hanger:
Long tail cast on 32.
R1: Knit through the back loop all the way across. (32 Stitches)
R2: Knit 3 through the back loop, Purl across to the last 3, Knit 3 through the back loop. (32 Stitches)
R3: Knit through the back loop all the way across. (32 Stitches)
R4: Knit 3 through the back loop, [Buttonhole over 3 stitches: with yarn in the front: slip 1 purl wise, (with yarn in the back: slip 1 purl wise, bind off 1) 3x, slip the 1 stitch on the end of the right hand needle as if to purl, turn. Cable Cast On 4 working from the back to the front because we’re working a purl row, turn. With yarn in the back: slip 1 purl wise from left hand needle, bind off 1 and tighten stitch to normal tension]. Purl across to the last 7 stitches then Buttonhole over 3 stitches (follow instructions from [ to ]). Knit 3 through the back loop. (32 Stitches)
R5: Knit through the back loop all the way across. (32 Stitches)
R6: Knit 3 through the back loop, Purl across to the last 3, Knit 3 through the back loop. (32 Stitches)
R7: Knit through the back loop all the way across. (32 Stitches)
Bind off by also knitting through the back loop.
Fasten off, and weave in ends.
Please feel free to make and sell your own items made using this pattern, but keep in mind, this written pattern and my photos are protected by copyright. Please DO NOT claim this pattern as your own nor should you sell my pattern. DO NOT re-publish my photos as your own. DO NOT copy and paste my pattern anywhere, link to it instead so other’s can visit. Making videos providing instructions how to make my projects on any social media platform is also not permitted.
Join one of our awesome Facebook groups to share your creations, and see what others are up to!
– Yarn Crafts & Coffee Community
– DIY Home On Rockwood Lane
– Alexandra Lane Lifestyle
so, I clicked on the ‘free’ pattern that has no code, but when I get to Ravelry there is a charge of $4. I tried this 12/4 at 5:10pm, with in the allotted time. Please advise
Hi Jean! Sorry for the late reply – this comment got lost. When there is no coupon code needed on Ravelry, it will show the price until you Add to Cart and then it will show it zero’d out. I know it’s past time for this event and free PDF download, but you can subscribe to my newsletter where you’ll gain access to my Free File Library, and you can download the PDF from there anytime.