

Time Spent:
I was able to complete this basket filler in about 25 minutes.
Abbreviations:
DC – Double Crochet
SC – Single Crochet
Measurements:
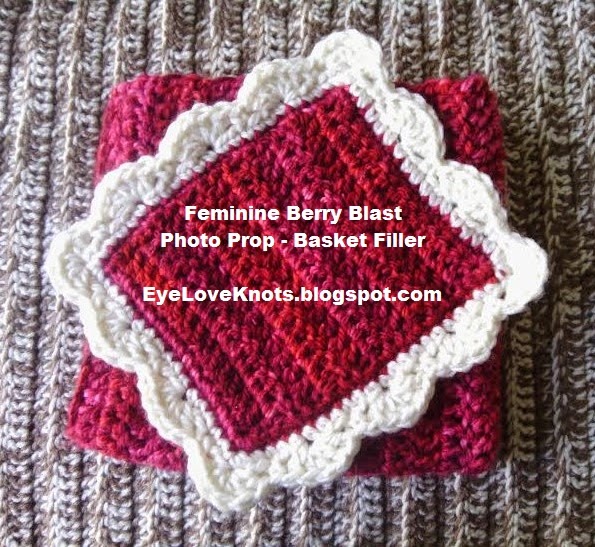
9.25″ Wide x 10″ in Length
Gauge:
7 DCs x 4 rows = 3″ Square.
Pattern Notes:
If you want to make this basket filler larger or smaller, add or subtract by 6 stitches and/or 3 rows of DC.
Pattern:
Chain 17. DC into the 4th chain, and into each chain across. (21 DC)
R2 – 10: Chain 2, turn. DC into the 2nd DC, and into each DC across. (21 DC)
Border:
At the end of Row 10, chain 1 and turn. Work 2 SC in the 1st DC, and in next 13 DC’s, 3 SC in the next DC to form the 1st corner, evenly SC 19 down the first side, 3 SC in the next stitch to form the 2nd corner, SC in the next 13 stitches, 3 DC’s in the next stitch to form the 3rd corner, evenly SC 19 up the 2nd side, 1 SC in the next stitch (which is also the 1st stitch).
Join to the first SC – If you wish to change colors here, join with the new color.
R2: After Join, chain 1 and turn. Work 2 SC in the 1st SC, SC in the next 15 stitches, 3 SC in the next stitch to form corner, SC in the next 21 stitches, 3 SC in the next stitch to form the 2nd corner, SC in the next 15 stitches, 3 SC in the next stitch to form the 3rd corner, SC in the next 21 stitches, 1 SC in the next stitch (which is also the 1st stitch). Join to the 1st SC.
R3, Shell Edge: After Join, slip stitch over 2 stitches, (SC in the next stitch, skip 2 stitches, work 5 DC’s in the next stitch to form a shell, skip 2 stitches) 14 times. Join to the 1st SC.
Fasten Off, Weave in Ends. Here I used the Invisible Join technique.
Please feel free to make and sell this basket filler, but please DO NOT claim this pattern as your own nor should you sell my pattern, and DO NOT re-publish my photos as your own. DO NOT copy and paste my pattern anywhere, please link to it instead.
*If you would like a PDF version of this post, you may get one through my Etsy shop for a small fee. This fee is to compensate for the view/s lost once you no longer need to return to the blog for the information, as you will have your own copy. Plus! It helps fund supplies for new projects to share with you!
Shop EyeLoveKnots – How to Crochet a Shell Edge.
You May Also Be Interested In:
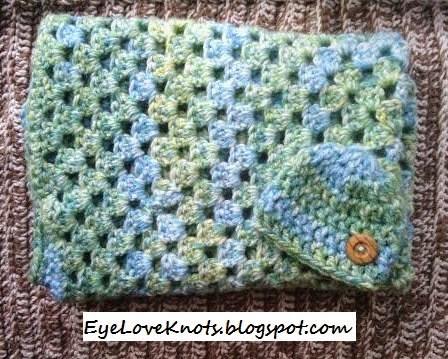
| Pink and Blue Twin Mini Blanket Set – Free Crochet Pattern |
| Pink and Blue Twin Mini Blanket Set – Free Crochet Pattern |
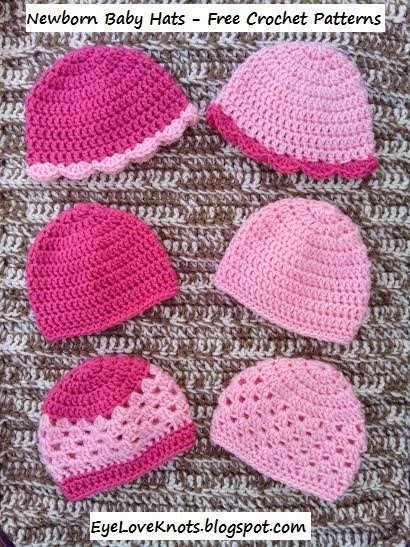 |
| Top to Bottom: Newborn Beanie with Shell Edging – Free Crochet Pattern Newborn Basic Beanie – Free Crochet Pattern Newborn Granny Square Beanie – Free Crochet Pattern |
| V Stitch Baby Blanket and Hat – Free Crochet Pattern Spring 10″ x 10″ Mini Blanket – Free Crochet Pattern |
 |
| Granny Square Baby Blanket in Kitty – Free Crochet Pattern |
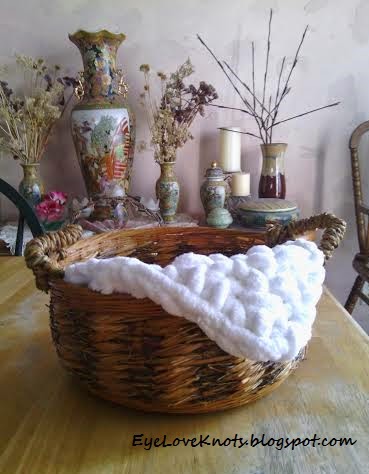 |
| Super Bulky Mini Blanket in Chinchilla Yarn – Free Crochet Pattern |
Saying Farewell to Be.You.Tiful Link Party – Fry Sauce and Grits
Crafting Along #83 – Be a Crafter
Pin Junkie Pin Party #110 – The Pin Junkie
Funtastic Friday #17 – Olives n Okra
On Display Thursday Link Party (No 36) – Average but Inspired
My Favorite Things Saturdays #68 – Budget Girl
Friday Finds Link Party 03.27.15 – Craftaholics Anonymous
Best of the Weekend Party – Little Miss Celebration / Hello Little Home
Kitchen Fun and Crafty Friday Link Up #158 – Kitchen Fun with my Three Sons
Hookin’ on Hump Day #93 – Petals to Picots
Leave a Reply