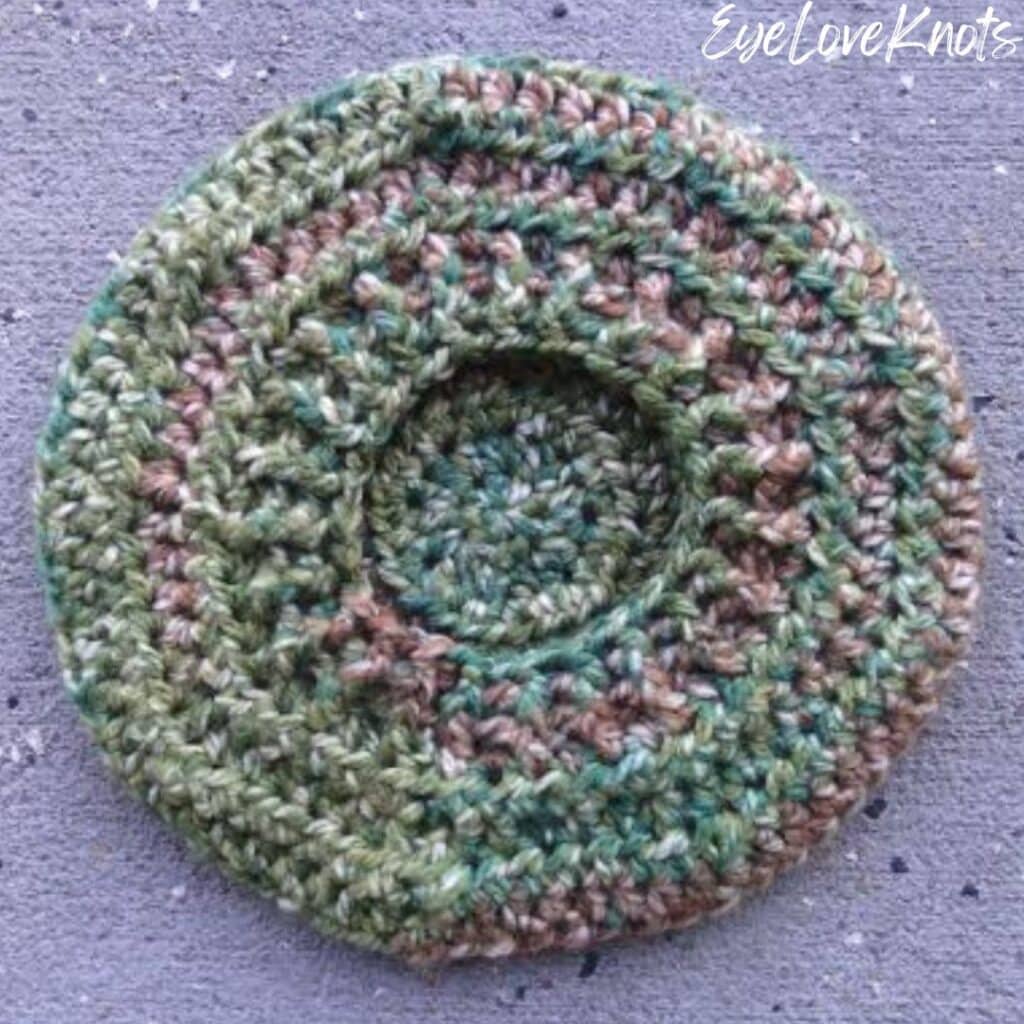
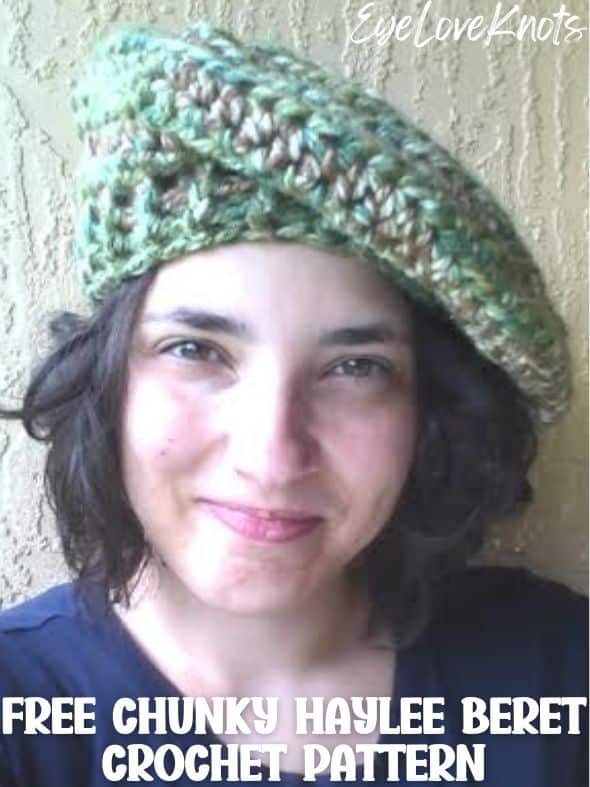
Learn how to crochet the Chunky Haylee Beret, an easy beret pattern worked in simple half double crochet stitches using this free crochet pattern. Worked in chunky weight yarn, this beret works up pretty quickly.
Find the free crochet pattern instructions below, or purchase a printer-friendly, ad-free PDF on Ravelry by clicking here.
This post contains affiliate links for Etsy and Amazon. If you make a purchase by clicking on them, I make a small commission at no extra cost to you. Thanks for your support!
In a hurry? Pin this for later when you have more time.
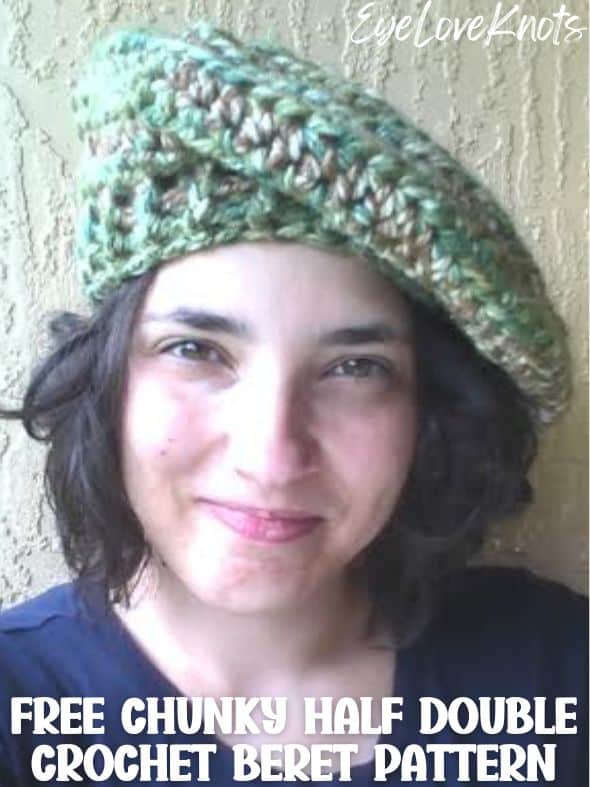
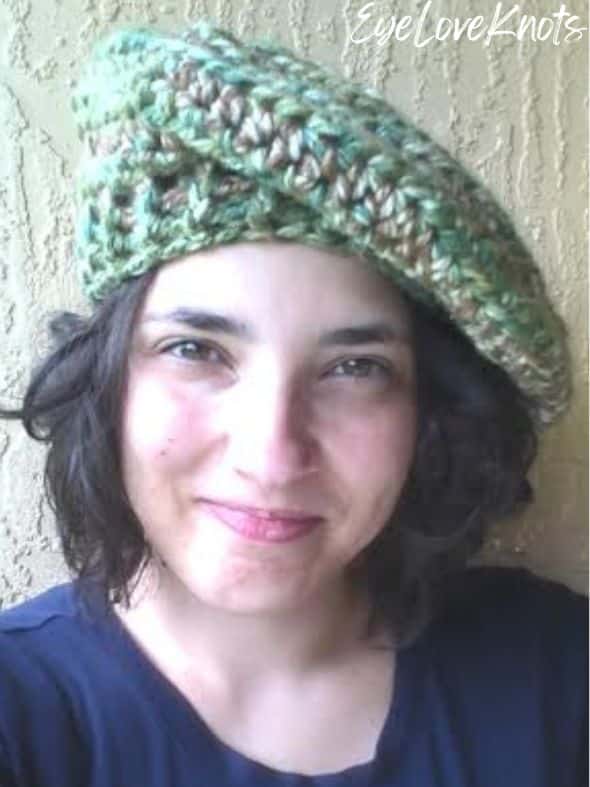
I did not intend on making a beret at first. Originally, I set out to make a chunky slouch hat but I ended up working it up too wide. After I finished the whole thing, I was playing with the fit and discovered that it made a great beret – I just wish I would have attempted it with a different colorway, such as a beige or cranberry color to suit the style – still a fun and comfortable hat though!
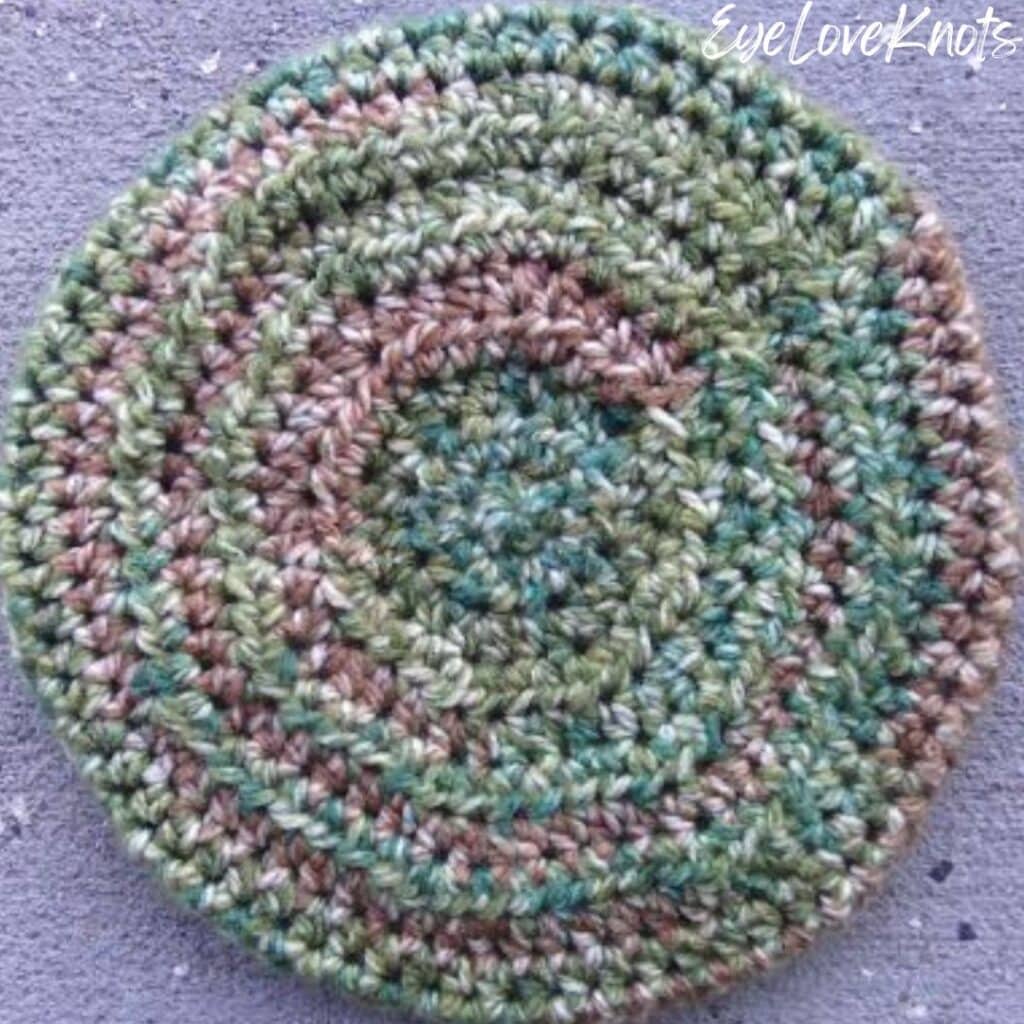
When I originally published this beret crochet pattern in September of 2015, this is how I chose it’s original name: Due to the colorway being named “Forest” and the actual colors of the yarn (green, brown, and beige), I knew I wanted the beret to have a woodland/earthy name, but I couldn’t think of anything. I reached out to my fellow crochet blogger friends, and was suggested the name “Sherwood”, among a few others. As soon as I saw it I knew – The Sherwood Forest Beret it would be! I did a quick search to make sure The Sherwood Forest was a real place, and not just part of a story/movie and it is!
The Sherwood Forest is located in Nottinghamshire, England. It was once named a Royal Hunting Forest made of patchy woodland areas and small villages. It is now a National Nature Reserve home to a few basic tourism facilities, but most importantly, the 900 ancient oak trees, most of which are about 500 years old, and Major Oak, said to be about 800 years old.
In the October 2025 update, I renamed the beret to the Chunky Haylee Beret as it fits into my Haylee series and also makes it better suited for other colorways.
Free Half Double Crochet Patterns:
Haylee is an easy crochet line that features simple half double crochet stitches. I love the texture of half double crochet when the fabric is turned at the end of each row/round, though I designed this beanie with turned rounds to help keep the seam straight. While easy, I don’t recommend starting with a project that is worked in the round as a beginner – try it after you are comfortable working back and forth in rows using the half double crochet stitch pattern.
Worsted Weight Ear Warmer | Chunky Weight Ear Warmer
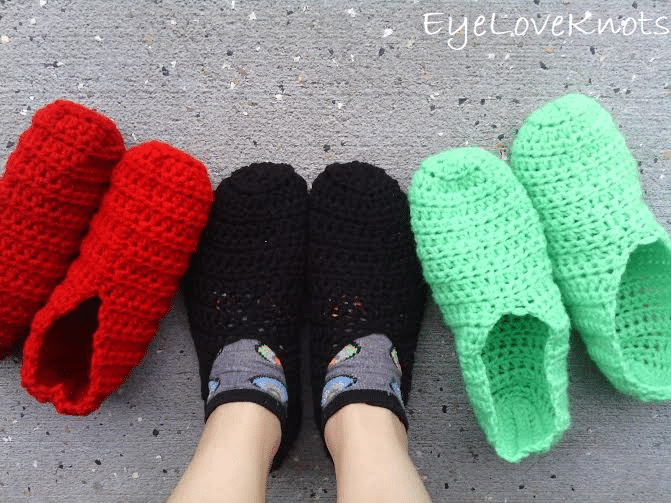
Kid’s Size Slippers | Women’s Size Slippers | Men’s Size Slippers
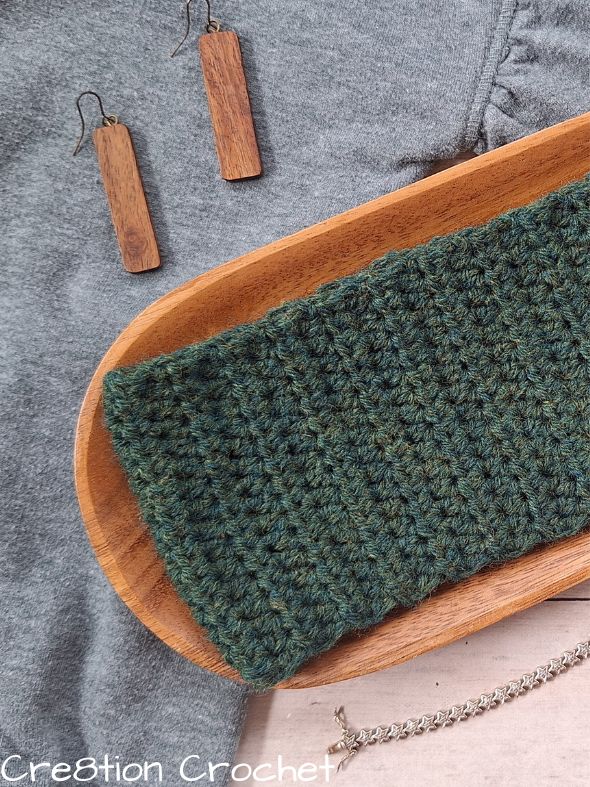
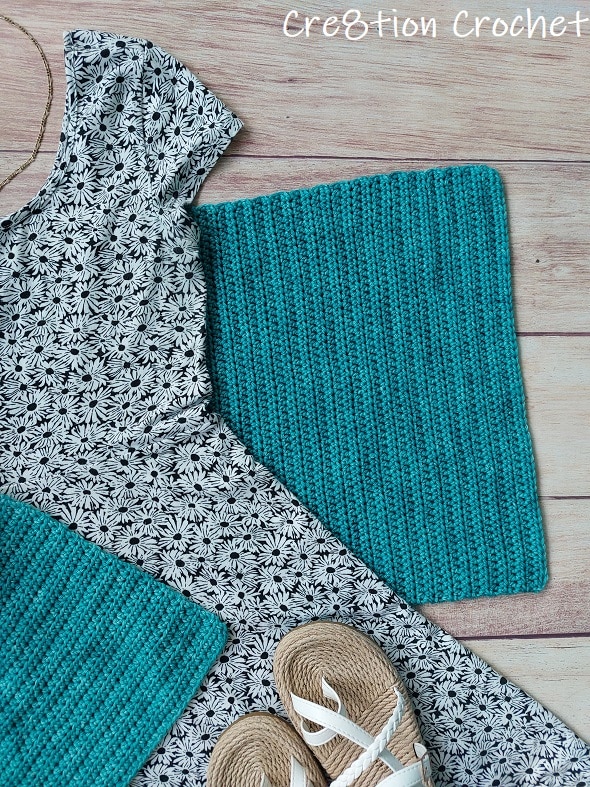
Find more Haylee accessory and home decor crochet patterns here on EyeLoveKnots, and Haylee accessory and wearables crochet patterns on Cre8tion Crochet.
Ad-Free, Printer Friendly PDF:

EyeLoveKnots newsletter subscribers get access to Exclusive Subscriber Content, like the free PDF of this pattern via the Free File Library – you’ll find the tab on the top menu. The library is password protected so sign up for my newsletter and you’ll receive a Welcome email containing this month’s password, or if you are already a blog subscriber, reference your latest newsletter for this month’s password. From the library, you’ll be able to access the PDFs via Google Drive – you do not need to have a Google Drive account to view and download the PDF.
If you would like a PDF version of this post, you may get one through either my Etsy Shop or Ravelry Shop for a small fee. This fee is to compensate for the views lost when you no longer need to return to the blog to for the information, as you will have your own copy. Plus! It helps fund supplies for new projects to share with you! In a hurry? Pin this for later when you have more time.


Save this to Your Favorites On: AllFreeCrochet, FaveCrafts, Crochet Pattern Bonanza, Cheap Thrifty Living, DIYideaCenter, AllFreeHolidayCrafts
Materials:
- 120 Yards of Chunky/Bulky #5 Yarn – I used one skein and a touch of a second of Premier Yarns Serenity Chunky in the Forest colorway
- L11/8mm Crochet Hook for the Body
- K10.5/6.5mm Crochet Hook for Ribbing of Beret
- Tapestry Needle
- Soft Tape Measure – Gauge is Essential
Material Notes:
To help protect against the wind, I would recommend an animal fiber. The more animal fiber within the yarn, the better it will protect against the wind and the warmer it will be. My favorite yarns for cozy projects are wool blends, like Lion Brand Hue + Me. If you are allergic to wool, but looking for a different animal fiber, try something with alpaca in it. Acrylic yarns also work well, though sometimes the wind does go right through.
If you don’t have a chunky yarn in your stash, you can hold 2 – 3 strands together of a Lightweight #3 or Worsted Weight #4 Yarn. Just check measurement.
Time Spent:
I worked up my beret in just under an hour.
Measurement:
- 11 1/2″ at the Widest Point (Laying Flat)
- 8 1/2″ in Length
- 19″ Circumference to fit up to 24″ Head Circumference (average man/woman)
Gauge (Essential):
7 DCs x 4 rows = 3″ Square
Gauge it very important for beanies. If you do not meet gauge, and continue making your beanie, the finished size will either be too small or too big so make sure to stop and check it. If you’re measuring smaller than the given measurements, go up a crochet hook size, and if you’re measuring larger, go down a crochet hook size. Rework the sample, take gauge again, and see where you are.
Abbreviations (US Terms):
- HDC – Half Double Crochet (Photo Tutorial | Video Tutorial)
- HDC2tog – Half Double Crochet Decrease
- DC – Double Crochet (Photo Tutorial)
- FPDC – Front Post Double Crochet (Explained in it’s Notes section below)
- BPDC – Back Post Double Crochet (Explained in it’s Notes section below)
Post stitches are worked around the post of the previous rounds stitch rather than into the top of the stitch. The post is found directly underneath the top of the stitch.
It’s very easy to add stitches in post stitch rounds because sometimes it’s hard to determine where to work the next stitch after the post stitch since the top of the post stitch you just finished will appear unworked. In the first round of the ribbed pattern, it’s easiest to reference the posts of the double crochets from the previous row. See where your last post stitch was worked, then move to the post of the stitch to the left, follow it up and you’ll find the top of the stitch directly above it.
To Front Post Double Crochet: Yarn over, then swoop your hook downward and towards the front so your hook stays on the front side of the fabric. From the front to the back, insert your hook into the space in between the stitches so that your hook comes out just to the right of the desired stitch. Wrap the crochet hook around the back of the desired stitch. From the back to the front, insert your hook into the space in between the stitches so that your hook comes out just to the left of the desired stitch. At this point, the desired stitch will appear raised on the front of the fabric. Yarn over and pull directly through (3 loops on your hook). (Yarn over and pull through 2 loops) 2x.
To Back Post Double Crochet: Yarn over, then swoop your hook downward and backward so your hook goes to the back of the fabric. From the back to the front, insert your hook into the space in between the stitches so that your hook comes out just to the right of the desired stitch. Wrap the crochet hook around the front of the desired stitch. From the front to the back, insert your hook into the space in between the stitches so that your hook comes out just to the left of the desired stitch. At this point, the desired stitch will appear raised on the back of the fabric. Yarn over and pull directly through (3 loops on your hook). (Yarn over and pull through 2 loops) 2x.
Pattern Notes:
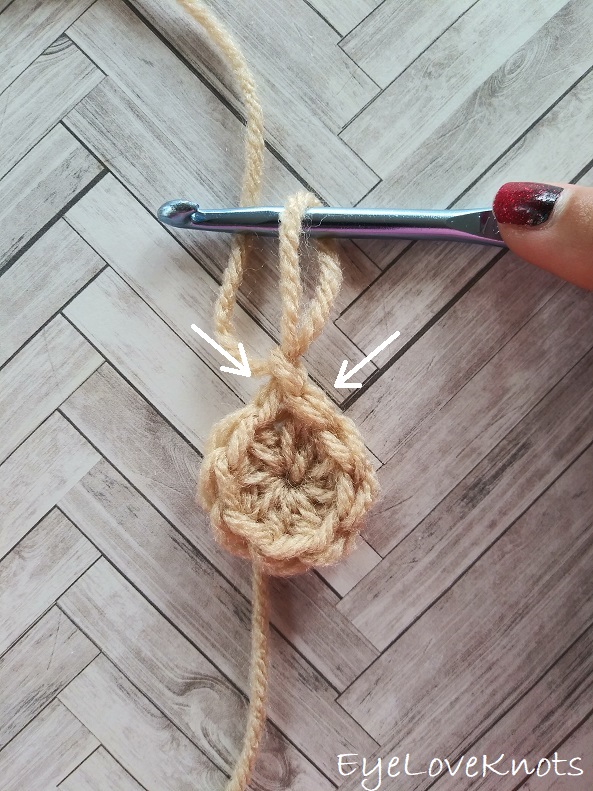
I work my crown and body differently than most to help keep my seam straight, and that is that the first stitch from the first set of increases is done in the first stitch of the round, which will appear just to left of the beginning chain, then the round will be worked as normal, and the final stitch of the round will be the second stitch of the first set of increases, and it will be worked into the same stitch as the first, and appear just to the right of the beginning chain. The photo above shows where the first and last stitch are worked, and I have a photo tutorial of this technique in my How to Keep a Straight Seam post. You can work in your preferred increase method as long as we end up with the same stitches at the end of the round.
Slip stitch join each round to the first stitch, not the beginning chain.
I did use a tapestry needle to weave in my ends with the help of my jewelry pliers, but another way you can join yarn and weave in ends when working with wool yarns is felting, and All About Ami has a great video showing how to do it.
Pattern:
Chain 3. Work 8 HDC into the 1st chain. Join to close the round. (8 HDC)
R2: Chain 1, turn. HDC into the first HDC, 2 HDC into each of the next 7 HDCs, HDC into the next HDC. Join. (16 HDC)
R3: Chain 1, turn. HDC into the first 2 HDC, (2 HDC into the next HDC, HDC into the next HDC) 7x, HDC into the next HDC. Join. (24 HDC)
R4: Chain 1, turn. HDC into the first 3 HDC, (2 HDC into the next HDC, HDC into the next 2 HDC) 7x, HDC into the next HDC. Join. (32 HDC)
R5: Chain 1, turn. HDC into the first 4 HDC, (2 HDC into the next HDC, HDC into the next 3 HDC) 7x, HDC into the next HDC. Join. (40 HDC)
R6: Chain 1, turn. HDC into the first 5 HDC, (2 HDC into the next HDC, HDC into the next 4 HDC) 7x, HDC into the next HDC. Join. (48 HDC)
R7: Chain 1, turn. HDC into the first 6 HDC, (2 HDC into the next HDC, HDC into the next 5 HDC) 7x, HDC into the next HDC. Join. (56 HDC)
R8: Chain 1, turn. HDC into the first 7 HDC, (2 HDC into the next HDC, HDC into the next 6 HDC) 7x, HDC into the next HDC. Join. (64 HDC)
R9: Chain 1, turn. HDC into the first 8 HDC, (2 HDC into the next HDC, HDC into the next 7 HDC) 7x, HDC into the next HDC. Join. (72 HDC)
R10 – 12: Chain 1, turn. HDC in the first HDC, and each HDC around.
R13: Chain 1, turn. (HDC2tog, HDC into the next 7 HDC) 8x around. Join. (64 HDC)
R14: Chain 1, turn. (HDC2tog, HDC into the next 6 HDC) 8x around. Join. (56 HDC)
R15: Chain 1, turn. (HDC2tog, HDC into the next 5 HDC) 8x around. Join. (48 HDC)
R16 (Right Side): Chain 2, DON’T turn. DC in the 2nd HDC, and in each HDC around. Join. (48 DC)
*Switch to a K10.5/6.5mm Crochet Hook
R17 – 18 (RS): Chain 2. FPDC around the 2nd post, BPDC around the 3rd post, (FPDC around the next post, BPDC around the next post) around. Join. (48 DC)
Fasten off and Weave in Ends.
Please feel free to make and sell your own items made using this pattern, but keep in mind, this written pattern and my photos are protected by copyright. Please DO NOT claim this pattern as your own nor should you sell my pattern. DO NOT re-publish my photos as your own. DO NOT copy and paste my pattern anywhere, link to it instead so other’s can visit. Making videos providing instructions how to make my projects on any social media platform is also not permitted.
Join one of our awesome Facebook groups to share your creations, and see what others are up to!
– Yarn Crafts & Coffee Community
– DIY Home On Rockwood Lane
– Alexandra Lane Lifestyle
Wow you're really good at crocheting!
Thanks so much for that wonderful compliment!!
This is too cool! I've got to pin it because next winter (it's spring now) will be beret's instead of beanies.
Oh Spring – such a beautiful season – Here, we're going into Fall. Can't wait to see your berets next year 🙂
You are a very kind little lady, and very talented, to share this pattern with us all. I’m 74 and still love making a splash now and then. So this beautiful baby will cover my bad hair days over Christmas. Thank you..
So glad you like it, Suzan! I am happy to share, and warm, kind comments like this just make my day.