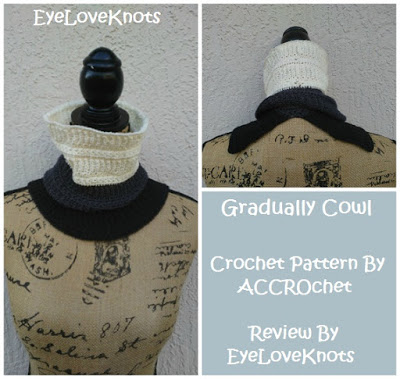
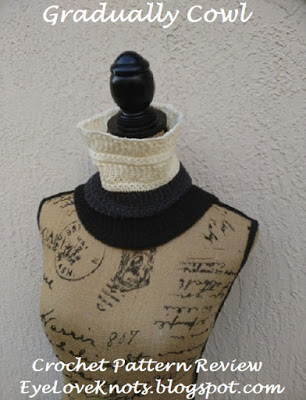
My friend Julie of ACCROchet reached out to me last week, and asked if I’d be interested in pattern testing this Gradually Cowl for her. Naturally, I said yes! After many days of working on it, it is finished! And I feel pretty accomplished 🙂
I really, really love how this design combines the two stitch patterns of ribbing and the star stitch. It creates a really pretty, and fun combination. Also keep in mind the turning because it is so important to help the ribbing and star stitch rows really pop.
Materials I Used:
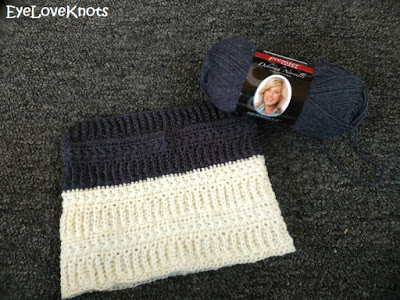
– 345 Yards of Fine, Sock Weight #1 Yarn – I used 3.5 Skeins of Deborah Norville’s Serenity Sock Weight (affiliate link) Yarn in Soft White, Navy and Black
– G6/4mm Crochet Hook (larger than suggested)
– #20 Tapestry Needle for Sewing & Weaving in Ends
– Gradually Cowl, Crochet Pattern by ACCROchet
Material Notes:
Original piece worked by Julie in Artfil Color Bundle (which is a yarn that comes pre-tied together to great the perfect ombre affect), or she suggests six different colors of fingering weight yarn to create the same ombre affect. At my local JoAnn’s where I bought my yarn, I found three colors that I thought would go well together, and tried to create my own ombre affect.
Time Spent:
I worked this cowl is several seatings, but all together, took just over six hours to complete.
Measurements:
My final measurements came to be 8 1/8″ wide (or 16 1/4″ in circumference) by 11 1/4″ tall. See pattern notes.
My Gauge:
6 Stitches by 12 Rows in Ribbing = 1 1/8″ by 2 1/4″ (larger than in pattern)
Pattern Notes:
Though my gauge came out larger than pattern calls for, the finished width of my piece came to be smaller than pattern states measuring 8 1/8″ across. I did try on the piece as I worked, and it stretches well and comfortably. I wasn’t going to go for the open back at first, but being that it was measuring smaller, I decided to follow the instructions for it. Also, I tried on the piece after completing four sections, and really liked the height. If I worked up another cowl for myself, I’d finish it off there, which is a little over 7″ tall (otherwise, without the open back, it bunches). I’d also jump up another hook size to get a wider finished piece.
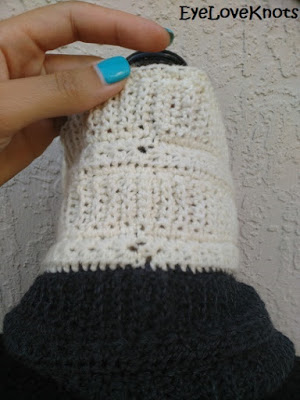
For the sewing part of the ribbing rows, I worked mine as a whipstitch, and it came out perfectly! If you choose to go this right, just keep in mind not to pull too tight or the seam with bunch and might not sit right – See my seam above! Alternately, you could slip stitch the two layers closed, but it would leave a noticeable seam that does not lay flat on the wrong side of the piece (which would be up against the neck), and creates a line that could be mistaken as another row.
For ending with open cowl, I find there is no need to finish off after Row 102, because when you turn, you will already be working on the right side.
For the last star stitch of R103, I did not chain 1 to secure, but did add a half double crochet into the last stitch to keep the end straight. The yarn over of the half double crochet creates a space equal to a chain 1.
For Row 104, instead of chaining two, and counting as a half double crochet, I chained 1, worked two half double crochets into each eye around, followed by 1 in the last stitch.
Other project ideas: You could work the same piece with only 5 sections, and then sew one end closed to create a slouch hat, or you could work this in rows back and forth to create a scarf, washcloth, blanket or rug (to name a few project ideas).
With so many size, yarn type and color options, I would love to see them! Please share your photos on my EyeLoveKnots Facebook page, or join the EyeLoveKnots Crafting Community to share your creations, and see what other’s are up to!
Share your version of this cowl on Ravelry – Gradually Cowl. Also check out the EyeLoveKnots Ravelry page to keep track of all your EyeLoveKnots favorites in your que, and share your WIPS and finished projects!
Don’t miss out on new crochet patterns, reviews, jewelry tutorials and more! Subscribe to EyeLoveKnots by using the box on the right side toolbar, or follow me via Bloglovin! You can also find me sharing on the EyeLoveKnots Facebook page, and @EyeLoveKnots on Twitter!
You May Also Like…
Leave a Reply