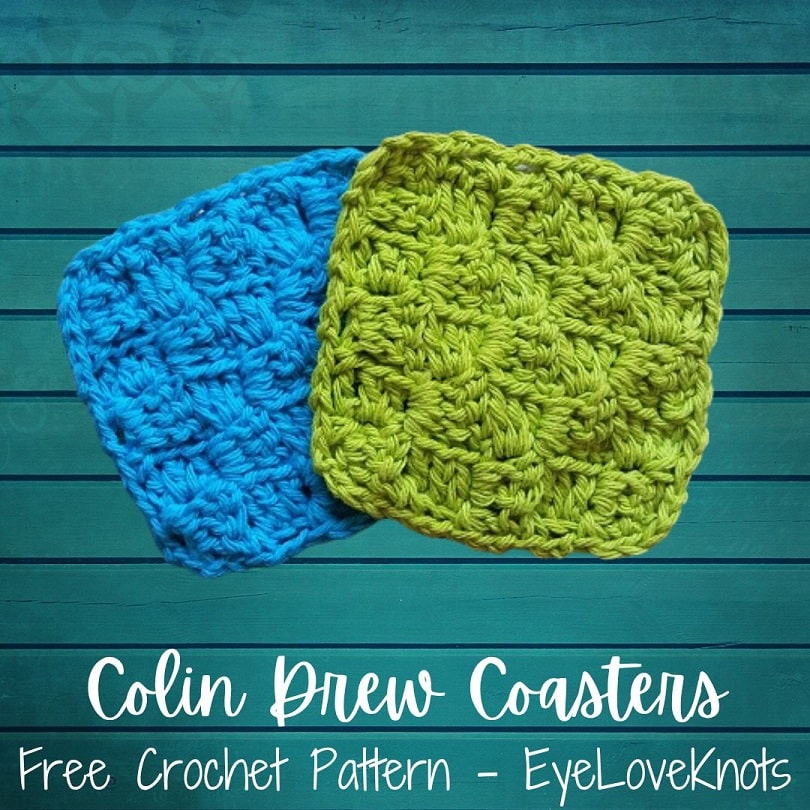
This is a free crochet pattern and video tutorial showing how to crochet the Colin Drew Coasters, an easy corner to corner coaster pattern worked in double crochet boxes. This coaster is beginner friendly, and works up in no time! Also works great as a mini washcloth, or large facial scrubbie.
This post contains affiliate links for Etsy, Lion Brand, WeCrochet, and LoveCrafts. If you make a purchase by clicking on them, I make a small commission at no extra cost to you. Thanks for your support!
Find the free crochet pattern instructions below, or purchase a printer-friendly, ad-free PDF on Ravelry by clicking here.
In a hurry? Pin this for later.
Every month, a group of bloggers are challenged by C’mon Get Crafty to create a new craft or project from their own stash of goodies! Everyone is allowed a $10 allowance for necessities to complete their project (i.e. paint brushes, glue, etc), but the bulk of it must be created from their own stash of goodies.
This month, I am sharing a really simple crochet pattern for some corner to corner, or C2C, coasters.
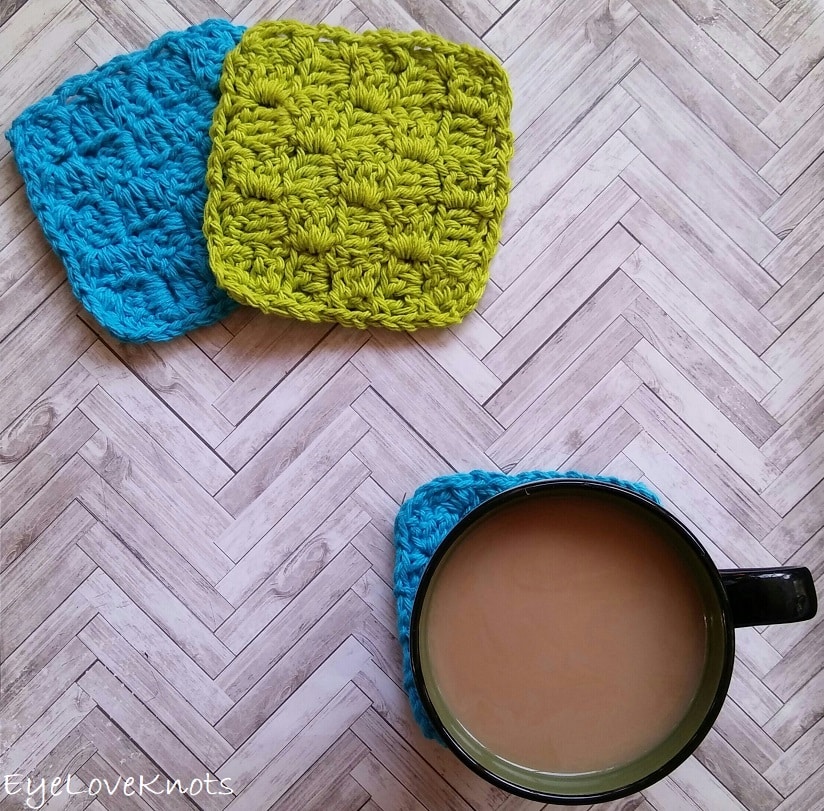
This fun and easy C2C coaster is great for using scraps of yarn, and the perfect piece to add to your living room, kitchen or dining room to house your delicious cup of coffee. This coaster also works great as a mini washcloth dish scrubbie, large facial scrubbie and so much more!
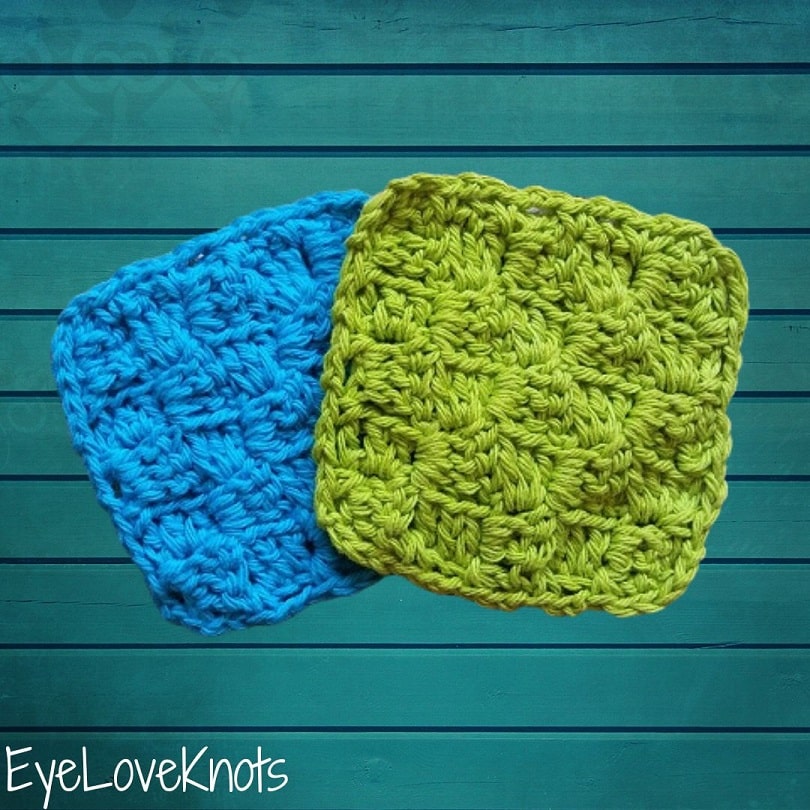
I went digging through my stash for some summery colored cotton yarn, and found the Hot Green and Blueberry colorways. I have used a similar color combo in my Granny Square Soap Cozy (or Small Gift Bag), and I really love it for Summer.
Anywho, stash yarn + my own free crochet pattern = $0 investment
Colin Drew is an easy crochet line that features double crochet corner to corner boxes. This is a beginner friendly series, and this coaster is a great project to pair with watching your favorite TV show or movie, especially if you are working on a few for a gift. You don’t even have to count boxes if you don’t want to! You can use a soft tape measure to measure as you go, and stop at the width and length desired.
Find more Colin Drew accessory and home decor crochet patterns here on EyeLoveKnots, and Colin Drew accessory and wearables crochet patterns on Cre8tion Crochet.
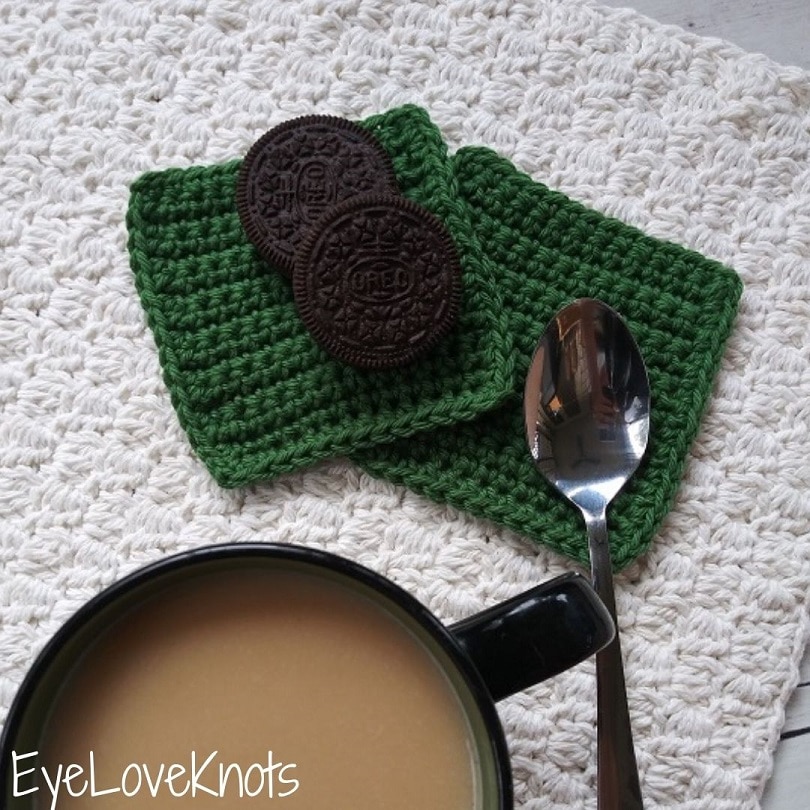
Looking for another easy coaster crochet pattern? Try the Shay Coasters (free crochet pattern).
Make Matching C2C Pieces for Your Home with these Free Crochet Patterns:
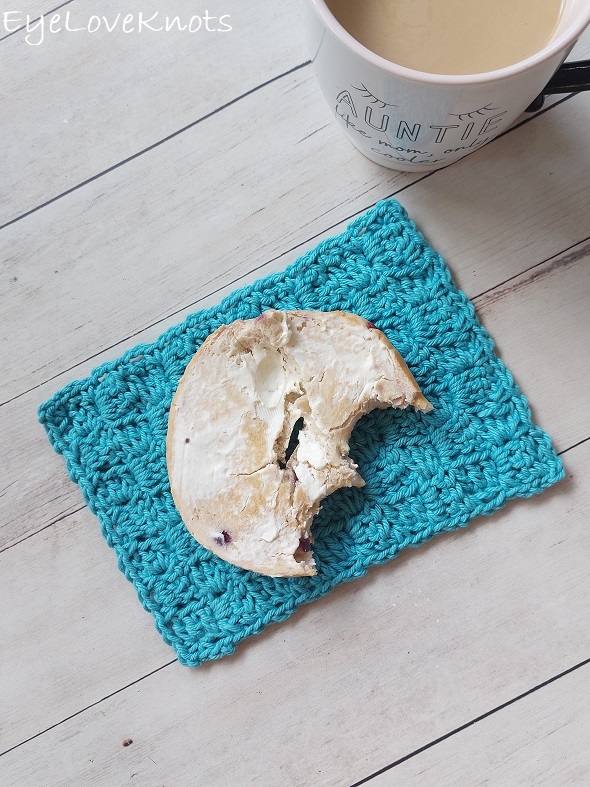
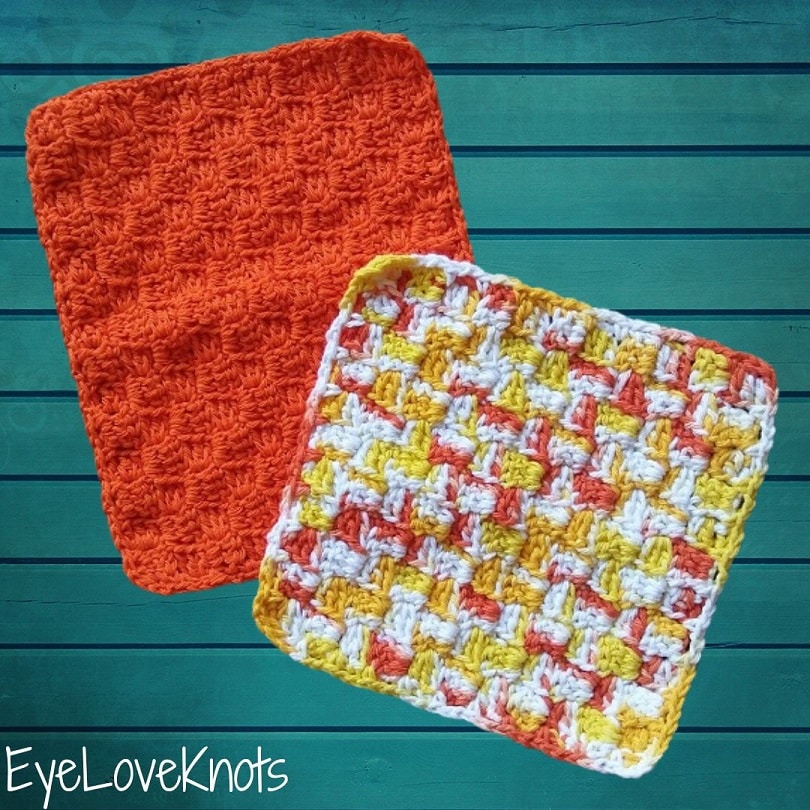
Colin Drew Washcloths (6 sizes)
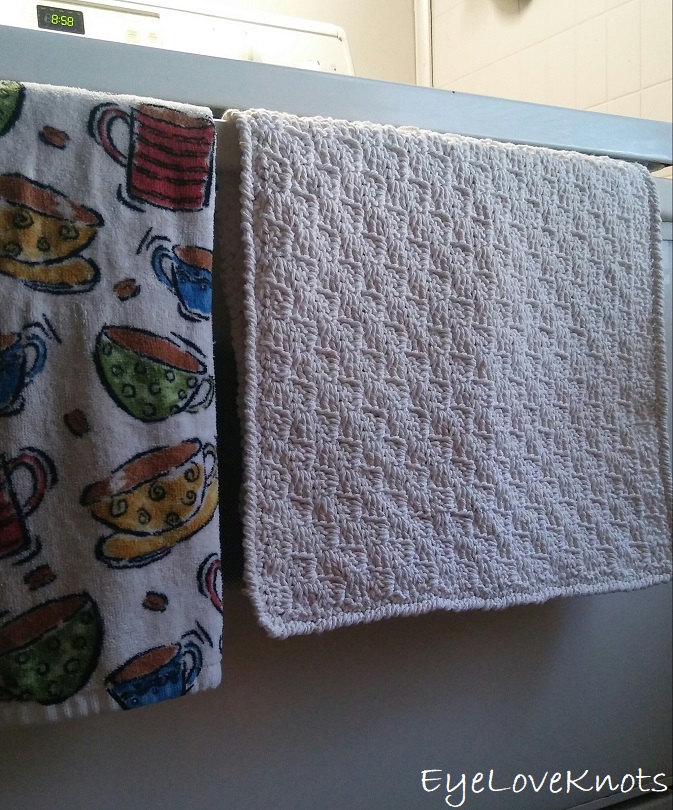
What is the best yarn to use to crochet a coaster? Can you crochet coasters with acrylic yarn?
I like using WeCrochet Dishie Yarn because it’s colorfast, which means the colors are set, plus cotton is more durable and absorbent, but you can use any worsted weight yarn out of your stash! I have a few coasters I’ve made myself using Red Heart Super Saver Yarn, which is a 100% acrylic yarn. A hot cup of coffee is not hot enough to melt synthetic fibers, and while it doesn’t quite absorb the same way with cold beverages, it still holds the water and does not seep through to the surface. Lion Brand Wool Ease is another lovely yarn for coasters that I have used for some in my personal collection, and the wool adds to the durability and absorbency.
Gauge is not essential for this project and with the corner to corner nature, you can easily substitute in any weight yarn and measure as you go.
Are coasters washable?
I like to use yarns for coasters that I know are easy to wash, like WeCrochet Dishie, Red Heart Super Saver and Lion Brand Wool Ease. They both hold up well to use, and machine washing and drying, though hand washing and laying flat to dry is always best to preserve your crocheted items. With the yarns I mentioned, I know I can throw the coasters into the washing machine (on gentle and in cold water) and then into the dryer (on low heat) when it’s time to clean them.
Do people use coasters?
Coasters are easy to keep handy in the kitchen, dining room, living room and office so it’s easy to grab when you need it anytime you are drinking a delicious beverage and/or snacking – it’s a great item to set down a tasty treat on as well.
Coasters are so versatile, they don’t stop at being used for coffee or a snack. They are great little mats that work for all sorts of items like a small vase, plant, candle, pen or make up brush holder, lotions and more! They are also a great size for a dish scrubbie or large facial scrubbie. Coasters could easily work in any room of the house, and make great gifts too!
Do I need to work a border around my coaster?
I did add a border to my coaster for a more finished edging, but you do not need to add one. If you opt not to work a border, you may want to add an extra box to width and height so the coaster will come out to about the same finished size.
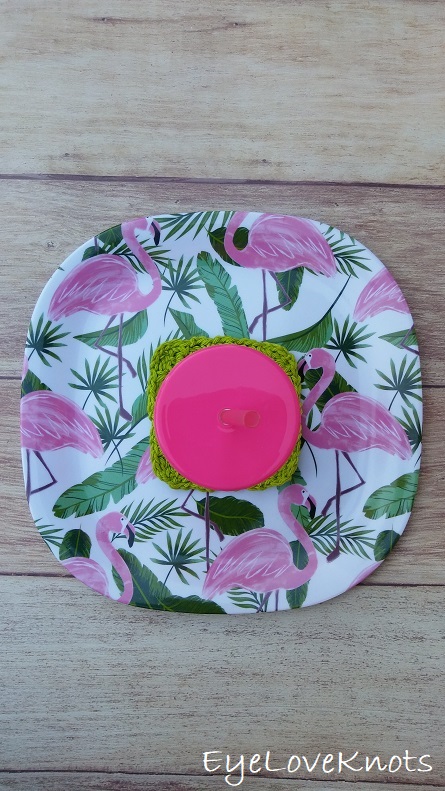
I found this really cute flamingo dish and matching drink cup at my local Dollar Tree. I thought the bright green just fit perfectly with it, and would be great on the center of a plate in setting with a place card on top, or flamingo figurine, or just the matching cup.
Ad-Free, Printer Friendly PDF:
If you would like a PDF version of this post, you may get one through either my Etsy Shop, Ravelry Shop or LoveCrafts Shop for a small fee. This fee is to compensate for the views lost when you no longer need to return to the blog to for the information, as you will have your own copy. In a hurry? Pin this for later when you have more time!
Save this to your Favorites: AllFreeCrochet, FaveCrafts, Cheap Thrifty Living, DIYideaCenter, Crochet Pattern Bonanza, AllFreeHolidaysCrafts, Free Crochet Tutorials
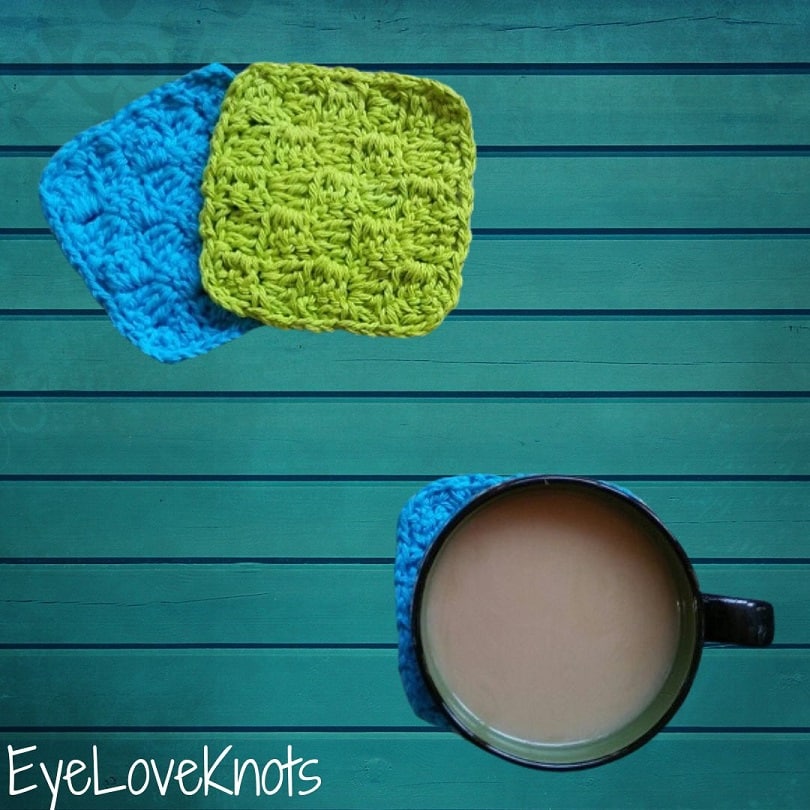
What Supplies Do I Need to Crochet C2C Coasters?
- About 25 Yards of Worsted Weight Cotton Yarn (Per Coaster) – I used Lily Sugar n Cream in the Hot Green and Blueberry colorways
- H8/5mm Crochet Hook – I love this Koi Fish Ergonomic Clay one from SiennasBowtique on Etsy
- Tapestry Needle
- Optional, Jewelry Pliers
- Optional, Tape Measure if you want to take gauge or measure as you go
Material Notes:
Yarn Alternatives: Bernat Handicrafter, Paintbox Yarns Cotton Aran, Crafter’s Secret Cotton Yarn (from Hobby Lobby)
I like to use cotton yarn because it’s durable and absorbent, but if you are only making a coaster that will house a cold or hot beverage, you can use acrylic as an alternative with an I9/5.5mm hook – just do not put anything fresh from the oven on the acrylic mug rug, or you will melt the fibers and risk burning yourself.
If you wanted to use a wool or synthetic, some great yarns I recommend are {wools} WeCrochet Swish, Lion Brand Wool Ease, {non-wools} WeCrochet Brava, and Red Heart Super Saver with an I9/5.5mm crochet hook.
Jewelry pliers are a great tool to use to help weave in ends, as cotton yarn can be quite tough on the fingers when weaving in with just fingers and a tapestry needle.
How Long Does it Take to Crochet a C2C Coaster?
13 Minutes Per Coaster
Measurements:
4 1/4″ Square
Gauge – Not Essential:
4 Boxes Wide by 4 Boxes Tall = 3 3/4” Square
With the nature of this stitch pattern, the easiest way to measure is to do so in pattern. Measure the width (before the border), and this will be about 1/2″ smaller than finished width. Same goes for the height. You can easily add or take away boxes as you go.
Abbreviations (US Terms):
- DC – Double Crochet
- SC – Single Crochet
Abbreviations (US Terms)
- DC – Double Crochet (Photo Tutorial)
- SC – Single Crochet (Photo Tutorial)
- C2C – Corner to Corner (Photo Tutorial for DC Boxes)
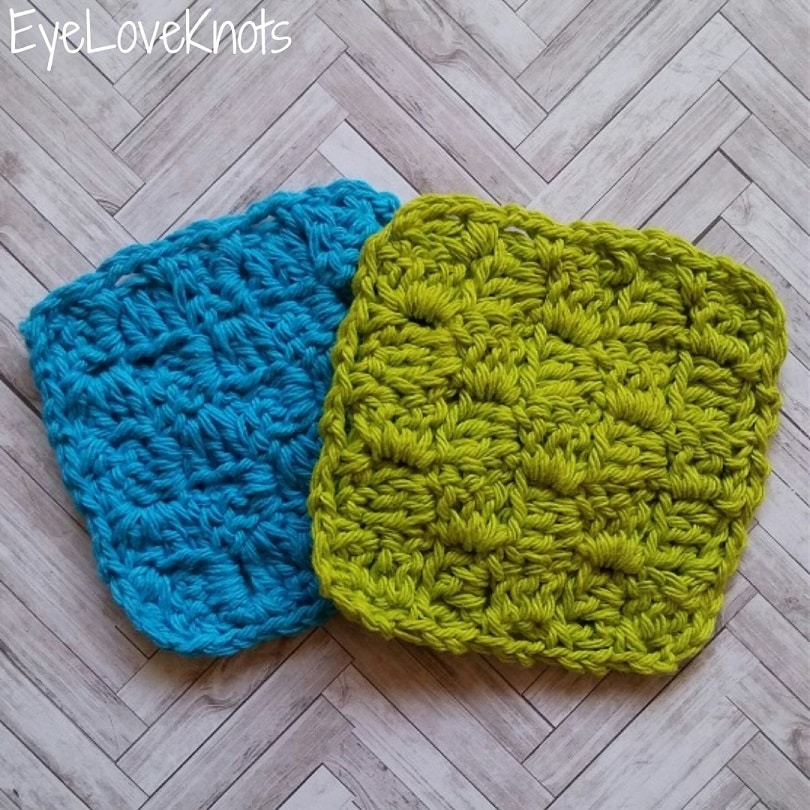
Pattern Notes:
Beginning chain 2 counts as a double crochet. Beginning chain 1 does not count as a stitch.
A box is comprised of four double crochet’s.
Working the final double crochet into the foundation chain from the previous row helps to keep the edge more even. After completing the first box, your edge may look a little wonky. You can use your fingers to manipulate the fabric, but the border will cover it up and it will look nice and straight.
The border adds about 1/2″ to the height and width. You can add more rounds of single crochet to increase the width and height with each round adding about the same 1/2″ (working the second round as a single crochet into each single crochet, 2 single crochets into each chain space, and the same corner increase in each corner chain space).
If you do not want to add a border, you may want to add 1 box to width and height to get closer to the finished measurements.
Colin Drew Coasters, Video Tutorial:
Colin Drew Coasters, Written Pattern:
Chain 6. DC into the 4th chain, and into each of the next 2. (1 Box)
R2: Chain 6, and turn. DC into the 4th, 5th and 6th chains. You now have an alligator mouth shape. Flip the bottom fabric so it’s mirrored and slip stitch into the top of the next chain 2, which is the stitch that is the most natural to work into when you lay your 2 boxes together. Chain 2. Looking at the next box, you see the stitches laying horizontally. Work 2 DC into the space in between the top 2 stitches. To help keep a straight edge, work the last DC into the foundation chain on the left side. (2 Boxes)
R3: (I) Chain 6, and turn. DC into the 4th chain, and into each of the next 2. Flip your fabric and slip stitch into the top of the next chain 2;
(II) Chain 2, work 3 DC into the space in between the top 2 stitches of the same box, slip stitch into the top of the next chain;
(III) Chain 2, work 2 DC into the space in between the top 2 stitches of the same box, DC into the foundation chain on the left side. (3 Boxes)
R4 – 5: Using Row 3 as a base, you will continue working in the same manner repeating (II) one extra time each row to increase the number of boxes by one each row. At the end, you will have the same number of boxes as rows.
Now the width and height are the size we want it to be, we will no longer be starting with a chain 6 on either side. Instead, each time, we will chain 1 and slip stitch over, then begin with a chain 2 to form a straight edge.
If you want to add width or height, you can work an additional row before beginning the decrease.
Remaining Rows Until You Have 3 Boxes Left: Chain 1, and turn. Slip stitch into the 2nd, 3rd and 4th stitches. Chain 2, work 3 DC into the space in between the top 2 stitches of the same box, slip stitch into the top of the next chain;
(chain 2, work 3 DC into the space in between the top 2 stitches of the same box, slip stitch into the top of the next chain) over to last box.
3 Boxes Left: Chain 1, and turn. Slip stitch into the 2nd, 3rd and 4th stitches. Chain 2, work 3 DC into the space in between the top 2 stitches of the same box, slip stitch into the top of the next chain, chain 2, work 3 DC into the space in between the top 2 stitches of the same box, slip stitch into the top of the next chain. (2 Boxes)
Last Row: Chain 1, and turn. Slip stitch into the 2nd, 3rd and 4th stitches. Chain 2, work 3 DC into the space in between the top 2 stitches of the same box, slip stitch into the top of the last stitch. (1 Box)
Border – basically it is 1 SC in the space in between each box, a chain 2 in between SCs over each box, and we’ll increase in each corner stitch.
For a more rounded corner, do (SC, chain 1, SC) or 3 SC, and for a more square corner, do (SC, chain 2, SC) or (SC, HDC, SC).
Chain 1, turn. SC into the space between the boxes just under your current place, chain 2, (SC, chain 2, SC) into the corner stitch, chain 2, (SC into the space in between the next 2 boxes, chain 2) across the top, (SC, chain 2, SC) into the corner stitch, chain 2, (SC into the space in between the next 2 boxes, chain 2) down the side, (SC, chain 2, SC) into the corner stitch, chain 2, (SC into the space in between the next 2 boxes, chain 2) across the bottom, (SC, chain 2, SC) into the corner stitch, chain 2, (SC into the space in between the next 2 boxes, chain 2) up the side until you’re back to the beginning then join to the 1st SC.
Fasten off, and weave in ends.
Please feel free to make and sell your own items made using this pattern, but keep in mind, this written pattern and my photos are protected by copyright. Please DO NOT claim this pattern as your own nor should you sell my pattern. DO NOT re-publish my photos as your own. DO NOT copy and paste my pattern anywhere, link to it instead so other’s can visit. Making videos providing instructions how to make my projects on any social media platform is also not permitted.
Join one of our awesome Facebook groups to share your creations, and see what others are up to!
– Yarn Crafts & Coffee Community
– DIY Home On Rockwood Lane
– Alexandra Lane Lifestyle
Linked Up To…
Craft Schooling Sunday – Creative Jewish Mom
Handmade Monday #128 – Sum of their Stories
Ginx Woolly Linx Party May – Ginx Craft
Craft Schooling Sunday – Creative Jewish Mom
Handmade Monday #128 – Sum of their Stories
502nd Inspire Me Tuesday – A Stroll Thru Life
Fabulous Party #269 – Lou Lou Girls
Talk of the Town 176 – My Repurposed Life
Sew It Cook It Craft It Link Party #104 – Sew Historically
{Wow Me} Wednesday #305 – Ginger Snap Crafts
The Wednesday Link Party 297 – The Stitchin’ Mommy
Your Whims Wednesday #409 – My Girlish Whims
To Grandma’s House We Go Link Party #141 – Chas’ Crazy Creations
Wall to Wall DIY Wednesday Link Up Party Week 49 – Dabbling and Decorating
Ginx Woolly Linx Party May – Ginx Craft
The Linky Ladies Party #159 – The Purple Poncho
Hookin’ on Hump Day #191 – Petals to Picots
Thursday Favorite Things #391 – An Artful Mom
Best of the Weekend – Calypso in the Country
Link Your Stuff – Annemarie’s Haakblog
Snickerdoodle Create Bake Make Link Party 286 – Across the Boulevard
Dollar Store Craft Link Party – Across the Boulevard
Crochet Patterns and Anything Crochet Link Party #12 – Joy of Motion
Let’s meet this month’s bloggers!!
C’mon Get Crafty | Purple Hues and Me
EyeLoveKnots | Margy Meanders | Across the Blvd
Domestic Deadline | Shoppe No 5 | Modern to Monticello
Love Jaime | This Autoimmune Life | Sew Crafty Crochet
Salvage Sister and Mister | The Inspiration Vault
Craftify my Love | Love My Little Cottage
Check out some awesome creations you might be able to make from your own stash! #CraftRoomDestashChallenge


Cute coasters! I love the green (green is my favorite color!). C2C is one of my favorite stitches. It’s perfect for making quick and easy coasters and dishcloths/washcloths.
Oh man, it’s perfect for so many things. It’s an addicting stitch pattern. The green one was my favorite too, and it really just made me think of greenery, so I ran out to the Dollar Tree and found the Flamingo plate that I thought was perfect! Wish I had a Summer party to throw.
I so need to learn! These are very pretty
C2C is easier than it looks, and so much fun.
I have some cotton yarn I purchased last year that these would be perfect for! Definitely pinning!
Would love your feedback if you get around to trying this pattern 🙂
I have so many plans for things to craft for my little baby boy I am expecting this August. Maybe too many plans for the little time left. I guess my baby won’t need coasters in the near future, but DIY washcloths made from a soft yarn? Why not, right? Thank you for sharing that pattern!! Pinning.
Definitely some nice washcloths! I have a free pattern: https://eyeloveknots.com/2018/08/basic-c2c-washcloth-free-crochet-pattern.html.
Make sure if you are using colored yarn that the color is preset (or set it yourself) so they will not bleed, and hold up longer.
I love a good project for using up little scraps of yarn. I have plenty of small bits of yarn in a box that I can never throw away despite my many yarn stash buster projects – I swear that stuff multiplies when I’m not looking!
Hehe. I don’t do well with scraps. I usually put them all in a bag, and donate. I am sure someone is in love with me, hehe.
Very cute coasters, and I like the bright washcloths. Thanks for joining in Ginx Woolly Linx Party for May.
These are so functional and pretty. I need to learn too.
C2C is so fun, and addicting!