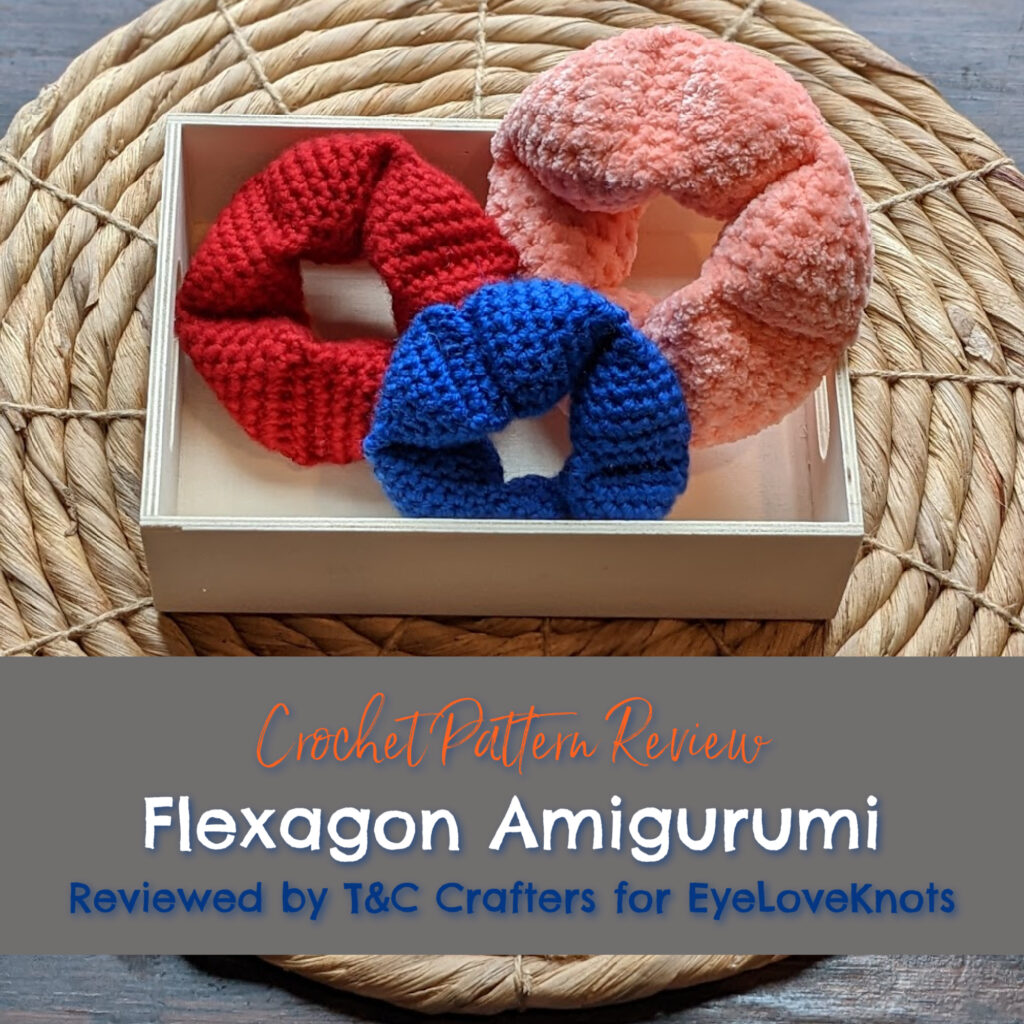
This is a crochet pattern review of the Flexagon Amigurumi designed by Andrea of YarnAndy. Review done by Candace of T&C Crafters for EyeLoveKnots.
This post contains affiliate links for Etsy and Amazon. If you make a purchase by clicking on them, I make a small commission at no extra cost to you. Thanks for your support!
Find the crochet pattern review below, or click here to purchase the pattern from YarnAndy on Etsy!
In a hurry? Pin this for Later.
It’s me, Candace with T & C Crafters.
Visit with me on Facebook for all kinds of awesome crochet makes and inspiration.
At my most recent craft show, my mother-in-law joined me to sell some of her sewing creations. She made some adorable little toys for kids to help them stay busy and quiet when they are out and about. Customers absolutely loved her marble maze and crayon carrying cases, so I quickly realized she had a brilliant idea!
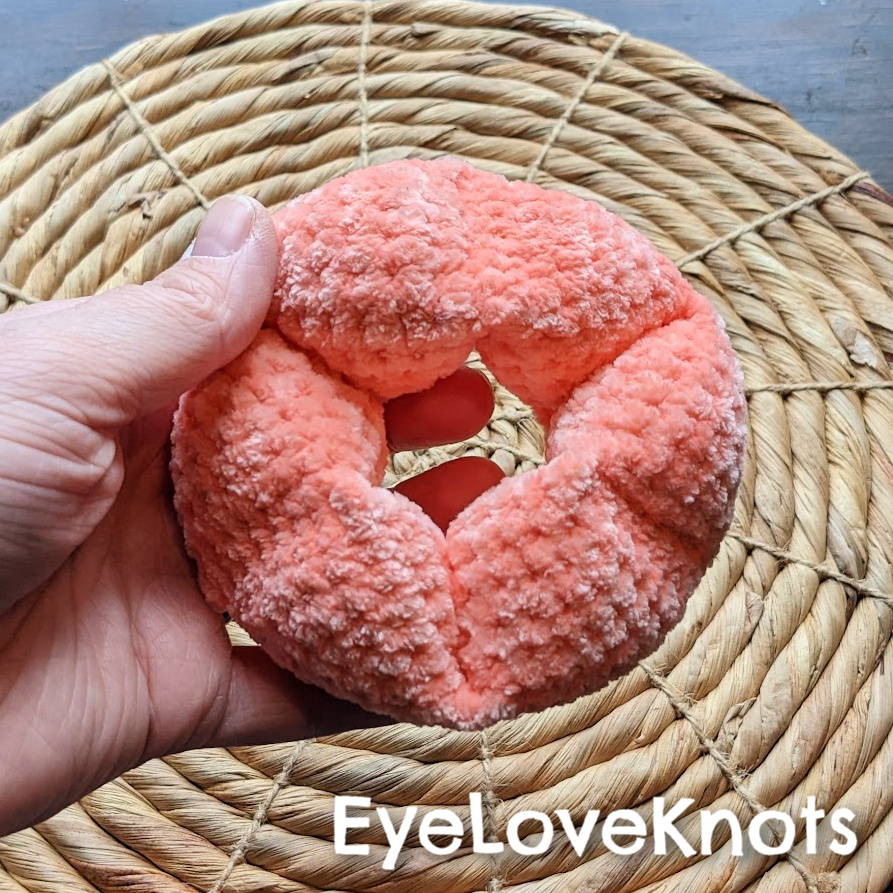
After the show, I set out to find some fun little crochet fidget toys that I could make for a similar purpose. While searching, I came across this super plush Flexagon Amigurumi by YarnAndy, and I knew it would make a perfect toy for kiddos that need some quiet entertainment!
I absolutely love everything about this Flexagon Amigurumi – it works up really quickly, it uses very few materials, and it makes a wonderful gift for kids and adults! As a math teacher, I also really love that it features little pyramids, because it makes for a great lesson in my classroom and a fun reward for my students! I have already made three of these this weekend, and I definitely plan on making more and more!
Materials I Used:
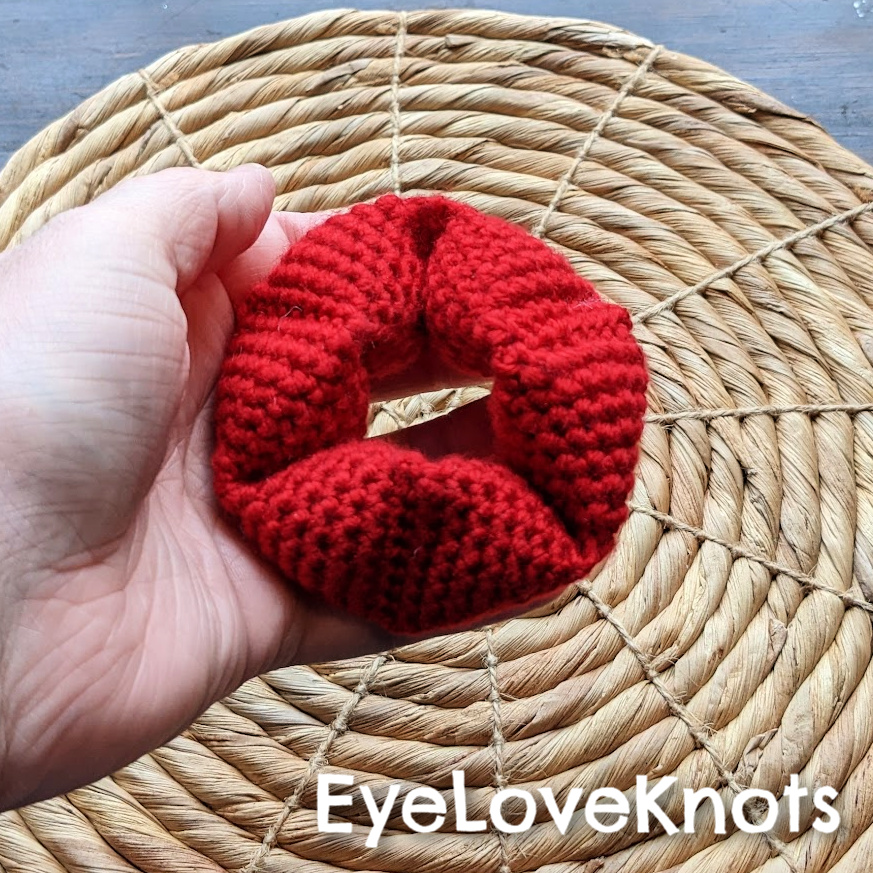
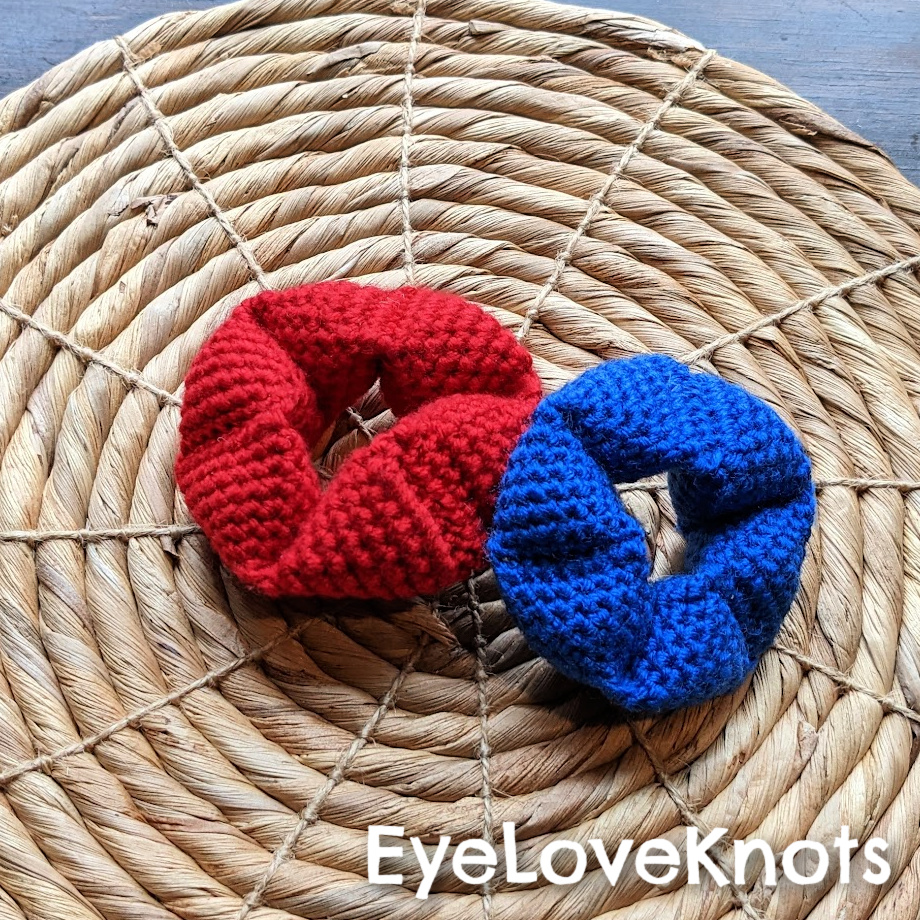
- Small Toys: Worsted Weight Yarn – I used Big Twist Value in Varsity Blue and I Love This Yarn in Red
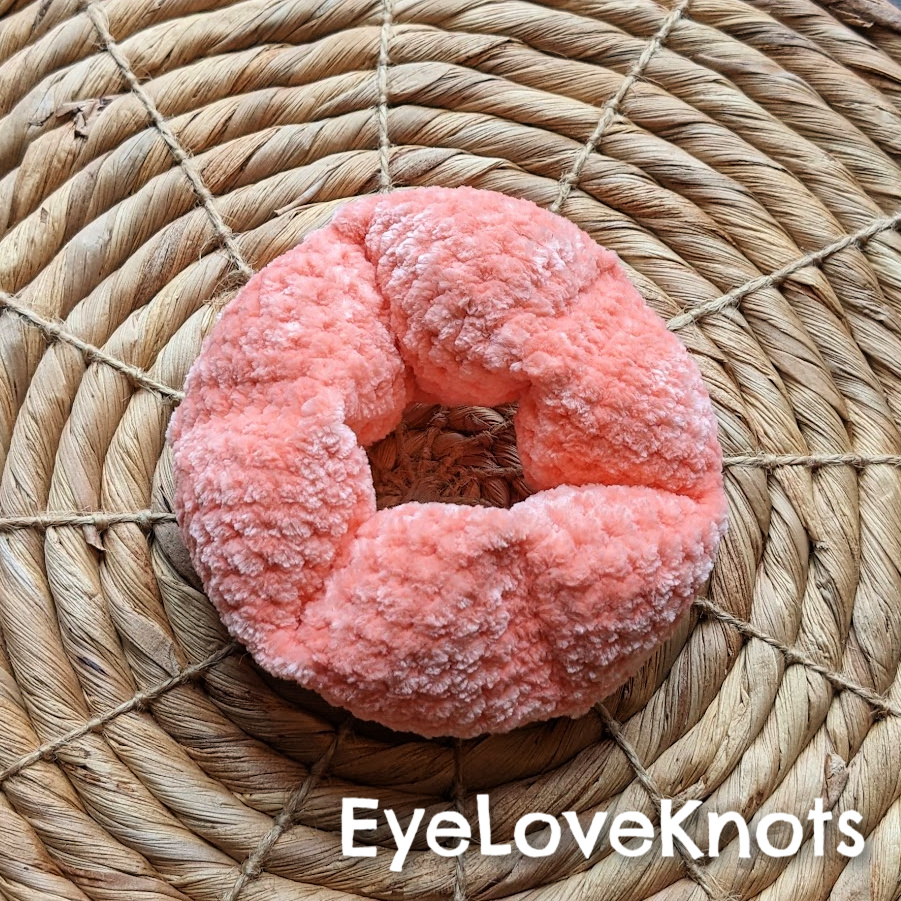
- Large Toy: Chenille or Super Bulky Yarn – I used Premier Just Chenille in Mango
- G6/4mm Crochet Hook – I prefer Clover Amour Ergonomic Hooks
- Small Amount of Polyester Fiberfil
- Yarn Needle
- Flexagon Amigurumi Pattern, paid crochet pattern by YarnAndy via Etsy
Material Notes:
This pattern only uses a small amount of materials, so it is a perfect stash-buster! The pattern is written for super bulky (weight 6) yarn like the Just Chenille from Premier that I used. In the pattern, the designer used Himalaya Dolphin Baby yarn, but you could also use a different super bulky yarn. The pattern includes a link to different yarn substitutions that will provide a similar gauge and feel to the original yarn used in this project.
I used worsted weight yarn to make some of these flexagons as well. While they worked, I would definitely recommend sticking with the suggested yarn for the pattern, as I think my super bulky version worked much better and is more pleasant to hold in your hands. When I made mine with worsted weight yarn, I still used the G6/4mm crochet hook that I used with the super bulky yarn.
While it is not necessary, you may want to use a stitch marker for this project as you will be working in the round, and this can help keep track of your rows. There are no specific directions in the pattern that state where to place a stitch marker, but if this is a tool that is typically helpful for you, you may want to have one on hand.
You will only need a small amount of polyfil to stuff this project. Unlike most amigurumi that you want to stuff really full, it is important to not overstuff this project, as it will prevent it from working correctly when you go to play with it.
There is very minimal sewing involved in this project. You will only need a yarn needle at the very end to sew the last pyramid to the first.
Time Spent:
Each flexagon amigurumi took me about one and a half hours to make.
Measurements:
My finished flexagons made with worsted weight yarn measure about 3.25 inches in diameter. Each of the pyramids measure about 1 inch on each side.
My finished flexagon made with chenille yarn measures about 4 inches in diameter. Each of the pyramids measure about 1.75 inches on each side.
Gauge:
The gauge provided in the pattern indicates that after making the first pyramid, all sides should measure approximately 2 inches in length.
When making my flexagons, the small toys made with worsted weight yarn measured approximately 1 inch on each side, and the larger toy made with chenille yarn measured about 1.75 inches on each size.
Pattern Notes:
If you are looking for a fun and relatively easy little project, this flexagon is perfect for you! This pattern uses only single crochets – no increases or decreases! While there are a few parts that require a little bit of skill, there are three pages of detailed pictures to guide anyone through it, which makes it beginner friendly!
The flexagon is worked in the round to make six small pyramids that are all connected. Each pyramid is made like a little pouch that you close in such a way that you create triangular sides on the pyramids. Once you have made one pyramid, you use the stitches from your join to begin creating the next one.
The most difficult part of this pattern for me was making sure that the correct side was facing outwards throughout the entire project. When I first began, I neglected to look at the detailed pictures included in the pattern, and while my first pyramid was made correctly, I began working my second pyramid the wrong way. You need to make sure that you are working around the outside of the stitches from your joining row instead of the inside.
This pattern was really easy to follow after I figured out the second pyramid. The pattern is very repetitive, so it is easy to quickly remember what to do and keep going. By the third flexagon I made, I didn’t even need to look at a pattern!
As you are making your flexagon, you want to make sure that you do not overstuff any of the pyramids. The designer even warns against this in the pattern. Overstuffing can cause the pyramids to look more like spheres and will prevent the flexagon from “flexing” correctly. However, you do still need to make sure to include some stuffing so that the pyramids do not lose their shape. Just use a small amount to make each pyramid full, without having to push too much stuffing inside.
When you have finished making the six pyramids, it is time to connect the end to the beginning and make it round. As you can see in my pictures, you want to make sure you connect it so that you have the pyramids alternating going up and down. The pattern describes this part, and the pictures help to clarify. The connection is really easy – just a few simple stitches across!
This flexagon pattern is quickly becoming one of my all-time favorites, and you can bet these are going in ALL the stockings this Christmas! I’m hoping I also can get a few in my Etsy store for others to enjoy as well! I would love to hear all about your experience making a flexagon! If you make one, be sure to tag @yarnandy, @eyeloveknots, and @tandc_crafters on social media so we can all see what you made!
Don’t forget to visit with me on Instagram for all kinds of awesome crochet makes and inspiration.
Join one of our awesome Facebook groups to share your creations, and see what others are up to!
– Yarn Crafts & Coffee Community
– DIY Home On Rockwood Lane
– Alexandra Lane Lifestyle
Linked Up To…
Linky Ladies Party #230 – The Purple Poncho
The Loop Scoop #49 – Moogly Blog
Happiness is Homemade Link Party – Decor Craft Design
You’re the Star Blog Hop – Decor Craft Design
Craft Schooling Sunday – Creative Jewish Mom
Sundays on Silverado #118 – The House on Silverado
Handmade Monday #301 – Sum of their Stories
The Really Crafty Link Party #338 – Keeping it Real
Craftastic Monday Link Party – Sew Can Do
Anything Goes Linky 353 – My Random Musings
The Happy Now Blog Link- Up #346 – JENerally Informed
661st Inspire Me Tuesday – A Stroll Thru Life
Talent Sharing Tuesday – Scribbling Boomer
Fabulous Party 449 – Lou Lou Girls
All About Home #169 – Common Ground
The Wednesday Link Party 476 – Oombawka Design Crochet
Team Creative Crafts Link Party #119 – Artsy-Fartsy Mama
Wonderful Wednesday – Oh My Heartsie Girl
The Wednesday Link Party #321 – To Grandma’s House We Go
Thursday Favorite Things #565 – An Artful Mom
Creatively Crafty Link Party #353 – Try It – Like It – Create It
Encouraging Hearts and Home Blog Hop – My Slices of Life
Linky Party – Karins Kottage
Crafty Creators Link Party #42 – Life as a LEO Wife
Create, Bake, Grow & Gather Party #545 – Shabby Art Boutique
Funtastic Friday – Simply Beautiful by Angela
Share the Wealth Link Up #30 – Big Fat Menopausal Life
This looks like an easy project to make nice, small gifts for children. Great stocking stuffers for this time of year. Thank you for sharing this post in the Talent-Sharing Tuesdays Link-Up 41.
Carol
http://www.scribblingboomer.com
Yes – they would make perfect stocking stuffers for kids!
These look so useful, a quick make too.
They are so nice to keep with you in case you need a way to keep your hands busy! They are a really quick make!
I would like to see a video of how it works.
I just shared one on my Instagram! You can find it here: https://www.instagram.com/reel/CluBOoFgyOE/?utm_source=ig_web_copy_link
This is really neat. My daughter would absolutely love this!
Thanks! Yes – they are so fun to play with!
What a great stash buster project! It’s always nice when you can create something fun and useful quickly!
It really is such a great stash buster! I love how quickly these work up!