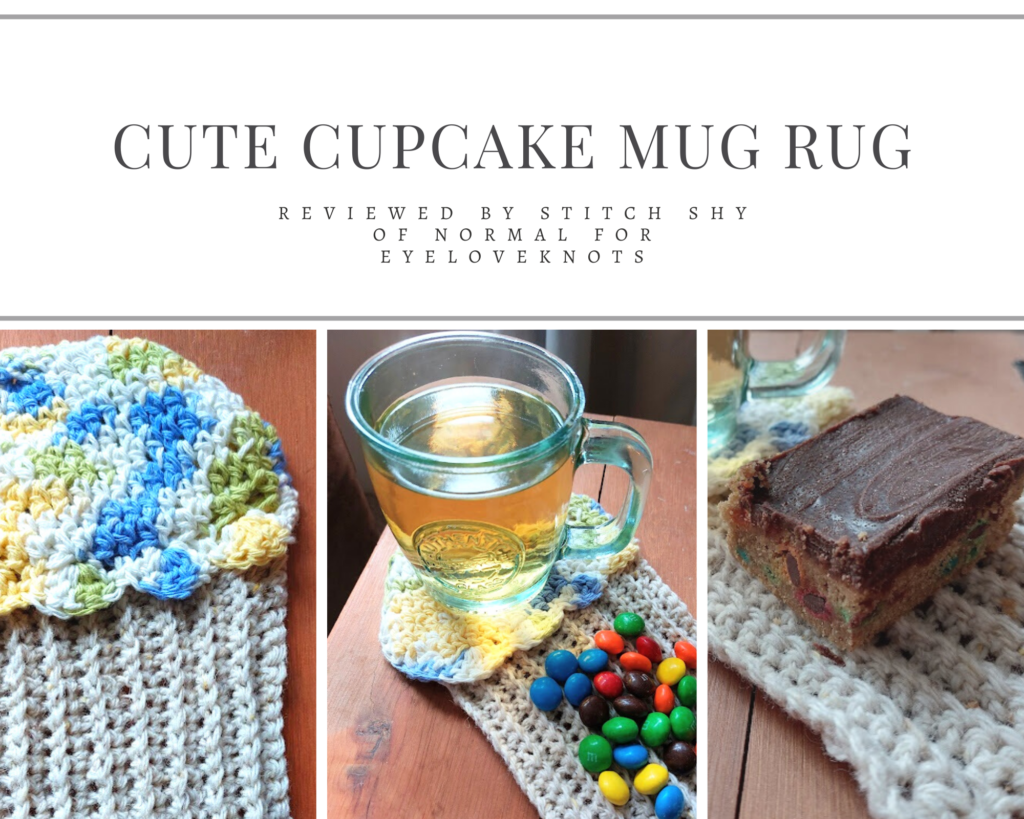
This is a crochet pattern review of the Cute Cupcake Mug Rug pattern by Kathleen Stuart for Annie’s Catalog. Review done by A Stitch Shy of Normal for EyeLoveKnots.
This post contains affiliate links for Annie’s Catalog, WeCrochet and Lion Brand. If you make a purchase by clicking on them, I make a small commission at no extra cost to you. Thanks for your support!
Find the crochet pattern review below, or click here to purchase the pattern on the Annie’s Catalog website!
In a hurry? Pin this for later when you have more time.
It’s me, Abigail with A Stitch Shy of Normal.
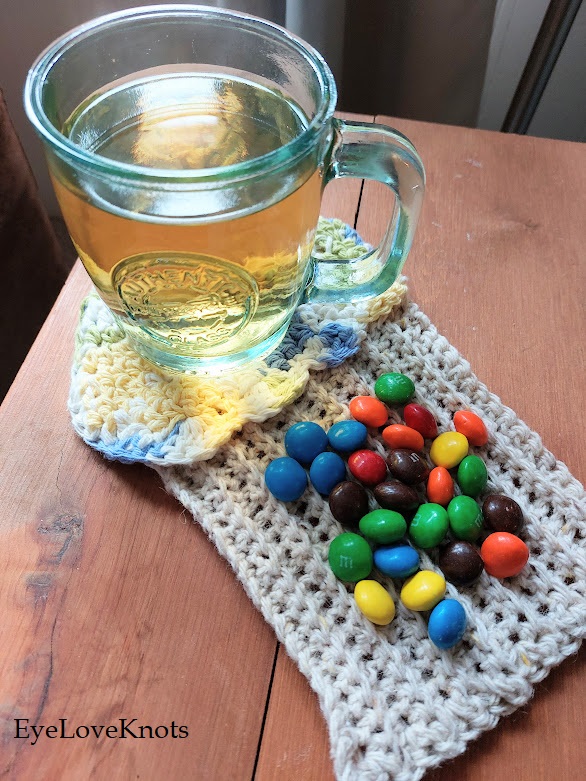
I love this time of the year, when the winter starts (hopefully) to come to an end and things start to feel a little bit brighter. My birthday at the end of March has always signaled the beginning of spring to me, whether or not the outside conditions agree. I’ve had a blizzard happen during a lot of birthday parties over the years! But anyway, when I started to feel that urge to update my home decor this spring a little bit, I came across this absolutely adorable cupcake “mug rug” that I could put on my coffee table instead of boring coasters, and I can even make a few extra for my birthday this year, in my favorite colors!
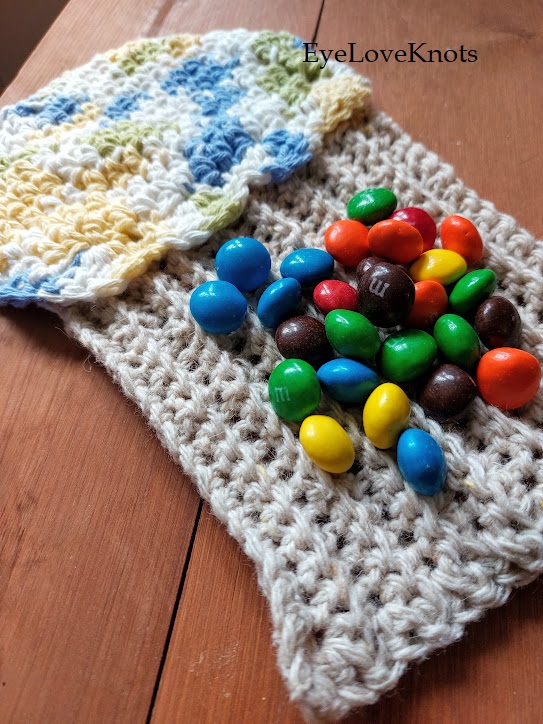
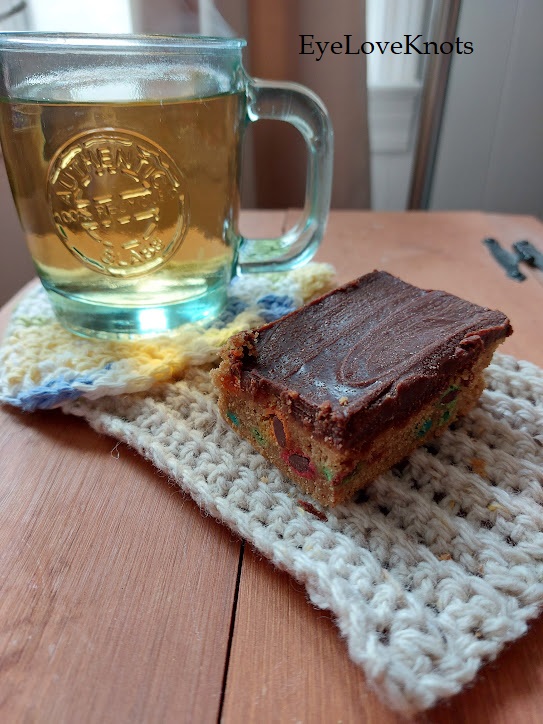
I found this to be really easy and fun, with minimal confusion. And the resulting item is too cute! It’s sure to be a conversation starter. Plus it’s nice and large, with plenty of space for both a mug AND a yummy snack! Not enough coasters include the space for a snack and I appreciate this one including that option.
Visit with me on Instagram @astitchshyofnormal for all kinds of awesome crochet makes and inspiration!
What Materials Do I Need to Crochet a Mug Rug?
- Two skeins of worsted weight cotton, any brand works as long as they’re similar to each other and you can meet gauge. I used Lily Sugar’n Cream in “Mod Ombre” (the multicolored frosting) and I’m honestly not sure what the beige was. It could likely be also Sugar’n Cream in the “Soft Ecru” colorway but I can’t promise that’s true. Both were full or nearly full skeins from my stash and both were largely used up so I estimate about 80-90 yards of each.
- J10/6mm crochet hook – I like to use Clover Amour Ergonomic Hooks
- Scissors and yarn needle for assembly
- Cute Cupcake Mug Rug, Paid Crochet Pattern by Kathleen Stuart from Annie’s Catalog
Material Notes:
It took me a couple of tries to find two cottons from my stash that met the gauge and played nice with each other. At first I was concerned because the stitches were so open from using a J hook, a larger size than I normally would. But it turns out that’s likely intentional in this pattern, to keep it soft and laying nice and flat. The top frosting section is actually double-layered so it gave plenty of protection for my mug!
I think most worsted cottons would work great, but they have to be pretty similar to each other. Otherwise you’ll have to alter your rows in the cupcake portion and/or change where you attach those rows, because you don’t want that section to pull on the cupcake part or ruffle it from being too large. I ended up finding these two that worked well. Now this could be because they’re both Lily Sugar’n Cream, which is a safe bet. Of course that’s a great way to go since they’ll be a very similar texture and should have the same gauge results.
Would I use this yarn again for this pattern? Definitely. I would be fine using most of the simple cottons. Lion Brand Re-Up is gorgeous, it just doesn’t have variegated colorways so it would have to be a solid shade of frosting. You might not want one that’s mixed with other fibers like linen or acrylic, since those are not as good with heat as plain cotton. Also when you inevitably spill your coffee on this mug rug, you should be able to toss it right in the washing machine as long as it’s just cotton, which is a good advantage.
How Long Does it Take to Crochet a Mug Rug?
Not long at all, I made this in a single weekend evening. Even if it takes a couple times to find the right gauge, I think most people could do this one in 2-3 hours if you can sit down and work on it uninterrupted. It would be great for market prep in a variety of frosting and cupcake “flavors”!
Gauge & Measurements:
Pattern given gauge is 12 HDC = 4 inches.
My gauge measured from my finished item is 14 HDC in 4 inches.
I did do gauge swatches when picking my yarn, but I think my actual tension ended up being different once I started. This is easy to do when you’re swatching in a flat square (which I did) but then the project is in the round like this one. I remember my swatch being pretty close, maybe 12.5-13 stitches. Obviously this was close enough to work just fine.
The listed dimensions for this mug rug are approximately 7″ wide and 9.5″ tall.
Measuring at the widest point in my frosting half (the pattern doesn’t specify where they measured), my cupcake is 6.25″ wide and 9.5″ tall.
So my gauge did make my finished mug rug smaller, which doesn’t really affect the function as long as the mug fits fine. My stitch height, or possibly my tension used for the sideways cupcake stitching, seem to be right on track!
Pattern Notes:
I’ll be pretty brief here because this is such a quick pattern that there isn’t that much to say!
I did notice in round 2 that I think they left out one extra increase in the very last stitch. Basically to make the cupcake portion you make an oval and keep increasing it until it hits the desired width folded in half. On the second round, if you do only the stitches written, your count would only be 22 instead of the 24 listed. All I did was increase one more time in the final stitch (increasing in both of the last two) to get the total of 24, and I never had an issue with having done that. I think it was just a typo.
The part where you add the frosting embellishments threw me off a few times as well. It gets a little confusing when they talk about front versus back loops, but let me see if I can try to help a little bit. You make the frosting oval, then you fold it in half and work through only the back loops of both sides to join them. Take this part literally, when you’re looking at your two layers, it’s the actual back loop of both from that perspective that you’ll stitch into. This leaves one set of loops still free (where you’ll attach the cupcake) and the other will sort of be hidden inside the cupcake. When you’re doing the shell stitches to shape the frosting, you’re actually working on that from sort of the wrong side, if that makes sense. The cupcake rows are then joined behind this to cover the seam when you look at the mug rug from the correct side.
Those were the only two things I felt were important enough to clarify. Other than those moments, both of which I was able to figure out with some trial and error, this pattern was a breeze. You can immediately see the shape forming and you’re done with the frosting in a snap. Then the cupcake is quick straight rows back-and-forth, and you’re all done!
I can see endless possibilities for the color combinations here. A solid pink frosting with a deep brown cupcake for a chocolate cherry “flavor”–you could even embellish a little cherry on top! Or use a white yarn with multicolored tweed for the “sprinkles” to add some cute color. You can personalize the colors for a birthday party or make a set for a family in everyone’s favorite cupcake flavors!
What combination would you do? Are you a chocolate or vanilla person? Strawberry cake instead? I’d love to hear it!
Don’t forget to visit with me on Instagram @astitchshyofnormal for all kinds of awesome crochet makes and inspiration.
Join one of our awesome Facebook groups to share your creations, and see what others are up to!
– Yarn Crafts & Coffee Community
– DIY Home On Rockwood Lane
– Alexandra Lane Lifestyle
Linked Up To…
All About Home #190 – Common Ground
Home Matters Linky Party #424 – Modern on Monticello
Beautifully Made Home Decor Link Party 257 – Across the Boulevard
Home Imagined Link Party #15 – Sky Lark House
Vintage Charm Party 383 – My Thrift Store Addiction
Craftastic Monday Link Party – Sew Can Do
Linky Ladies Party #235 – The Purple Poncho
Loop Scoop 59 – Moogly Blog
Team Creative Crafts Link Party #140 – Artsy-Fartsy Mama
Creatively Crafty Link Party #374 – Try It – Like It – Create It
The Wednesday Link Party 497 – Oombawka Design Crochet
Saturday Sparks Link Party 559 – Pieced Pastimes
Craft Schooling Sunday – Creative Jewish Mom
You’re the Star Blog Hop – Decor Craft Design
Happiness is Homemade – Decor Craft Design
Sundays on Silverado #139 – The House on Silverado
Handmade Monday #321 – Sum of their Stories
The Really Crafty Link Party #359 – Keeping it Real
Hello Monday – Pink Lady
Anything Goes Linky 372 – My Random Musings
677th Inspire Me Tuesday – A Stroll Thru Life
Fabulous Party 470 – Lou Lou Girls
The Happy Now Blog Link- Up #367 – JENerally Informed
Wonderful Wednesday Blog Hop – My Life Abundant
Encouraging Hearts and Home Blog Hop – My Slices of Life
Grace at Home No. 503 – Imparting Grace
Linky Party #313 – Karins Kottage
Crafty Creators Link Party #62 – Life as a LEO Wife
Create, Bake, Grow & Gather Party #566 – Shabby Art Boutique
Funtastic Friday Link Party #431 – Simply Beautiful by Angela
A Morning Cup of Joe – The Cottage Market
Anything Goes – How Sweet the Sound
How fun! I love the idea of having different types of cupcakes for different times of the year.
This is such a cute idea! Love it!
Shauna
http://www.lipglossandlace.net
I love the idea of a mug rug! Why have I not heard of this before? Your cupcake mug rug turned out great! Thank you for introducing me to something new and also for sharing your post with the Home Imagined Link Party.
I love the concept too! Especially this one including space for snacks 🙂 Glad you enjoyed it!
The mug rug is so cute. To bad I don’t have any old stash laying around from older projects. I’d like to make a few.
Thank you! I was lucky to have a bunch of random cotton, I know. I hope you’re able to make one in the future!
That is such a cute cupcake mug rug!
Super cute and easy enough that even I will be able to make it.
Visited you via You’re the STAR – Week#3 FAMILY (April 2023)
If interested, please hop over and come and share your posts with us at Senior Salon Pit Stop. See my entries: 72+73, and navigate to the bottom of my page for SSPS linkup, we hope to virtually meet you there.
That’s very sweet of you, and I hope you do indeed make one yourself! It’s quick and a lot of fun. Thank you!