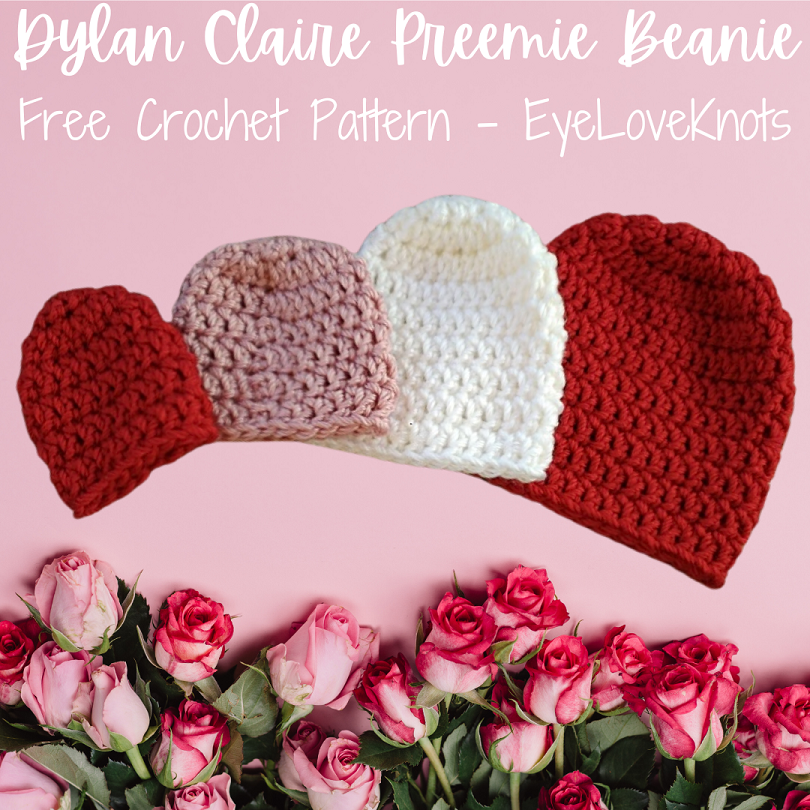
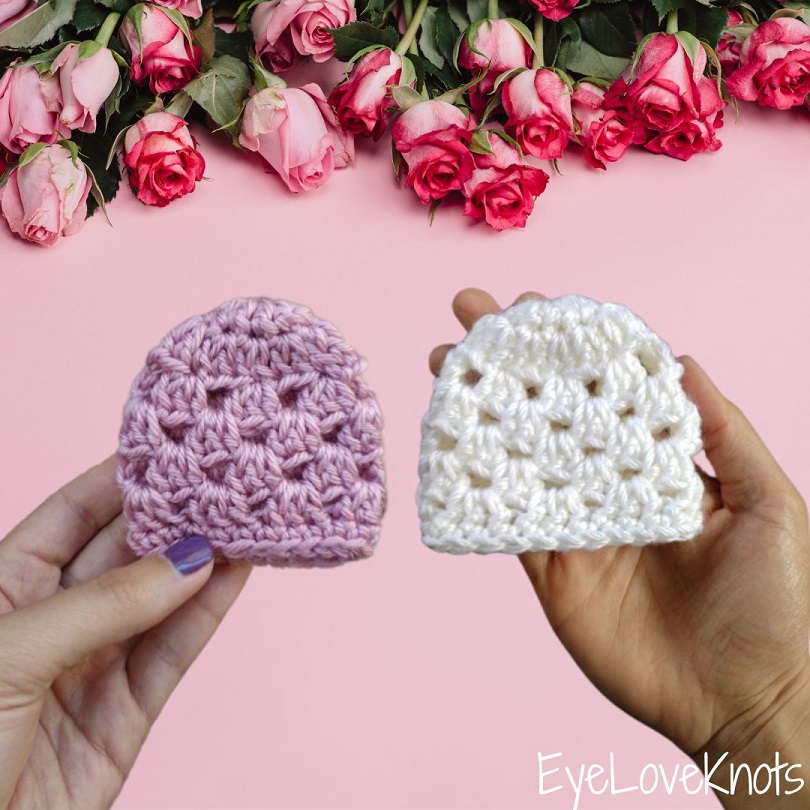
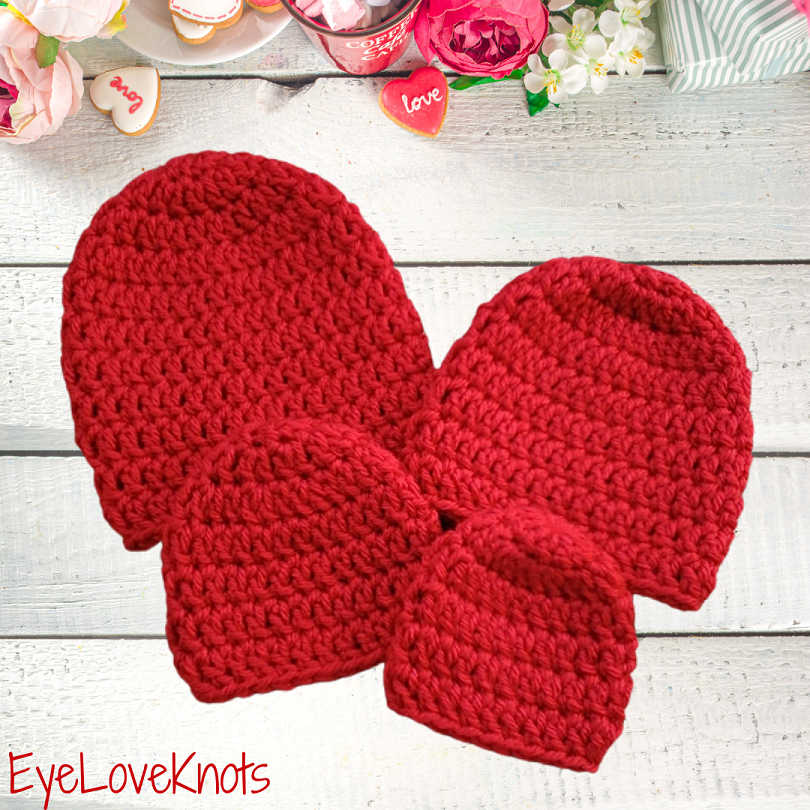
This is a free crochet pattern and video tutorial showing how to crochet the Dylan Claire Preemie Beanie, an easy crochet beanie pattern worked in simple double crochet stitches, and available in 3 sizes.
This post contains affiliate links for WeCrochet, Amazon and Etsy. If you make a purchase by clicking on them, I make a small commission at no extra cost to you. Thanks for your support!
Find the free crochet pattern instructions below, or purchase a printer-friendly, ad-free PDF on Ravelry by clicking here.
In a hurry? Pin this for later when you have more time.
Many years ago, I was inspired by an organization called The Preemie Project to make this beanie pattern. This organization is no longer active, but they used to accept preemie hat donations, among other things, and put together items to donate to different NICUs.
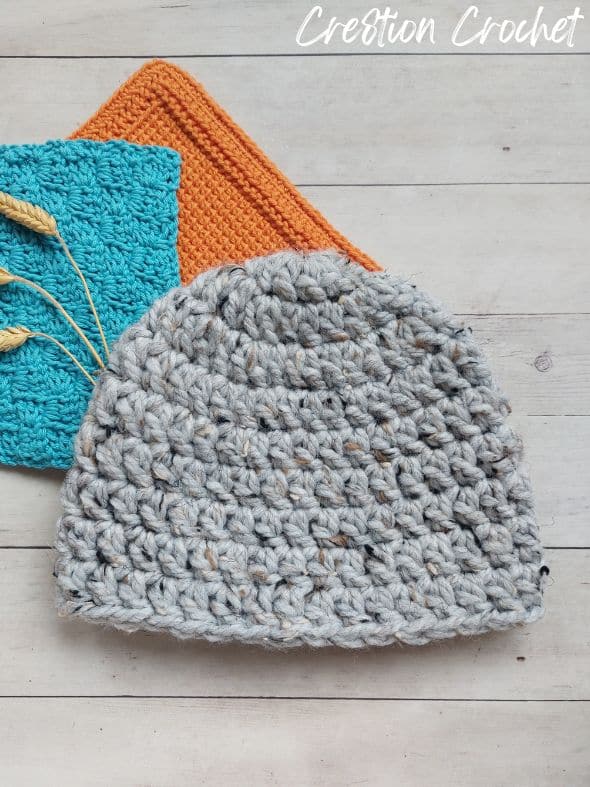
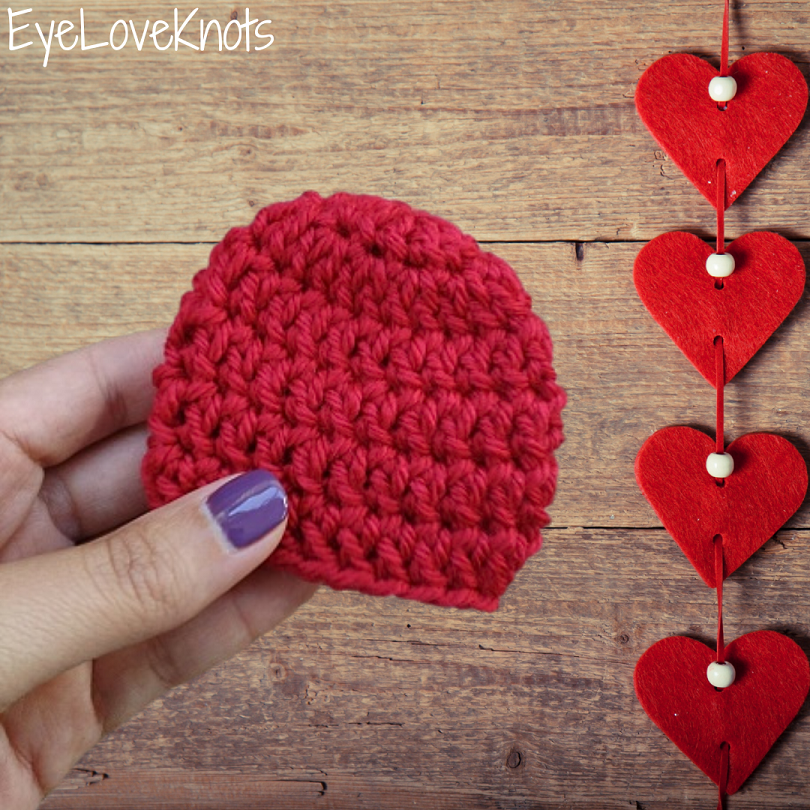
This hat pattern was originally called the Chunky-Like Preemie Beanie being that worsted weight yarn is pretty much equal to chunky weight on a teeny preemie. In the 2024 update, it’s gotten a new name to follow my Dylan Claire series, which features simple double crochet stitches, a video tutorial and some refreshed photos. Above you’ll see one of the original photos – I used to take all my photos on top of this backdrop.
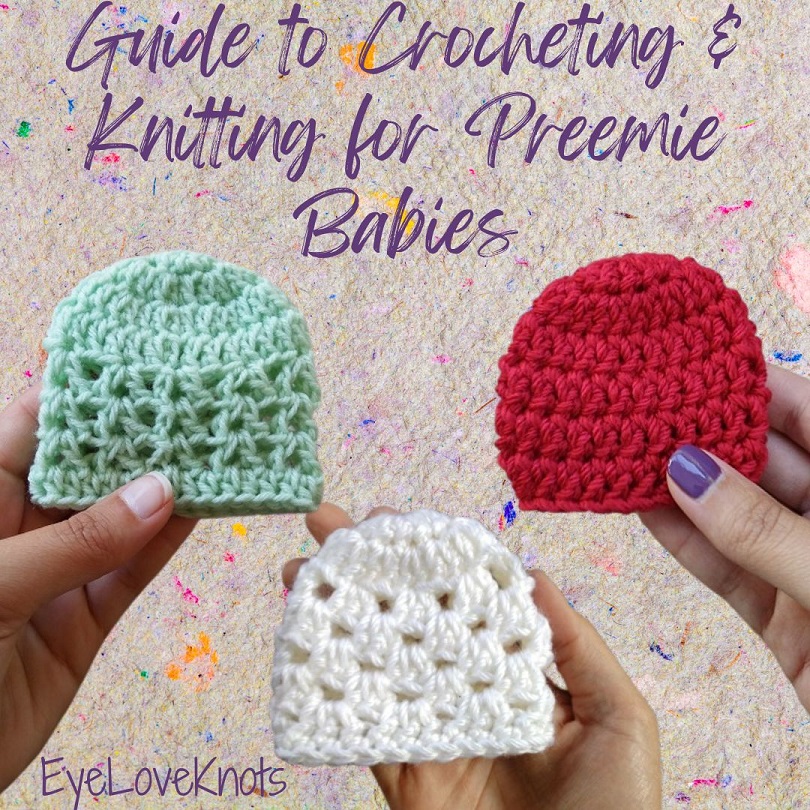
I’ve put together a complete Guide to Crocheting & Knitting for Preemie Babies. The number one thing that I am going to recommend above anything else is first check with the organization that you plan to donate to. Each organization has their own needs, which can vary from time to time, and each one also has their own set of guidelines, like what kind of yarn and/or colors to use or not to use as well as things like if they accept donations from a pet friendly home, but in this guide, I talk about what I find to be the most common across preemie organizations for crocheting and knit items.
Easy Double Crochet Patterns:
Dylan Claire is one of my easy, beginner friendly series that features simple double crochet stitches, though I don’t recommend starting with a project that is worked in the round as a beginner – try it after you are comfortable working back and forth in rows using the double crochet stitch pattern.
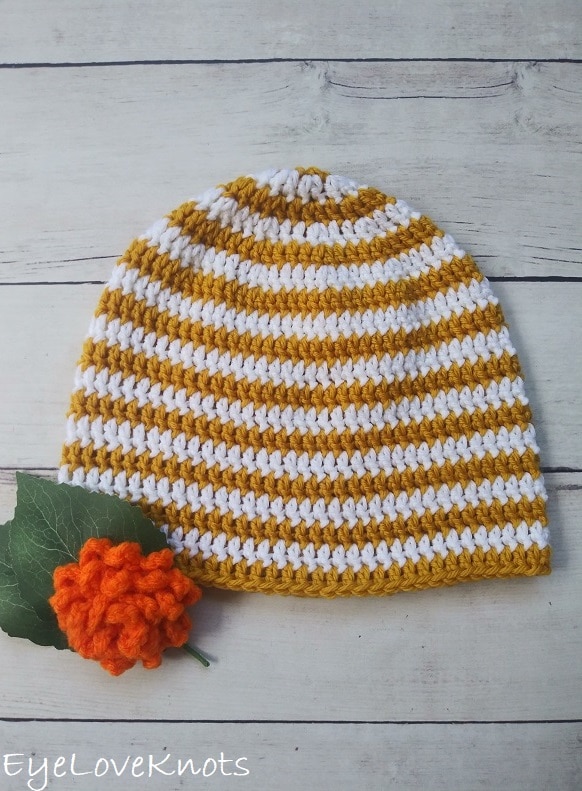
The Striped Dylan Claire Beanie is available with 7 sizes from Newborn through Adult Large, and also has a video tutorial available.
Super Chunky Dylan Claire Beanie
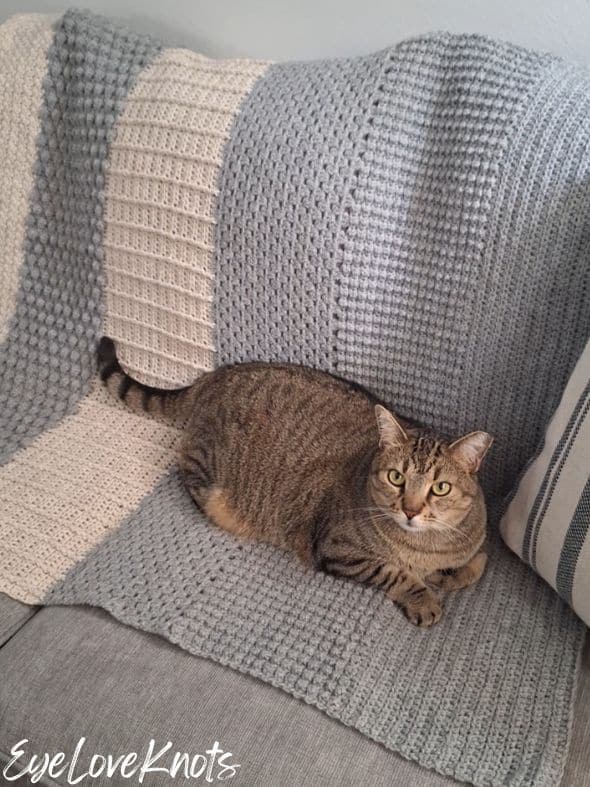
Find accessory crochet patterns over on my Cre8tion Crochet blog, and home decor and accessory crochet patterns here on EyeLoveKnots.
Easy Preemie Baby Crochet Patterns:
The Grace Tinley Preemie Beanie is worked in the classic granny stitch pattern which is simple double crochet stitches, available in the same 3 sizes, and also has a video tutorial available.
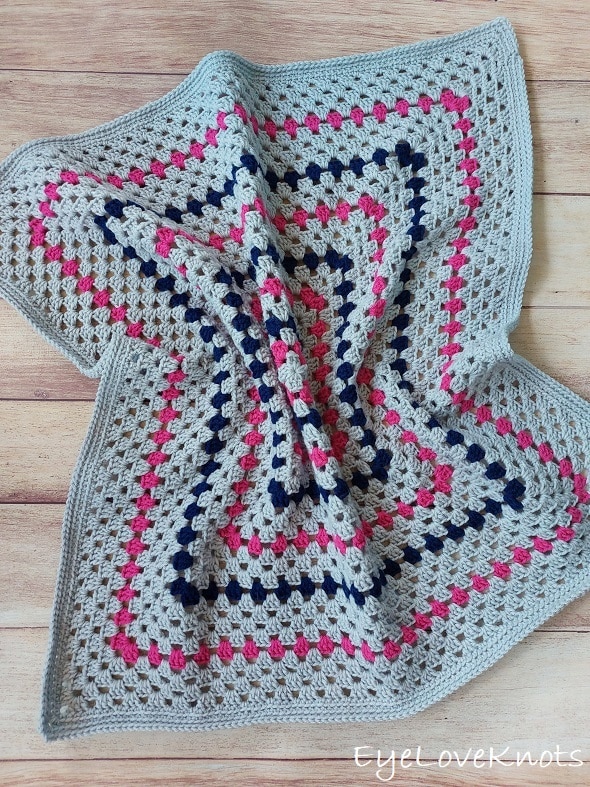
The Gia Afghan has instructions for a Lovey size (12″) and Preemie size (20″). Some organizations also like the Newborn size (30″) for preemies.
The Haylee Afghan has instructions for a Lovey size (12″) and Preemie size (20″). Some organizations also like the Newborn size (30″) for preemies.
The Volume One Afghan has instructions for a Lovey size (12″) and Preemie size (20″). Some organizations also like the Newborn size (30″) for preemies.
Ad-Free, Printer Friendly PDF:

For a Limited Time…

Through 11/18/25 at 11:59pm EST, you can grab a free copy of the PDF for the Dylan Claire Preemie Beanies on Ravelry using code SWEETIE25. I earn my income from the number of pageviews my blog sees, so please do not share the code, but instead share the link to this post so others can find it. Thank you!
After 11/18/25 or for non-subscribers, if you would like a PDF version of this post, you may get one through either my Etsy Shop or Ravelry Shop for a small fee. This fee is to compensate for the views lost when you no longer need to return to the blog to for the information, as you will have your own copy. In a hurry? Pin this for later when you have more time!


Save this to Your Favorites On: AllFreeCrochet, FaveCrafts, Crochet Pattern Bonanza, Cheap Thrifty Living, DIYideaCenter, AllFreeHolidayCrafts
Materials:
- 15 (20, 30) Yards of Worsted Weight #4 Yarn – I used Red Heart’s Soft Yarn in Really Red, White, Rosy Blush and Soft Berry
- I9/5.5mm Crochet Hook
- Tapestry Needle
- Soft Tape Measure – Gauge is Essential
Material Notes:
My original beanies were worked in Red Heart Soft. I used WeCrochet Swish Yarn in the video tutorial. I also love using Lion Brand Wool Ease and Berroco Vintage for beanies. If you need a wool free option, I recommend Red Heart Super Saver (softens with first wash), but if you need an alternative, I’ve heard great things about WeCrochet Brava, though I haven’t used it myself. If you want to work with cotton, I recommend looking for a blend, like Berroco Modern Cotton or Lion Brand Coboo, as it needs another fiber combined with it to retain its shape and to be able to bounce back – 100% cotton will only grow out of shape. If you’re donating your beanies, make sure to check the organization’s guidelines first as they each have their own preferences. Mainly, you want a soft yarn that can withstand multiple washing and drying.
We have lots of great crochet hooks in our Yarn Crafts and Coffee Yarn Shop. The most popular, and preferred by Candace and Emily, are the Clover Amour Crochet Hooks with the soft handles and smooth metal hook. Alexandra prefers metal crochet hooks with large, ergonomic clay handles and just loves the fun designs from SiennasBowtique and BronzeShepherdStudio! If your preference is wood, the LYKKE brand are lovely, smooth and sturdy.
Time Spent:
I had the 1-1 1/2 lb and 2-3 lb sizes done in just under 15 minutes each, and the 3-5 lb done in just under 20 minutes. That’s less than an hour for all three!
Measurements:
The 1 – 1 1/2 lb size has a crown of 2 1/2″ in diameter, a circumference of nearly 7 7/8″ to fit a head size of 8″ – 9 1/4″, and is 3″ in length.
The 2 – 3 lb size has a crown of 3 1/4″ in diameter, a circumference of nearly 10 1/4″ to fit a head size of 9 3/4″ – 11″, and is also 3 1/2″ in length.
The 3 – 5 lb size has a crown of 3 1/2″ in diameter, a circumference of nearly 11″ to fit a head size of 11 1/4″ – 12 3/4″, and is 4 3/8″ in length.
The 6 – 8 lb size has a crown of 4 1/8″ in diameter, a circumference of nearly 13″ to fit a head size of 13″ – 14″, and is 5 3/8″ in length.
If you are concerned with the size (or want to make a different size), take your tape measure out and measure around the head just above your eyebrows. The distance around is the circumference. You will need to use this equation to figure out what size diameter you will need: Your Circumference – 1” / 3.14 (pi) = crown diameter. Typically, we do account for -2” of ease with double crochet beanies (for the amount of stretch in acrylic, wool & similar), but many organizations request preemie sizes to be -1” of ease.
Gauge (Essential), in the round in pattern starting with:
- 9 DC. Round 3 = 3 1/4″
- 11 DC. Round 2 = 2 1/2″
Abbreviation (US Term):
- DC – Double Crochet (Photo Tutorial)
Pattern Notes:
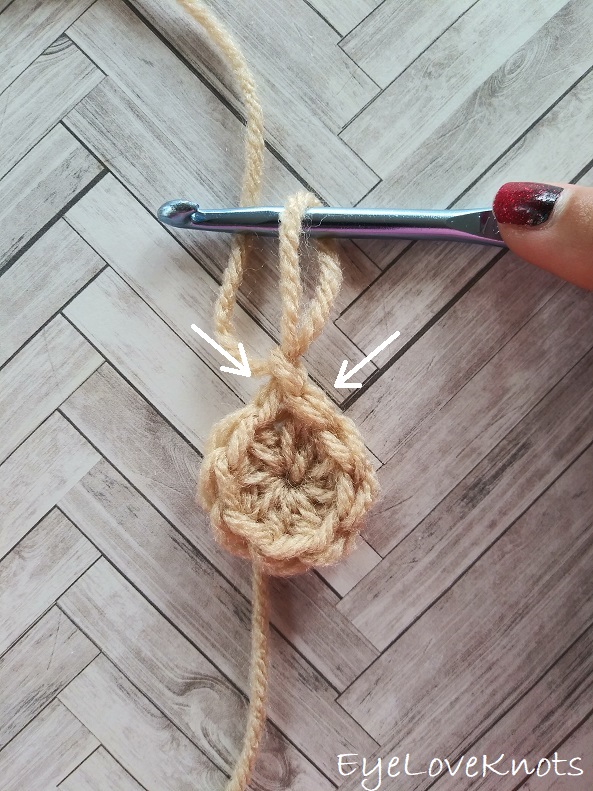
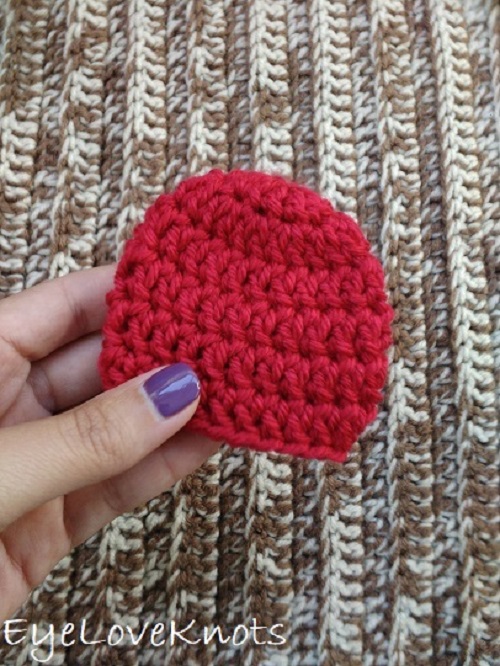
I work my crown and body differently than most to help keep my seam straight, and that is that the first stitch from the first set of increases is done in the first stitch of the round, which will appear just to left of the beginning chain, then the round will be worked as normal, and the final stitch of the round will be the second stitch of the first set of increases, and it will be worked into the same stitch as the first, and appear just to the right of the beginning chain. The photo above shows where the first and last stitch are worked, and I have a photo tutorial of this technique in my How to Keep a Straight Seam post. You can work in your preferred increase method as long as we end up with the same stitches at the end of the round.
In the crown, the beginning chain 2 does not count as a stitch, but in the body, the chain 2 does count.
Slip stitch join to the first stitch of each round, not the beginning chain.
Dylan Claire Preemie Beanie Video Tutorial:
Dylan Claire Preemie Beanie Written Pattern:
1 – 1 1/2 lb Size:
Chain 5. Join to form a ring. Chain 2. 11 DC into the ring. Join. (11 DC)
R2: Chain 2, and turn. DC into the first stitch, 2 DC into each of the next 10 DC, DC into the same stitch as the first. Join. (22 DC)
Checkpoint: Stop here, and measure the diameter to ensure the finished beanie will fit correctly. You’ll want your diameter to measure 2 1/2″.
R3: Chain 2, and turn. DC into the second DC, and into each DC around. Join. (22 DC)
R4: Chain 2, and turn. DC into the first DC, and into each around. Join. (22 DC)
R5 – 6: Repeat Rounds 3 + 4.
Fasten off and weave in ends.
2 – 3 lb Size:
Chain 3. Work 9 DC into the 1st chain (skipped chains do not count as a stitch). Join. (9 DC)
R2: Chain 2, and turn. DC into the first stitch, 2 DC into each of the next 8 DC, DC into the same stitch as the first. Join. (18 DC)
R3: Chain 2, and turn. DC into the first two stitches, (2 DC into the next DC, 1 DC into the next DC) 8x, DC into the last stitch. Join. (27 DC)
Checkpoint: Stop here, and measure the diameter to ensure the finished beanie will fit correctly. You’ll want your diameter to measure 3 1/4″.
R4: Chain 2, and turn. DC into the second DC, and into each DC around. Join. (27 DC)
R5: Chain 2, and turn. DC into the first DC, and into each around. Join. (27 DC)
R6 – 7: Repeat Rounds 4 + 5.
Fasten off and weave in ends.
3 – 5 lb Size:
Chain 5. Join to form a ring. Chain 2. 11 DC into the ring. Join. (11 DC)
R2: Chain 2, and turn. DC into the first stitch, 2 DC into each of the next 10 DC, DC into the same stitch as the first. Join. (22 DC)
R3: Chain 2, and turn. DC into the first 2 stitches, (2 DC into the next DC, 1 DC into the next stitch) 10x, DC into the same stitch as the first. Join. (33 DC)
Checkpoint: Stop here, and measure the diameter to ensure the finished beanie will fit correctly. You’ll want your diameter to measure 3 1/2″.
R4: Chain 2, and turn. DC into the second DC, and into each DC around. Join. (33 DC)
R5: Chain 2, and turn. DC into the first DC, and into each around. Join. (33 DC)
R6 – 9: Repeat Rounds 4 + 5.
Fasten off and weave in ends.

Please feel free to make and sell your own items made using this pattern, but keep in mind, this written pattern and my photos are protected by copyright. Please DO NOT claim this pattern as your own nor should you sell my pattern. DO NOT re-publish my photos as your own. DO NOT copy and paste my pattern anywhere, link to it instead so other’s can visit. Making videos providing instructions how to make my projects on any social media platform is also not permitted.
Join one of our awesome Facebook groups to share your creations, and see what others are up to!
– Yarn Crafts & Coffee Community
– DIY Home On Rockwood Lane
– Alexandra Lane Lifestyle
Linked Up To…
Leave a Reply