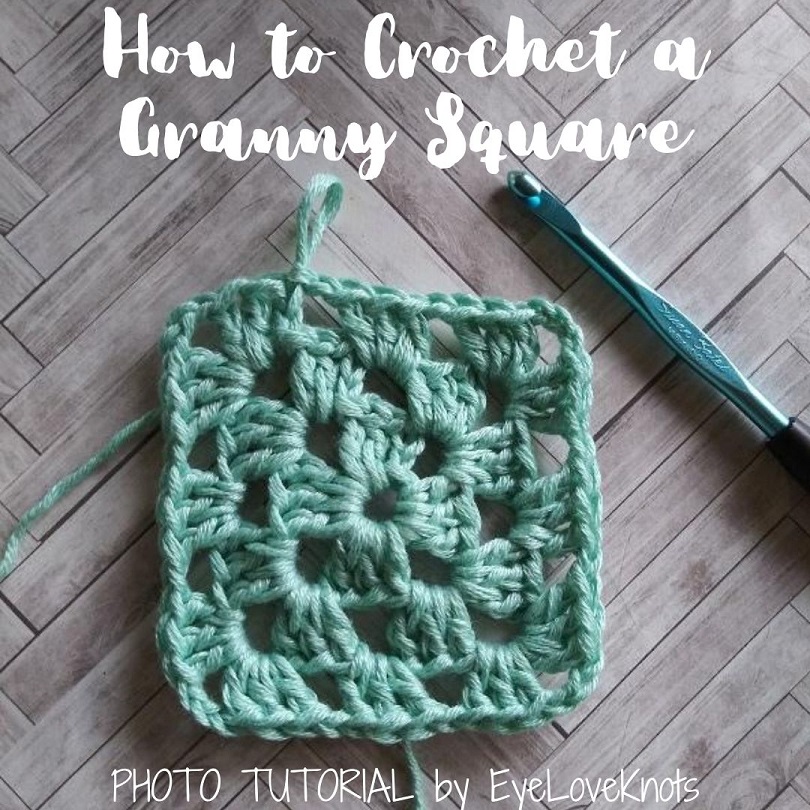
How to crochet a granny square with photo tutorial – a very easy, beginner crochet tutorial for a classic stitch pattern that can be used for many projects!
This post contains affiliate links for Lion Brand. If you make a purchase by clicking on them, I make a small commission at no extra cost to you. Thanks for your support!

I have always had quite a soft spot for granny squares and projects made from them. I think they are so classic, and versatile, and I really enjoy trying to use them in out of the box ways.
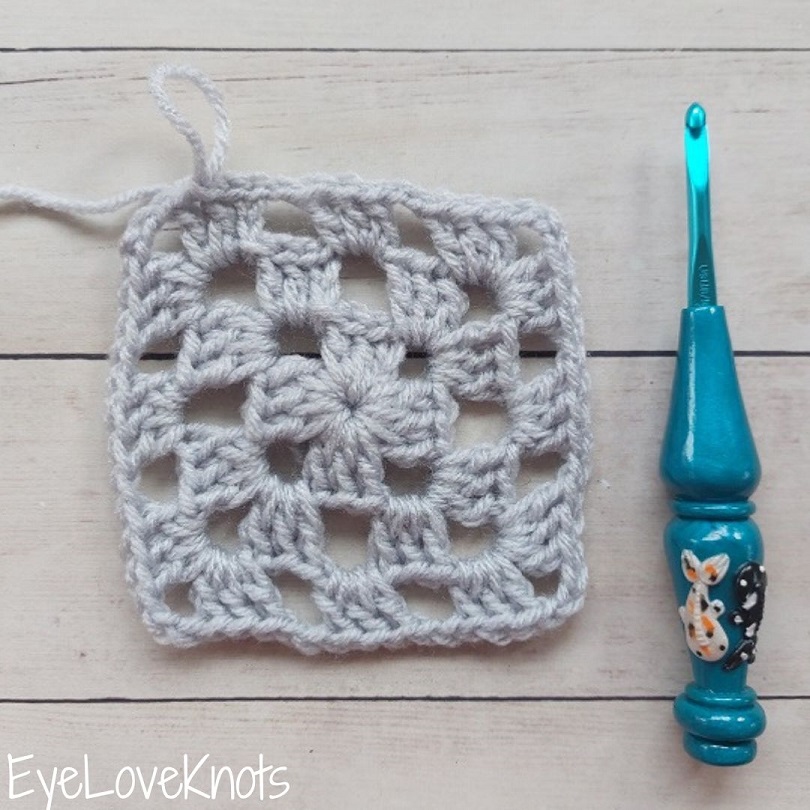
For this tutorial, I am using Lion Brand’s Coboo Yarn and an H8/5mm crochet hook. One five round square can be worked up in about 15 minutes. The main stitch of a granny square is a US double crochet (DC), and I have a photo tutorial HERE if you need a refresher.
I am not creating anything new here, but I did take the time to take the photos, edit them, and put this tutorial together, so please respect my work. Do not pin or share any of the tutorial images – just the main photo. Provide the link for others to find my page (help out me and my blog with the traffic). Do not copy and paste my work anywhere. Thank you!
The Month of March brings to us National Crochet Month (and National Craft Month too)! In honor of this, Sweet Potato 3 is hosting the Stitch a Day Blog Hop, and I am excited to join in! I’ve seen a preview of what’s to come, and I am loving it already! Each tutorial will have a full photo tutorial and video tutorial so if you’ve been wanting to learn to crochet or practice new stitches, this is a great blog hop to check out. Make sure to visit with her for all of the details and links to each tutorial as they go live. This Granny Square Tutorial is for Day 2.
What is a Granny Square?
A traditional granny square begins from the center, and is created by working rounds of US double crochet clusters followed by a chain to form a beautiful, lacy square. Work as many or as little rounds to create the perfect size square. This classic motif is most commonly associated with afghans, but really, the possibilities are endless!
What Can I Make with a Granny Square?

- Middle, Left: Granny’s Patriotic Wreath
- Middle, Middle: Gwendolyn Table Runner
- Top, Right: Granny Square Rectangle Shawl
- Bottom, Left: Gwendolyn Doily
- Bottom, Middle: Super Chunky Gia Afghan
- Bottom, Right: Laceweight Gia Earrings
Others:
- Two Grannies Headband
- Granny Square Phone Cozy
- Chunky Granny Square Baby Blanket
- Cuatro Esquinas de Abuela Afghan Square
- Gia Afghan
Chain 1, or No Chain in Between?
You may see patterns written both ways. Sometimes, usually depending on your choice of yarn and/or tension, you may find your square takes on a wonky shape with or without a single chain in between clusters. It may take on a butterfly shape with a narrowed center, and widened top and bottom, or it may look rounded with the insides bulging. You may need to experiment a little to see what direction you will take in regards to what follows a double crochet cluster.
In this tutorial, we are working with a chain space in between clusters.
You are looking for a nice, crisp square. If you feel that your square takes on a more rounded look with the insides bulging, then that’s your cue to eliminate the chain one space.
If you were working a pattern that instructed you not to work a chain space, but then you notice your square takes on a butterfly look with the corners pointing out, and the insides caving, that would be your cue that you need to add a chain one space in between clusters.
How Do I Change Colors in a Granny Square?
There are a couple ways you could change colors. My preferred way that I feel is the most seamless: After slip stitch joining the round as normal, slip stitch over into the chain space, then fasten off. Tie on the new color in the corner chain space, chain 2, and begin the next round in the new color.
How Do I Add a New Ball of Yarn When You Run Out?
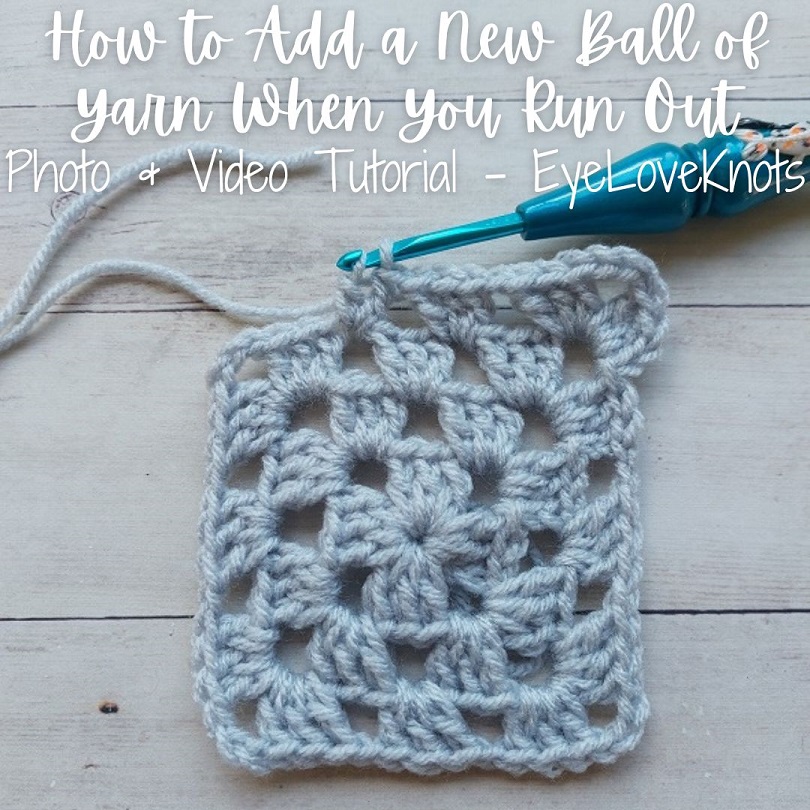
There are several ways you can join yarn together, including the Magic Knot, the Russian Join and felting for wools and wool blends, but I have a step by step photo tutorial and video tutorial showing you the most common way, which is also the same way we Change Yarn Colors, as it’s my go-to technique.
How Do I Crochet Evenly Around a Granny Square?
If you would like to add a single crochet or half double crochet border to your granny square, I have a step by step photo tutorial for both, and a video tutorial as well!
How Do I Single Crochet into the Back Loop Only Around a Granny Square?
One of my favorite ways to finish a granny square is to work several rounds of single crochet into the back loop only. The ridges left from the front loops being unworked adds just enough little detail, and if worked in multiple colors, really helps them pop, and I have a photo tutorial as well as video tutorial showing just how to do it, and examples.
Ad-Free, Printer-Friendly PDF:
If you would like a PDF version of this post, you may get one through either my EyeLoveKnots Etsy Shop for a small fee. This fee is to compensate for the views lost when you no longer need to return to the blog to for the information, as you will have your own copy. Plus! It helps fund supplies for new projects to share with you!
Shop EyeLoveKnots Etsy: How to Crochet a Granny Square.
How to Crochet a 2 Round Granny Square Video Tutorial:
How to Crochet a 3 Round Granny Square Video Tutorial:
How to Crochet Round 1:
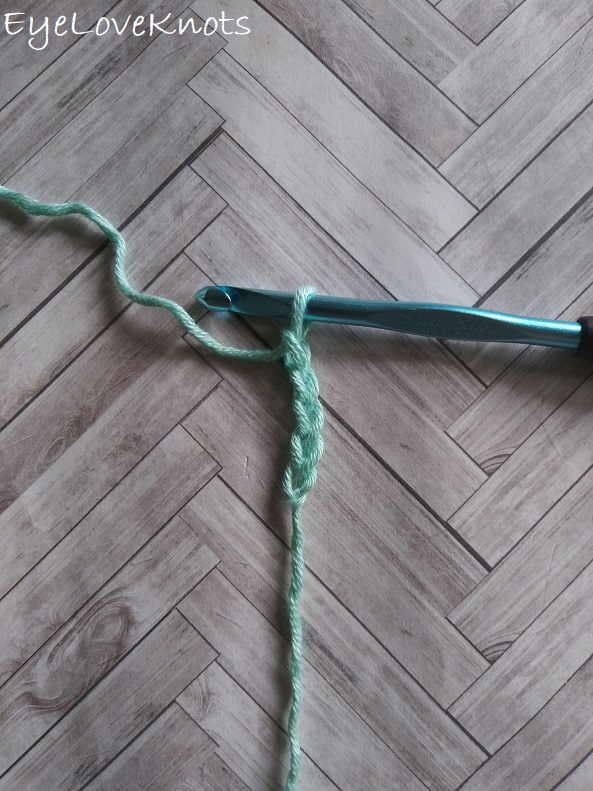
If you’ve haven’t yet, make a slip knot (photo tutorial), then work a foundation chain (photo tutorial) of 5…
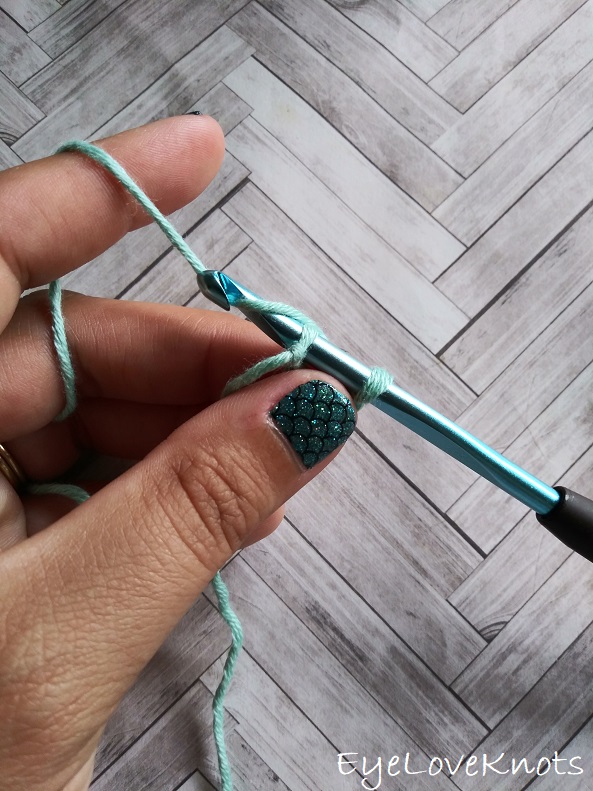
Being careful not to twist the chain just created, insert hook into the 1st chain, yarn over…
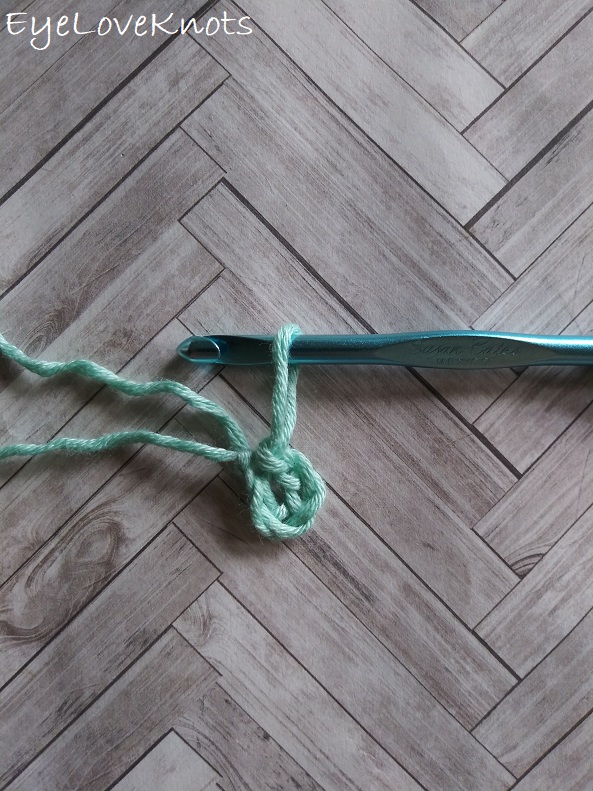
… and pull through to complete a slip stitch join. Now you have a ring.
If this was an actual pattern, you would see it written in one of these ways:
- Make a ring.
- Ch 5. Join to form a ring.
- Ch 5, sl st join.
- Chain 5, slip stitch join to form a ring.
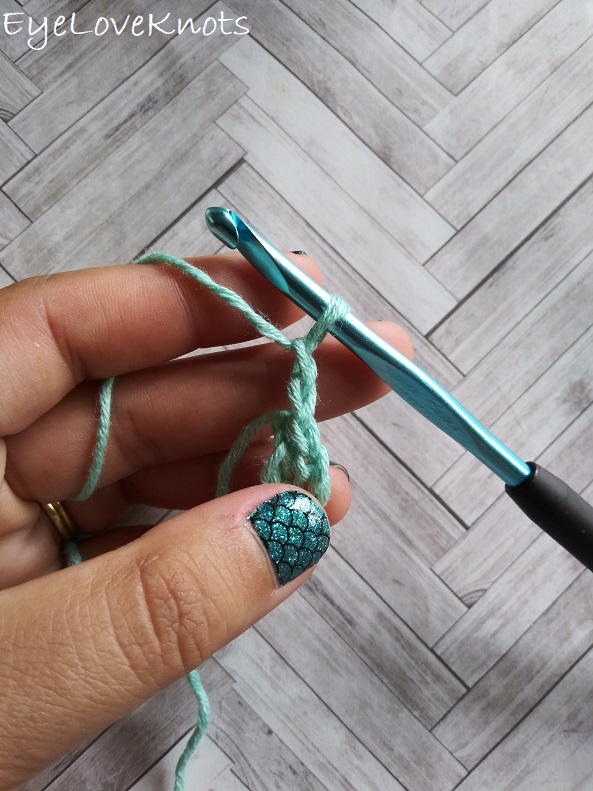
Chain 2 – this counts as our first DC of the round here and in each remaining round.
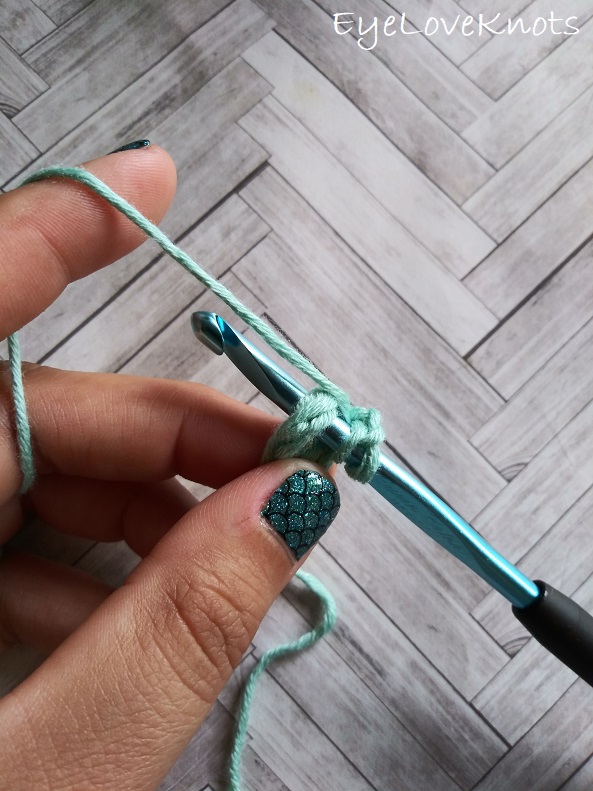
Holding the initial tail end against the wrong side of the ring (throughout all of round 1), insert hook into the center of the ring…
… and complete a DC making sure to work over that initial tail. HERE’s a photo tutorial if you need a refresher on how to work a DC. Insert hook into the center of the ring again, and complete another DC.
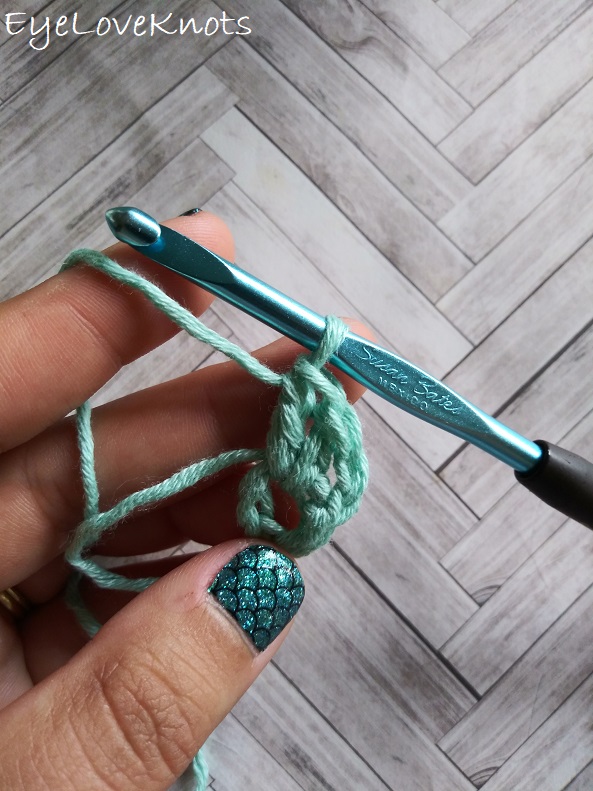
This is the first double crochet cluster, which consists of three double crochets together.
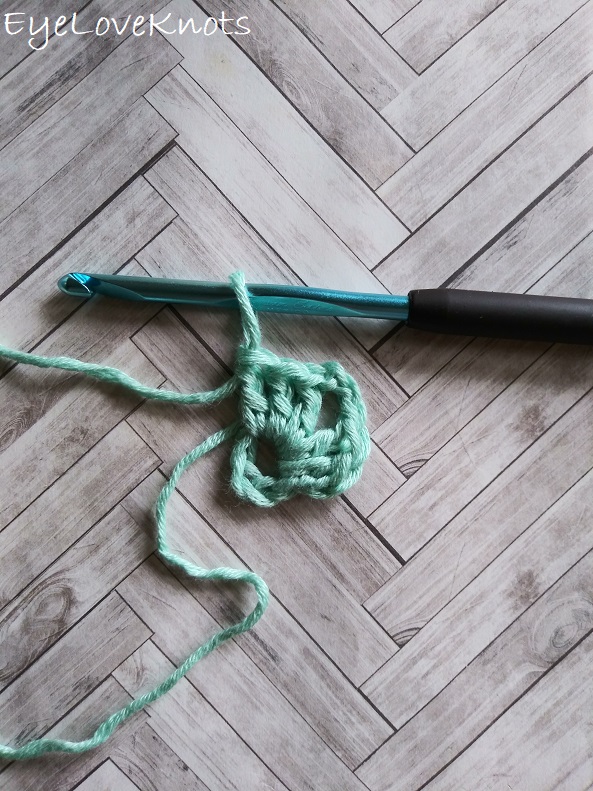
Chain 3 (which forms a corner), then work 3 more DC’s into the center of the ring. Make sure to keep holding the initial tail against the wrong side of the ring, and crochet over.
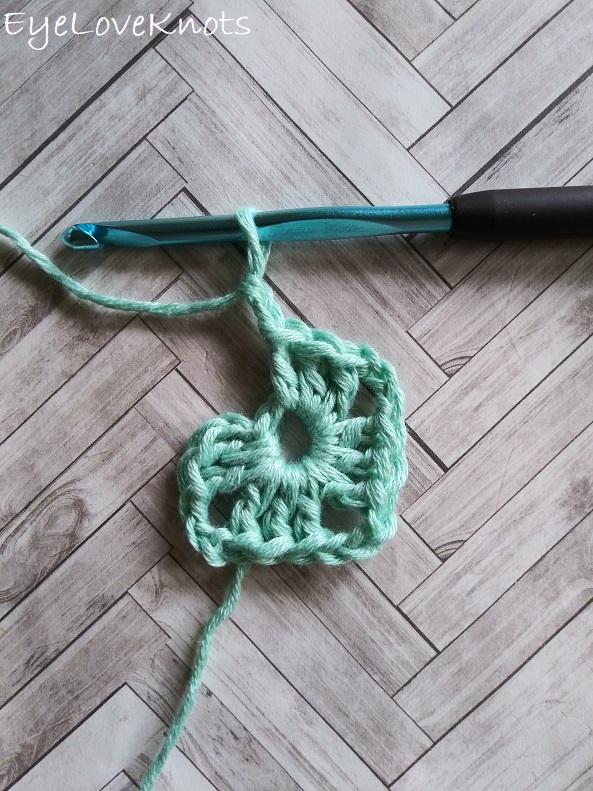
Chain 3 (to form the second corner), work 3 DC into the ring, chain 3 (to form the third corner), work 3 more DC into the ring.
For the last corner, I like to work it as a chain 2 because a chain 3 paired with the join we’re about to do, makes this corner stick out a bit weird. I do only the last corner chain space of round 1 this way.
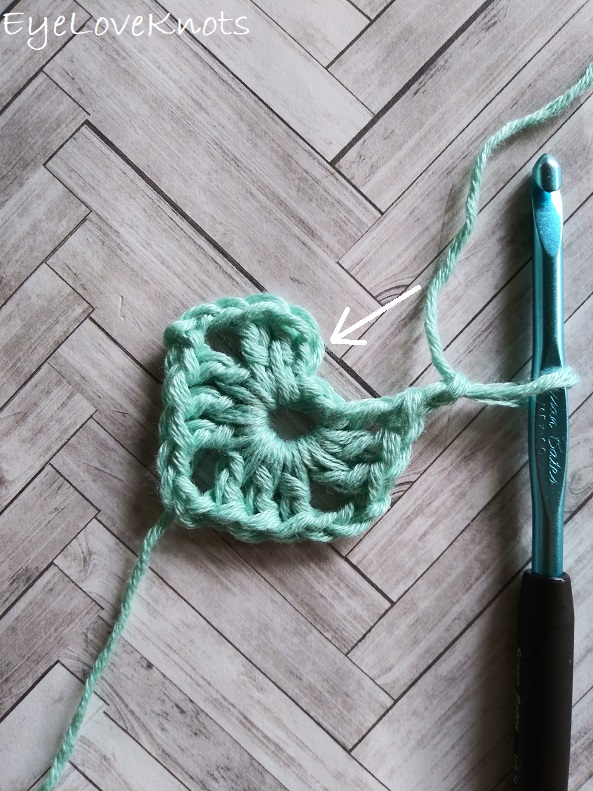
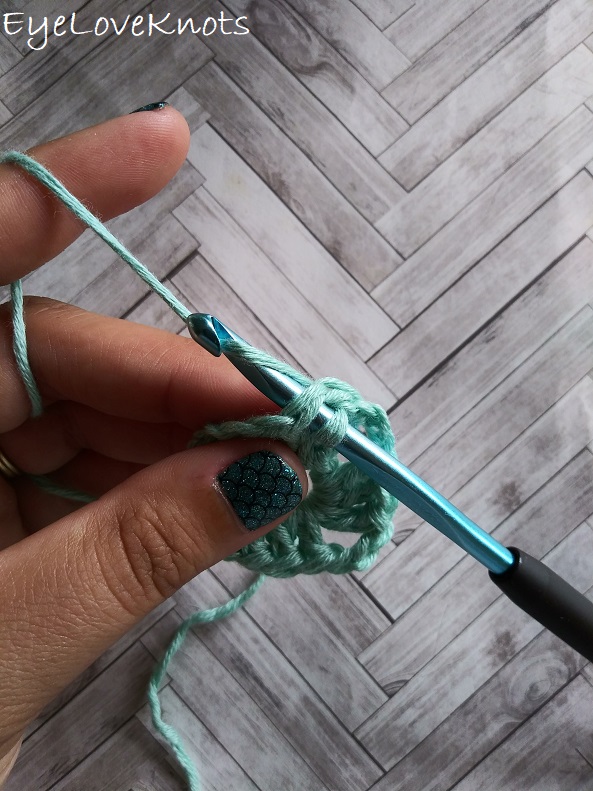
Find the top chain of the beginning chain 2…
… insert hook into this chain, yarn over and pull through to complete a slip stitch join.
*You may also see makers join to the first DC, rather than the beginning chain. You can do this as long as this isn’t the last round that you are working (because the stitch count isn’t essential until the last round).
If this were an actual pattern, you may find this instruction written as:
- Make a ring. Ch 2, 2 DC, (ch 3, 3 DC) 3x, ch 2. Join.
- Ch 5. Join to form a ring. Ch 2, 2 DC into the ring, (ch 3, 3 DC into the ring) 3x, ch 2. Join.
- Chain 5. Slip stitch join to form a ring. Chain 2, work 2 DC into the ring, (chain 3, 3 DC into the ring) 3x, chain 2. Join.
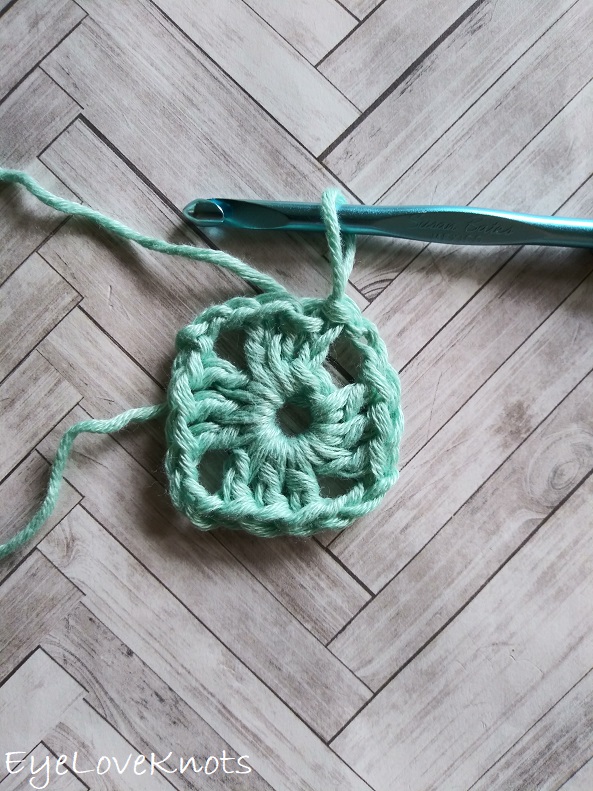
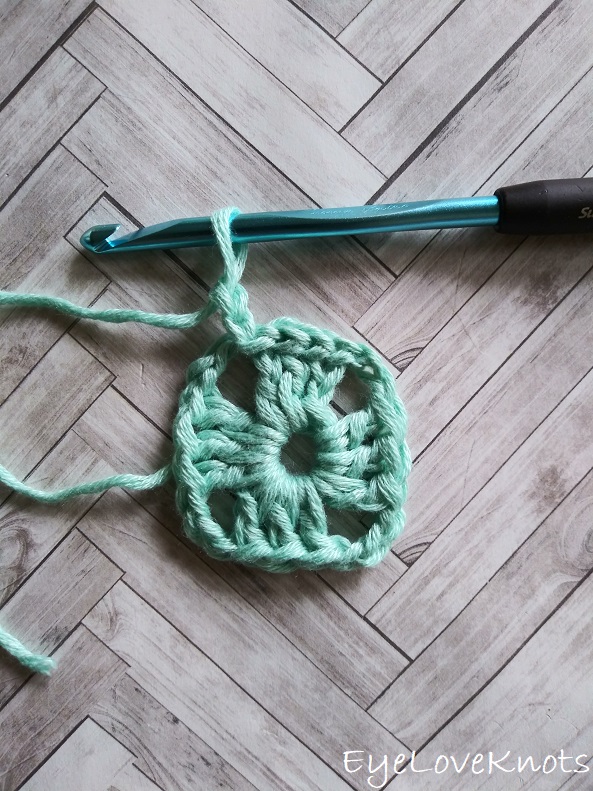
Either way, you will end up with four chain space corners, and 12 double crochets.
How to Crochet Round 2:
You can begin each new round one of two ways.
- If working in the same color, slip stitch over, and begin as we will in this tutorial, OR
- If changing colors for this round, fasten off the old color after the slip stitch join, then join the new color in the very next corner chain space, and chain 2.
To slip stitch over, insert hook into the next DC, yarn over and pull through, then insert hook into the next DC and complete another slip stitch, then insert hook into the corner chain space, and complete another slip stitch.
Chain 2…

… Work 2 DC, chain 3, 3 DC into the same corner chain space (this forms the new round’s corner).

… chain 1, then work (3 DC, chain 3, 3 DC) into the next chain space to form the next corner.
Continue working around as follows: chain 1, [(3 DC, chain 3, 3 DC) into the next chain space, chain 1] 2x. Slip stitch join to the top of the beginning chain 2.
If this were an actual pattern, you may find this instruction written as:
- Sl st over. Ch 2, 2 DC, ch 3, 3 DC, ch 1, [(3 DC, ch 3, 3 DC) next ch sp, ch 1] 3x. Join.
- Sl st over. Ch 2, 2 DC, ch 3, 3 DC into the same ch sp, [(3 DC, ch 3, 3 DC) into the next ch sp, ch 1] 3x. Join.
- Slip stitch into the next 2 DC, then into the next chain space. Chain 2, 2 DC, chain 3, 3 DC into the same chain space, [(3 DC, chain 3, 3 DC) into the next chain space, chain 1] 3x. Join.
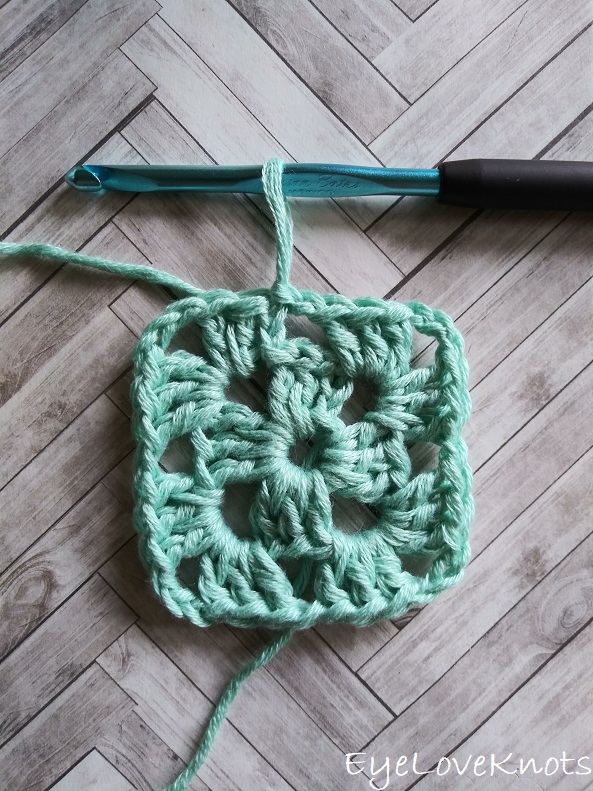
Either way, you will end up with four chain 3 space corners, four chain 1 spaces, and 24 double crochets.
How to Crochet Round 3 & Remaining Rounds:
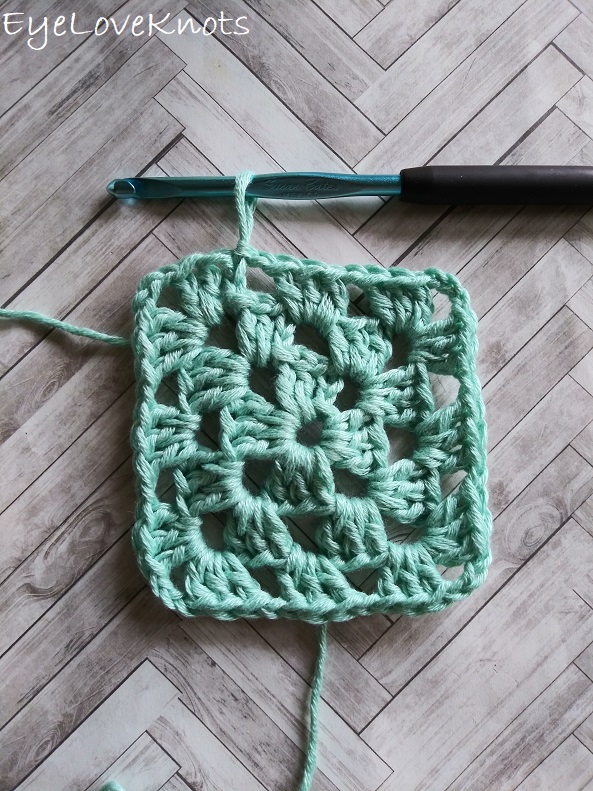
Begin each round by slip stitching over into the next chain space (or if changing colors, by fastening off, and joining the new color into the next chain space). You will work each remaining round in the same manner simply adding one more granny square cluster and one more chain one space to each side.
Round 3 may look like either of these:
- Sl st over. Ch 2, 2 DC, ch 3, 3 DC into the same ch sp, [(3 DC, ch 3, 3 DC) into the next ch sp, ch 1, 3 DC next ch sp, ch 1] 3x. Join.
- Slip stitch into the next 2 DC, then into the next chain space. Chain 2, 2 DC, chain 3, 3 DC into the same chain space, [(3 DC, chain 3, 3 DC) into the next chain space, chain 1, 3 DC into the next chain space, chain 1] 3x. Join.
Written Pattern:
Chain 5. Slip stitch join to form a ring. Chain 2, work 2 DC into the ring, (chain 3, 3 DC into the ring) 3x, chain 2. Join. (12 DC)
R2: Slip stitch into the next 2 DC, then into the next chain space. Chain 2, 2 DC, chain 3, 3 DC into the same chain space, chain 1, [(3 DC, chain 3, 3 DC) into the next chain space, chain 1] 3x. Join. (24 DC)
R3: Slip stitch into the next 2 DC, then into the next chain space. Chain 2, 2 DC, chain 3, 3 DC into the same chain space, chain 1, [(3 DC, chain 3, 3 DC) into the next chain space, chain 1, 3 DC into the next chain space, chain 1] 3x. Join. (36 DC)
R4: Slip stitch into the next 2 DC, then into the next chain space. Chain 2, 2 DC, chain 3, 3 DC into the same chain space, chain 1, [(3 DC, chain 3, 3 DC) into the next chain space, chain 1, (3 DC into the next chain space, chain 1) 2x] 3x. Join. (48 DC)
R5: Slip stitch into the next 2 DC, then into the next chain space. Chain 2, 2 DC, chain 3, 3 DC into the same chain space, chain 1, [(3 DC, chain 3, 3 DC) into the next chain space, chain 1, (3 DC into the next chain space, chain 1) 3x] 3x. Join. (60 DC)
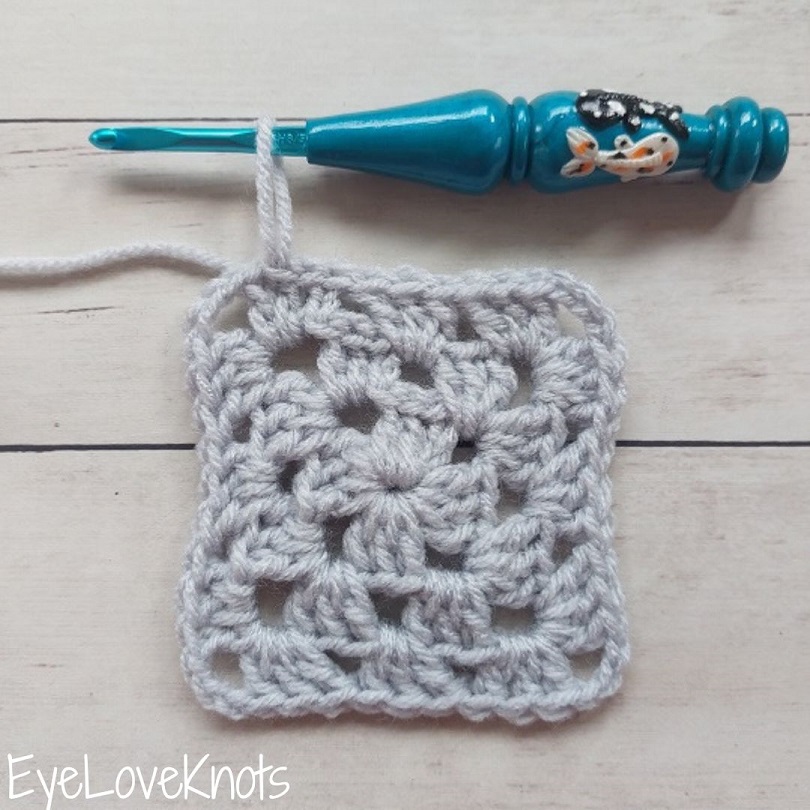
And there you have it! A finished granny square.
Join one of our awesome Facebook groups to share your creations, and see what others are up to!
– Yarn Crafts & Coffee Community
– DIY Home On Rockwood Lane
– Alexandra Lane Lifestyle
Linked Up To…
Little Cottage Link Party #52 – Love my Little Cottage
The Hearth and Soul Link Party – April, the 21st Century Housewife
Handmade Monday #188 – Sum of their Stories
The Really Crafty Link Party #230 – Keeping it Real
Ginx Woolly Linx Party August – Ginx Craft
Craftastic Monday Link Party – Sew Can Do
Little Cottage Link Party #63 – Love my Little Cottage
Party in Your PJs #321 – The Apple Street Cottage
{Wow Me} Wednesday #467 – Ginger Snap Crafts
Hookin’ on Hump Day #220 – Moogly
Your Whims Wednesday #472 – My Girlish Whims
Oombawka Design Crochet – The Wednesday Link Party 360
Charming Homes & Gardens Link Party 18 – Dabbling and Decorating
Tuesday Turn About #61 – My Wee Abode
Scrappy Stitchers Link Party #66 – Stitches n Scraps
Thursday Favorite Things #452 – An Artful Mom
Creatively Crafty Link Party #236 – Life Beyond the Kitchen
Artsy-Fartsy Party #305 – Artsy Fartsy Mama
Creative Compulsions Linky Party #72 – My Bijou Life
Pin Party #381 – The Pin Junkie
Traffic Jam Weekend Linky Party #245 – My Bijou Life
Friday Favorites – Busy Being Jennifer
Create, Bake, Grow & Gather Party #432 – Shabby Art Boutique
Link Your Stuff – Annemarie’s Haakblog
A Morning Cup of Joe – The Cottage Market
Scraptastic Saturday Party 301 – Scrapality
Snickerdoodle Create Bake Make Link Party 348 – EyeLoveKnots
Craft Schooling Sunday – Creative Jewish Mom
Happiness is Homemade Link Party #336 – Create with Cynthia
Unlimited Monthly Link Party 15 – Grammy’s Grid
558th Inspire Me Tuesday – A Stroll Thru Life
Fabulous Party #336 – Lou Lou Girls
Linky Ladies Party #193 – The Purple Poncho
Thank you so much for doing this fantastic Tutorial! It is so easy to follow and I love the invisible join you did! I have purchased a pattern for a Lalylala, Kira the Kangaroo. That is what I have trying to work on, been hectic here. Have a wonderful week Alexandra!
Hugs, Kim http://acitywithoutaswing.blogspot.com/
Sounds cute. I just love Kangaroos! Can't wait to see it 🙂
Great tutorial! Thank you for sharing at Party In Your PJ’s.
Thank YOU Ann!
This is a great tutorial! This is the next best thing to having someone sit beside you. I like the way your instructions read. I’ve always been intimidated by the pattern language! I love granny squares and haven’t done any in a long time. Thanks for sharing it at TFT.
So happy to hear that! Always love getting feedback on my tutorials and patterns. Granny squares are one of my favorite things to make because they are so versatile. Who knew you could do so much with a tiny little square?
Great tutorial! It will be featured on this week’s Creative Compulsions.
Michelle
https://mybijoulifeonline.com
Thanks so much, Michelle!