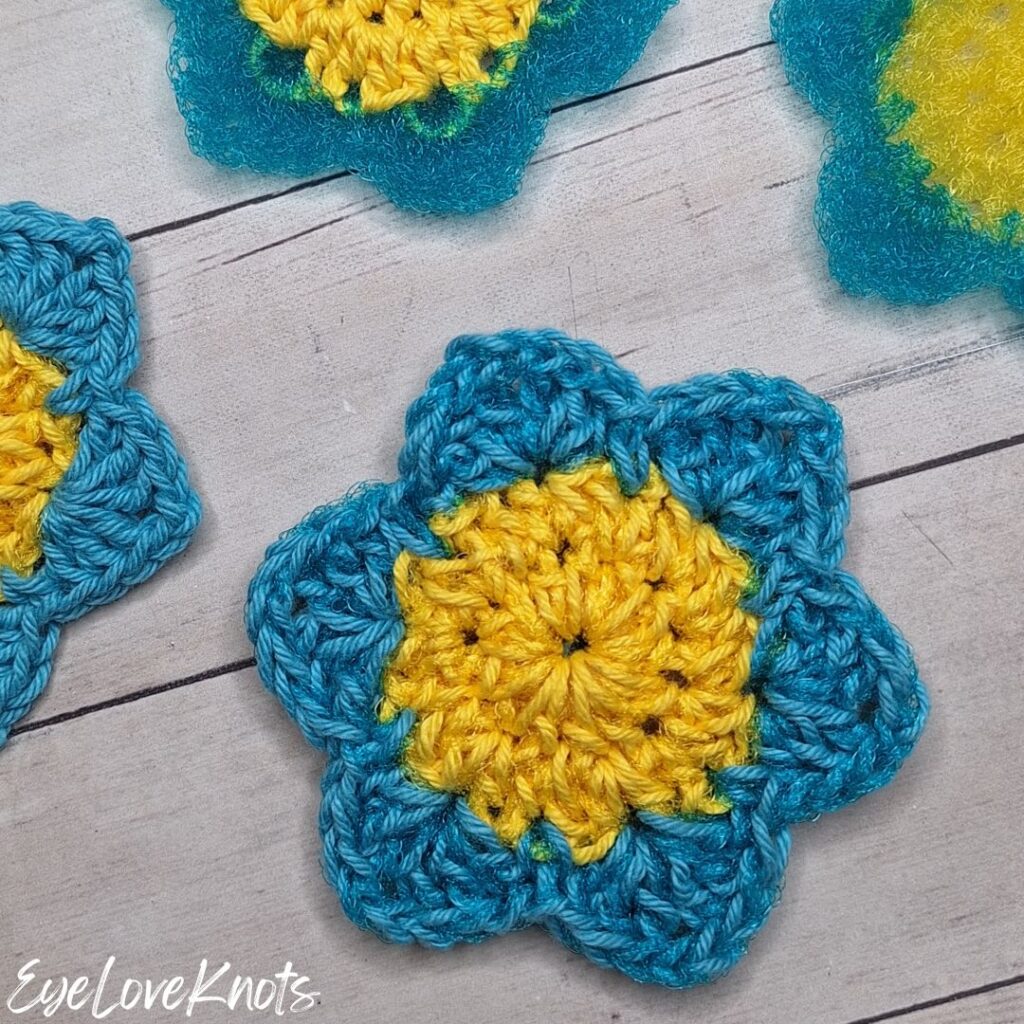
This is a free crochet pattern showing how to crochet flowers with scrubbie yarn that are excellent as dish scrubbies, face scrubbies and body scrubbies, but you can use them for a variety of projects too if you want to use them as appliques or join them together. With just a small amount of yarn needed, these are great for scraps of yarn too!
This post contains affiliate links for Amazon, Etsy and WeCrochet. If you make a purchase by clicking on them, I make a small commission at no extra cost to you. Thanks for your support!
Find the free crochet pattern instructions below, or purchase a printer-friendly, ad-free PDF on Ravelry by clicking here.
In a hurry? Pin this for later when you have more time.
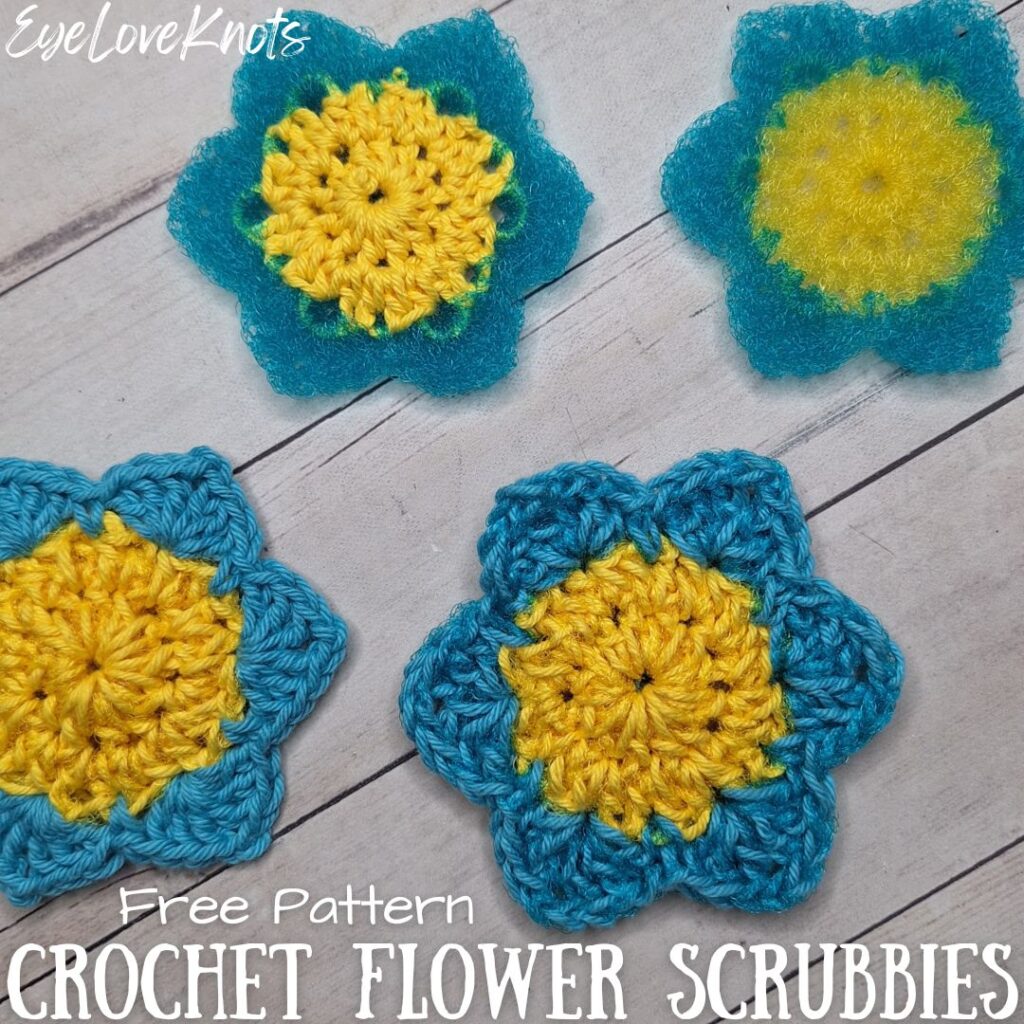
Whether you use them as dish scrubbies, face scrubbie or a body scrubby, these crocheted flower scrubbies are absolutely adorable and quick to work up! They don’t require a ton of yarn either, which makes them perfect for stashbusting.
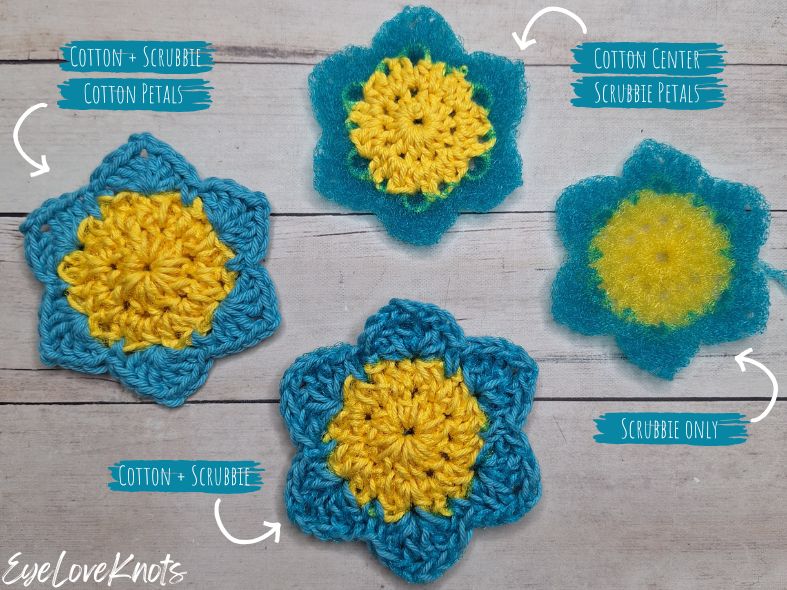
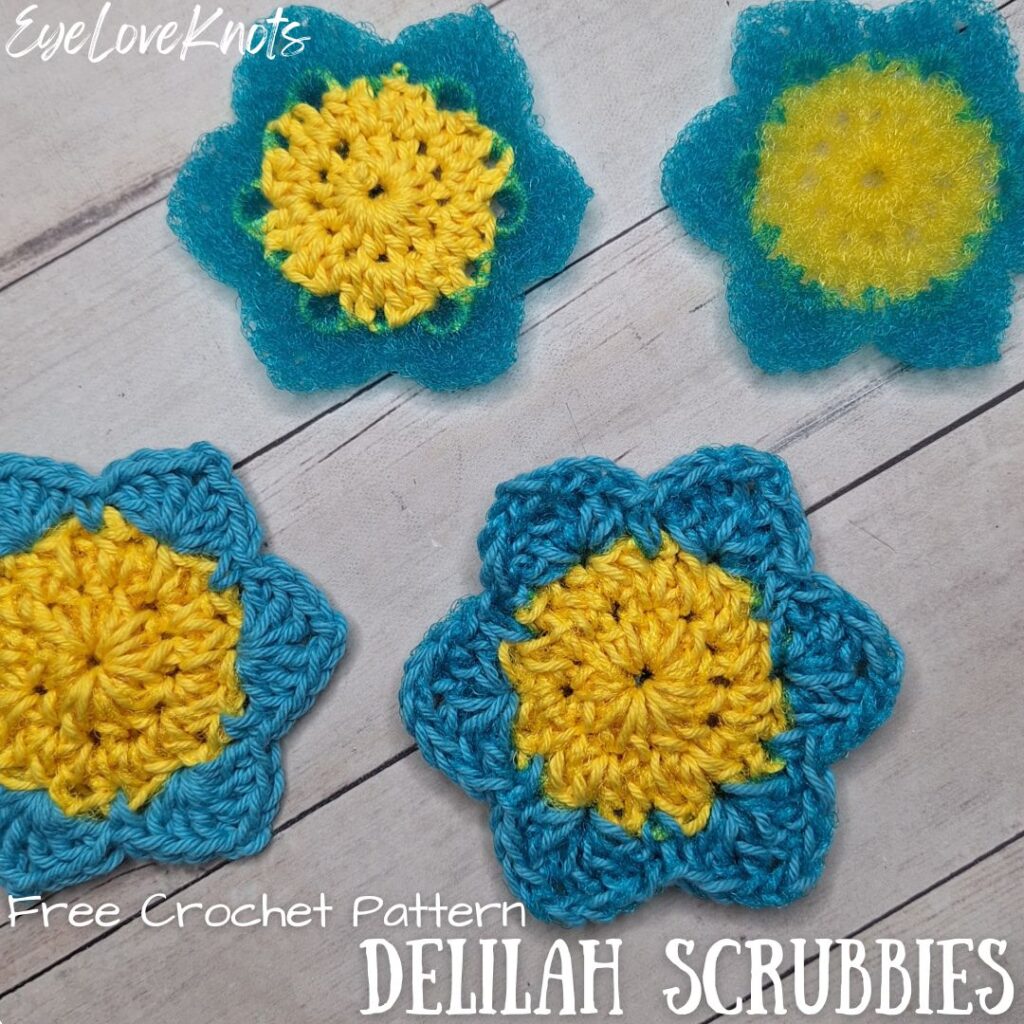
I’ve been wanting to try Lion Brand Stitch Soak Scrub for quite some time. With some slight modification to my Delilah Coasters, I combined cotton yarn together with the scrubbie yarn, and got to work on some cute flower scrubbies.
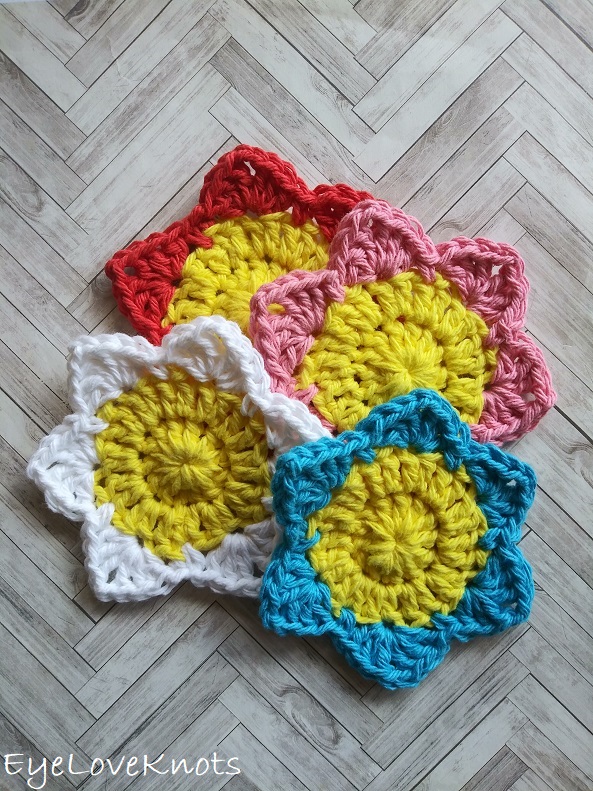
If you’ve never worked with scrubbie yarn before, I might suggest trying the flower pattern in cotton yarn first (or any yarn you like depending on what you will do with it) just to become familiar with the stitch pattern. In a cotton yarn, you will have a small coaster or you can use it as a facial scrubbie.
I had fun trying different yarn combinations, such as the scrubbie on it’s own, held together with cotton for some of the scrubbie or held together with the cotton for the entire scrubbie, and my two favorites are cotton plus scrubbie held together for the center and then cotton only for the petals and then cotton plus scrubbie held together for the entire flower.
Not only do I think it makes for a more substantial scrubbie, but it also makes it so much easier to see your stitches when you hold the Stitch Soak Scrub together with another yarn. In the times I worked with the scrubbie yarn on it’s own, I found myself guessing more where my stitches were – in a way, simply trusting my gut as I went.
As the name implies, these are great scrubbies for washing with like a loofah, or doing dishes, but they’re also great decoratively. I could see stringing them up to make a garland, but you could also sew them onto bigger projects, like a blanket, and the scrubbie yarn would really add a lot of dimension and interest.
You May Also Like These:
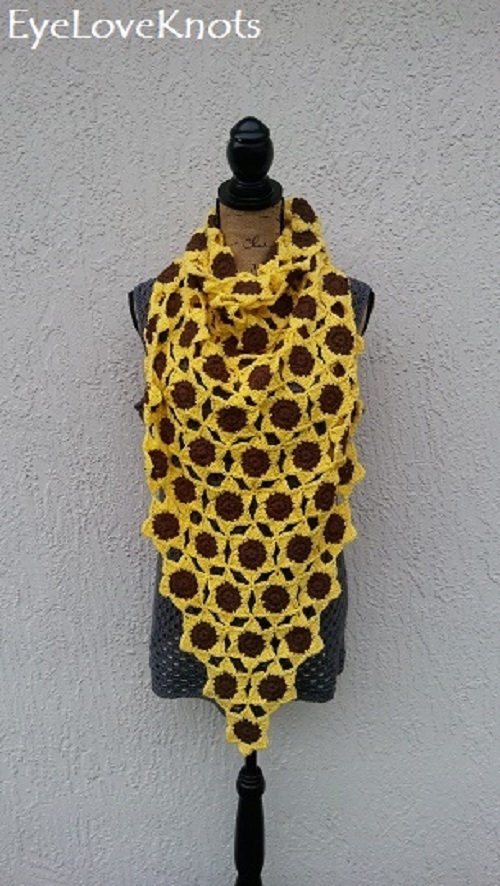
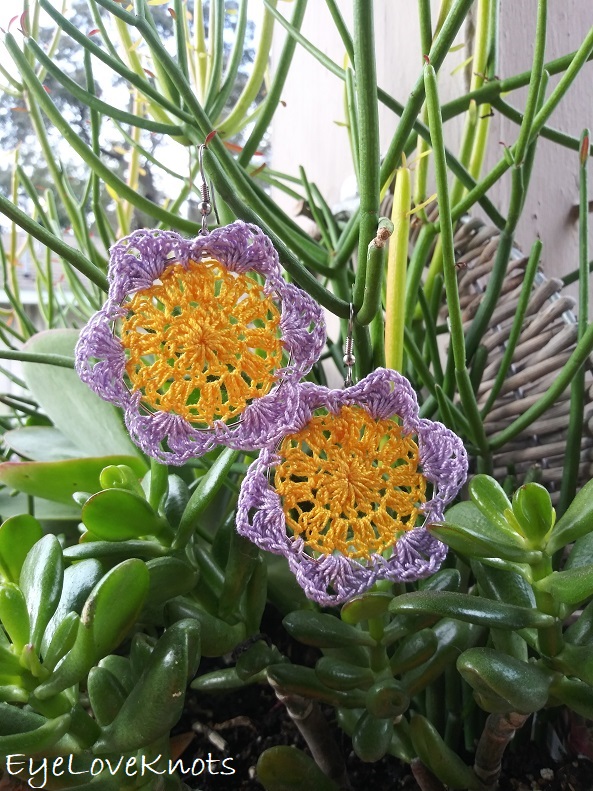
Seems I’m just addicted to this cute crochet flower motif in the Spring!
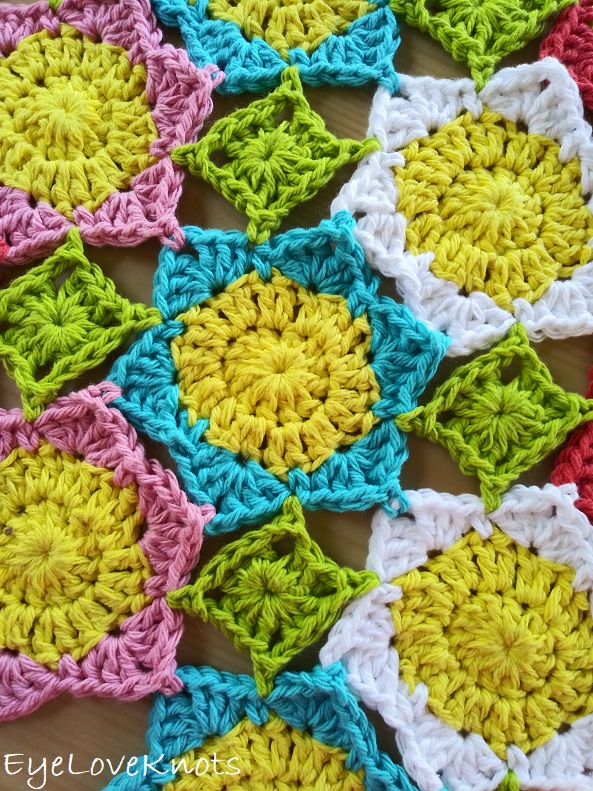
You may enjoy some of these other fun, free crochet patterns in the Delilah Series:
Delilah Table Runner & Delilah Wall Hanging
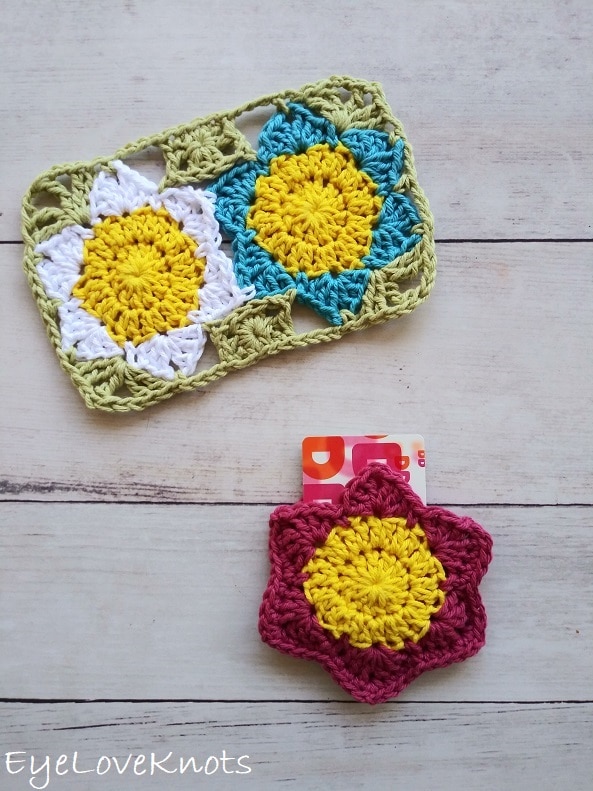
Delilah Mug Rug & Delilah Gift Card Holder
Crochet Events
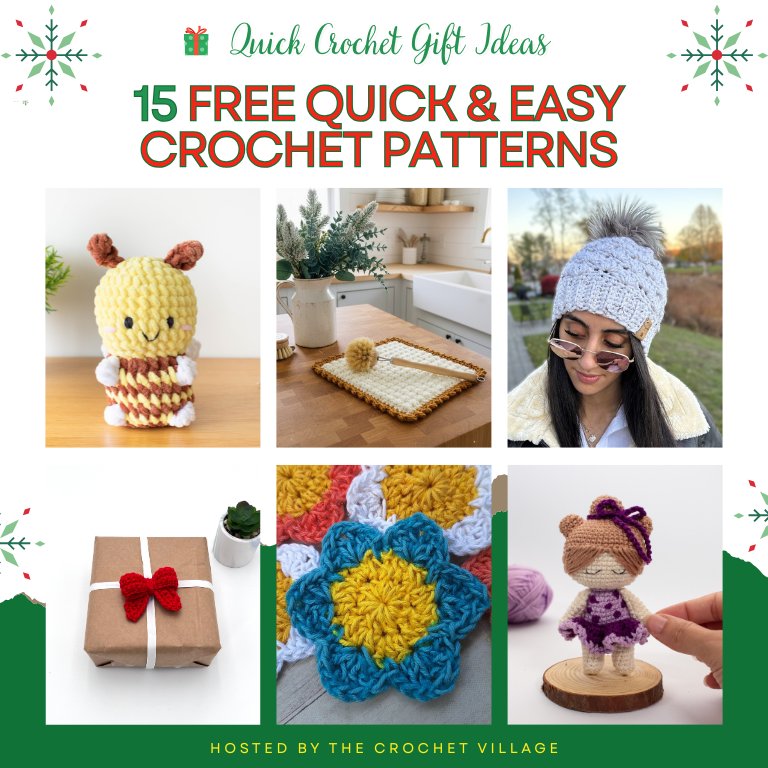
The Delilah Scrubbies are a part of the Quick Crochet Gift Ideas Blog Hop hosted by The Crochet Village.
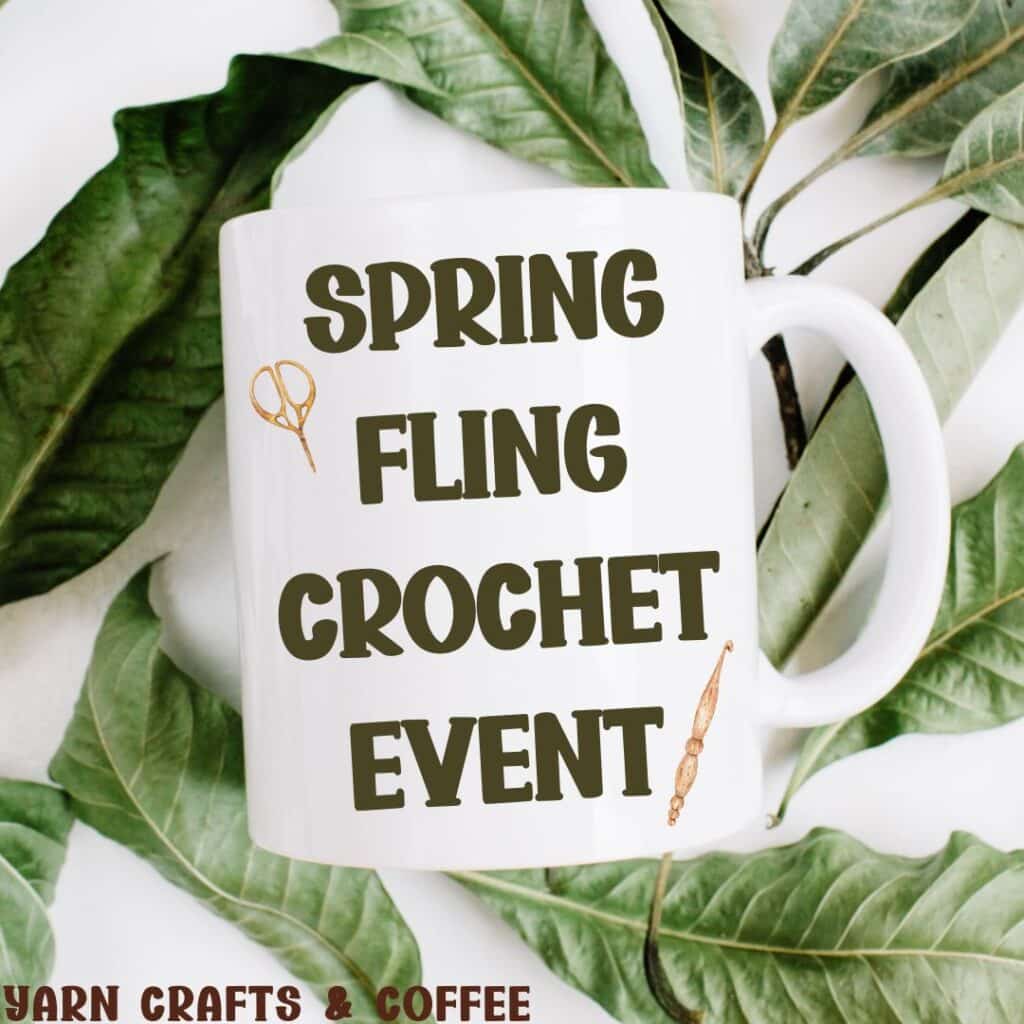
The Delilah Scrubbies were originally designed for the Spring Fling Crochet Event hosted by my sister blog, Yarn Crafts & Coffee.
Ad-Free, Printer Friendly PDF:

EyeLoveKnots newsletter subscribers get access to Exclusive Subscriber Content, like the free PDF of this pattern via the Free File Library – you’ll find the tab on the top menu. The library is password protected so sign up for my newsletter and you’ll receive a Welcome email containing this month’s password, or if you are already a blog subscriber, reference your latest newsletter for this month’s password. From the library, you’ll be able to access the PDFs via Google Drive – you do not need to have a Google Drive account to view and download the PDF.
For a Limited Time…
Through 12/11/25 at 11:59pm EST, you can grab a free copy of the PDF for the Delilah Scrubbies on Ravelry using code found inside Quick Crochet Gift Ideas Blog Hop post. We both earn our income from the number of pageviews our blogs see, so please do not share the code, but instead share the link to this post or the Blog Hop post so others can find it. Thank you!
After 12/11/25 or for non-subscribers, if you would like a PDF version of this post, you may get one through either my Etsy Shop or Ravelry Shop for a small fee. This fee is to compensate for the views lost when you no longer need to return to the blog to for the information, as you will have your own copy.
In a hurry? Pin this for later when you have more time!


Materials:
- 24 Yards of a Worsted Weight #4 Cotton Yarn and Scrubbie Yarn – I used WeCrochet Dishie in the Bumblebee and Azure colorways paired together with Lion Brand Stitch Soak Scrub in the Cyber Yellow and Turquoise colorways; 6 Yards of each of the 2 for the center of my flowers, and 6 Yards of each of the 2 for the Petals
- H8/5mm Crochet Hook
- Tapestry Needle for Weaving in Ends
- Optional, Jewelry Pliers
Material Notes:
Yarn Alternatives to Dishie: Circulo Natural Cotton Maxcolor 4/6 or Queensland Coastal Cotton
For scrubbing purposes, if you choose to combine a yarn with the scrubbie yarn, you’ll want to use a cotton yarn. If you decide to use these flowers decoratively made with scrubbie yarn, you can easily combine it with any yarn out of your stash – these flowers would make nice appliques or string them up for a garland.
Gauge is not essential for this project so you can easily substitute another weight yarn that might be in your stash, such as a Lightweight #3 Yarn like Queensland Coastal Cotton Fine or Lion Brand 24/7 Cotton DK.
We have lots of great crochet hooks in our Yarn Crafts and Coffee Yarn Shop. The most popular, and preferred by Candace and Emily, are the Clover Amour Crochet Hooks with the soft handles and smooth metal hook. Alexandra prefers metal crochet hooks with large, ergonomic clay handles and just loves the fun designs from SiennasBowtique and BronzeShepherdStudio! If your preference is wood, the LYKKE brand are lovely, smooth and sturdy.
Jewelry Pliers are an excellent tool to use to help weave in the ends of tough yarns, such as cotton yarns and chunkier yarns, that can be quite tough on the fingers when weaving in with just fingers and a tapestry needle. Sore thumbs and frustration can be a thing of the past by simply using jewelry pliers to help pull the tapestry needle through the work. Make sure the eye of the needle is facing up so you can see directly down it and carefully pull, wiggling as needed. If it gets caught and you tug too hard, it will break the eye of your needle.
Time Spent:
Just over 15 minutes per flower.
Measurements:
Taken from the position of one petal at the top center and measured from tip of top petal to tip of bottom petal by width.
- With Dishie only: 3 7/8″ by 3 1/4″
- With Dishie Center & Scrub Yarn Petals: 3 3/4″ by 3 1/4″
- With Dishie + Scrub Yarn for Center & Dishie for Petals: 4″ by 3 3/4″
- With Dishie + Scrub Yarn for Entire Flower: 4 1/4″ by 3 7/8″
- With Stitch Soak Scrub only: 3 5/8″ by 3 1/8″
Gauge – Not Essential:
Diameter taken after Round 2 with WeCrochet Dishie only: 2 1/2″
Abbreviations (US Terms):
- SC – Single Crochet (Photo Tutorial)
- HDC – Half Double Crochet (Photo Tutorial)
- DC – Double Crochet (Photo Tutorial)
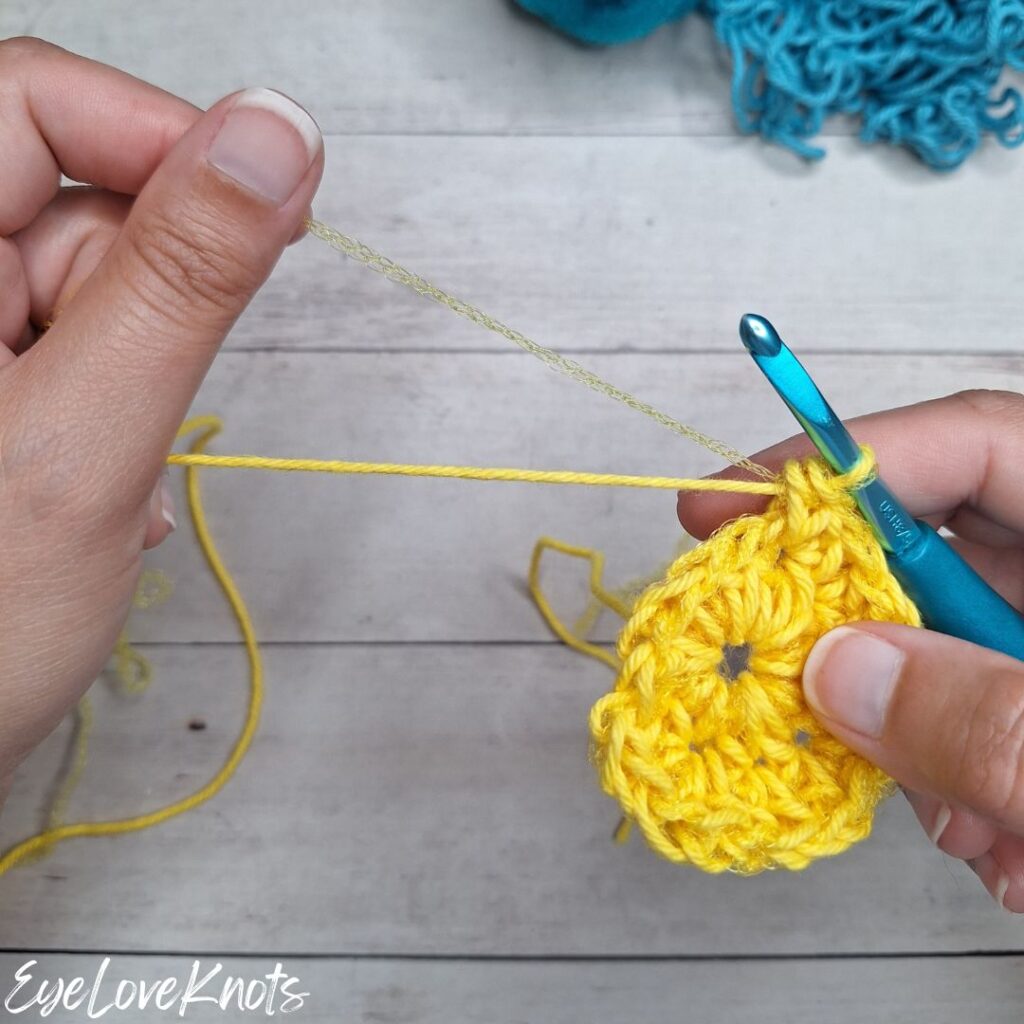
Tips for Working with Scrubbie Yarn:
Leave a longer tail than usual when you start – this will help you later when you’re ready to weave in your ends.
Try to pull up on your hook a little when working the different parts of the stitches so they are a little taller than usual this way they all stay consistent in size and don’t bunch up, especially if you’re working one section with just one yarn or the other. It will also make it easier to pull your hook through as your work.
When pulling your hook through, try to turn the hook so it’s facing directly down the center, as opposed to a little to the left or to the right, so the hook won’t get caught in parts of the stitches as you pull through the fabric.
When holding the yarn strands together, try to keep a looser tension on the working yarn so the scrubbie yarn doesn’t outstretch the cotton yarn.
Use jewelry pliers to help with weaving to save your fingers.
Pattern Notes:
Beginning chain does not count as a stitch.
Slip stitch join to the first stitch of the round, not the beginning chain.
While you can also work in the more traditional ways of pulling new color through in the last yarn over of the previous stitch (I do have a photo and video tutorial for this technique – How to Change Yarn Colors in Crochet), I find that doing so in this manner distorts the fabric and disrupts the colors. For the most seamless color change, I recommend after joining the round as normal to yarn over and pull through with the new color, then pull the original color tight (it will disappear), or to fasten off the center color, and rejoin the new color in any stitch.
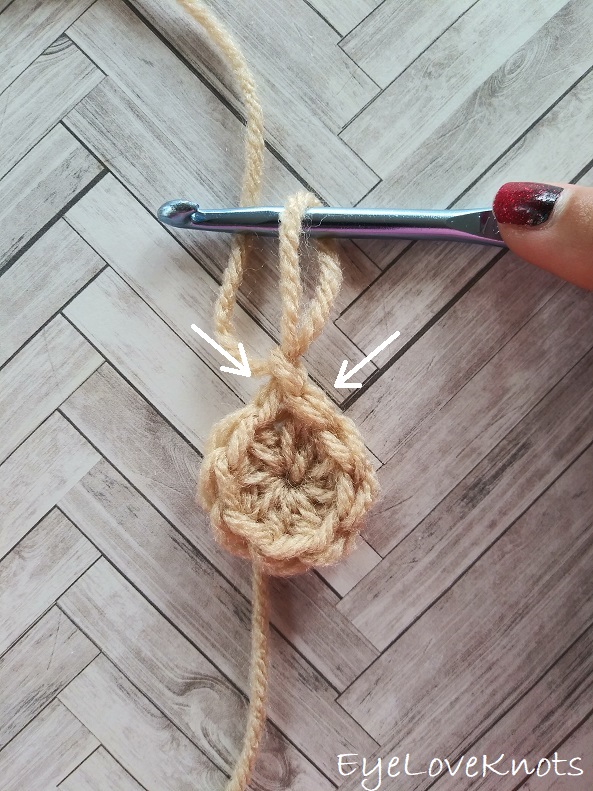
I work my increases a little different than most, and that is that the first stitch from the first set of increases is done in the first stitch of the round, which will appear just to left of the beginning chain, then the round will be worked as normal, and the final stitch of the round will be the second stitch of the first set of increases, and it will be worked into the same stitch as the first, and appear just to the right of the beginning chain. You can see a photo tutorial of this in my How to Keep a Straight Seam post.
Though there are only three rounds, and a straight seam isn’t really an issue, this is my preferred method – you can work in your preferred increase method for the center as long as you end up with 24 stitches.
Crochet Flower Scrubbie Video Tutorial:
Crochet Scrubbie Pattern:
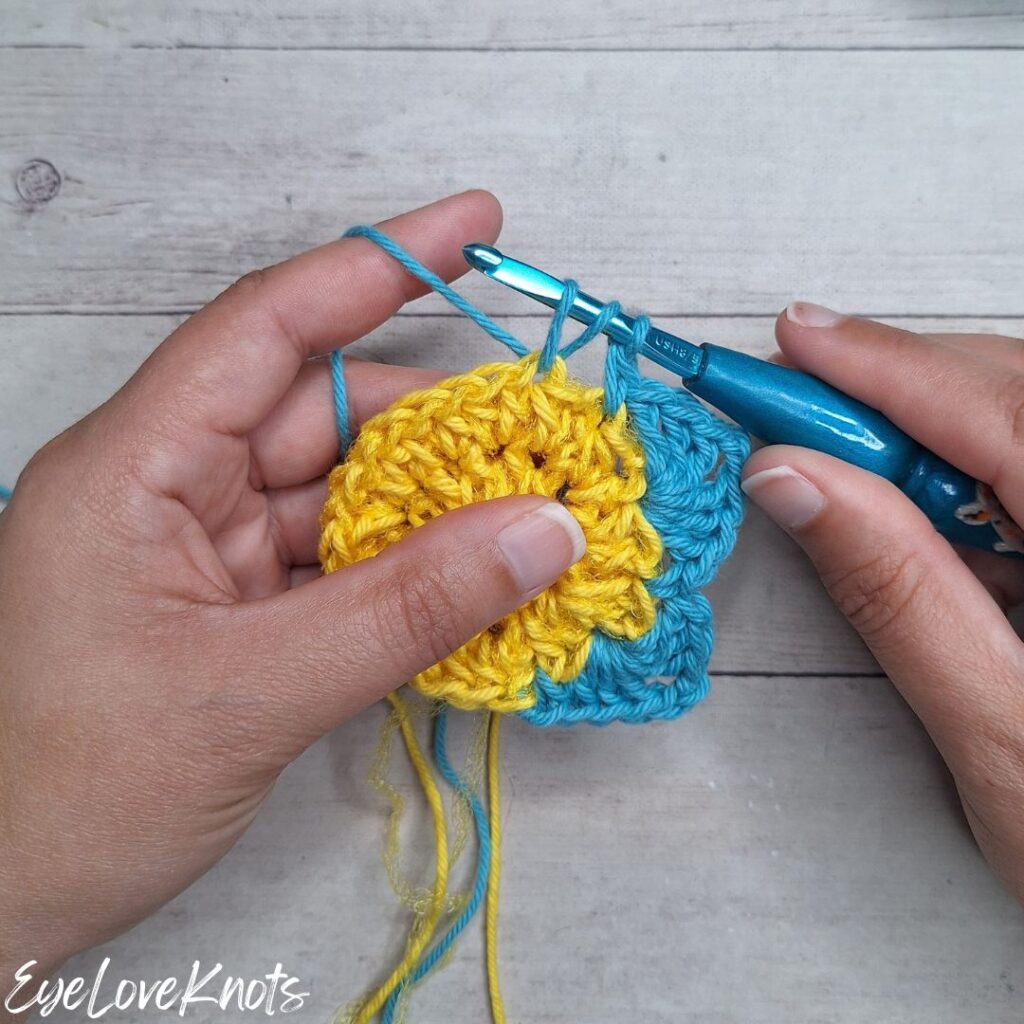
You can work in any combination of one strand only or two strands held together. I experimented with different combinations, but my two favorites are cotton plus scrubbie held together for the center and then cotton only for the petals and then cotton plus scrubbie held together for the entire flower.
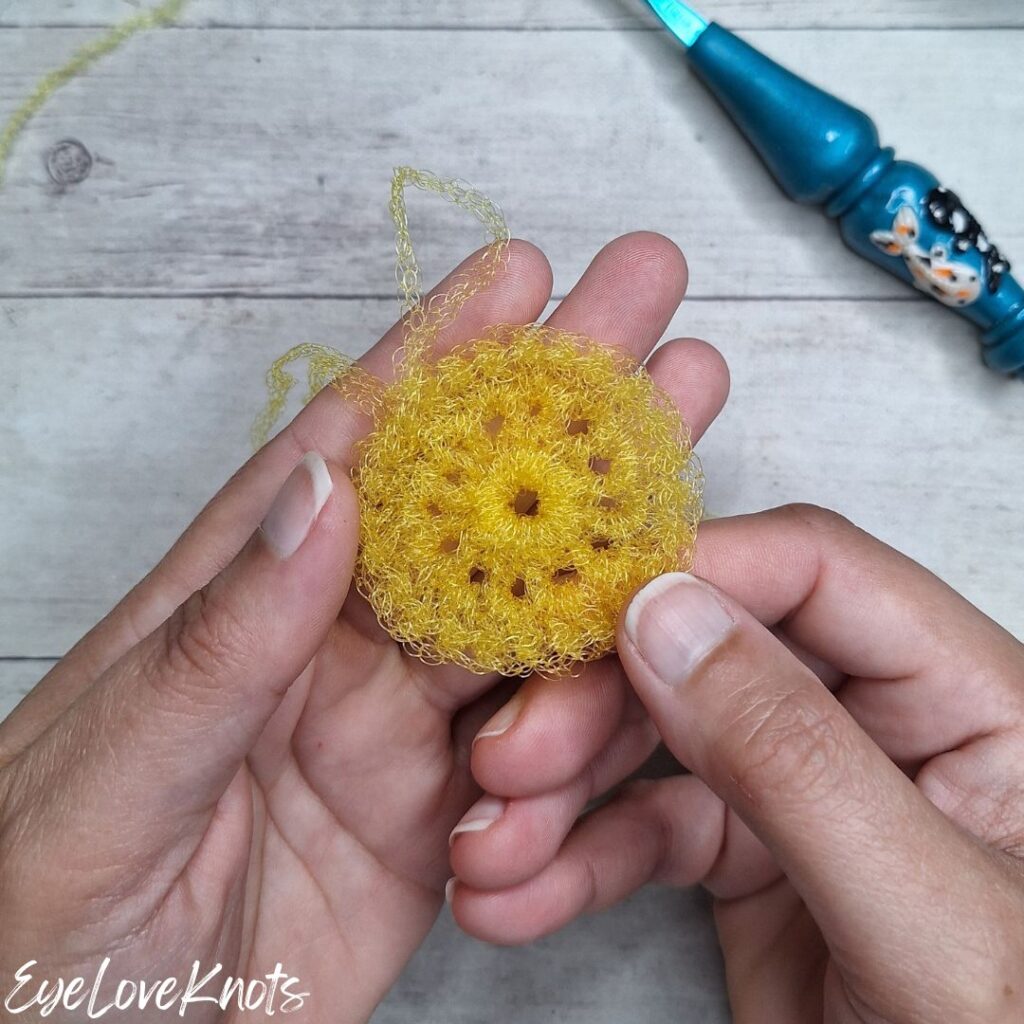
In Center Color, chain 5. Slip stitch to the first chain to form a ring. Chain 1. Work 12 HDC into the ring. Join. (12 HDC)
R2: Chain 1. HDC into the 1st HDC, 2 HDC into each of the next 11 HDC, HDC into the same HDC as the 1st. Join with Petal Color, and fasten off Center Color. (24 HDC)
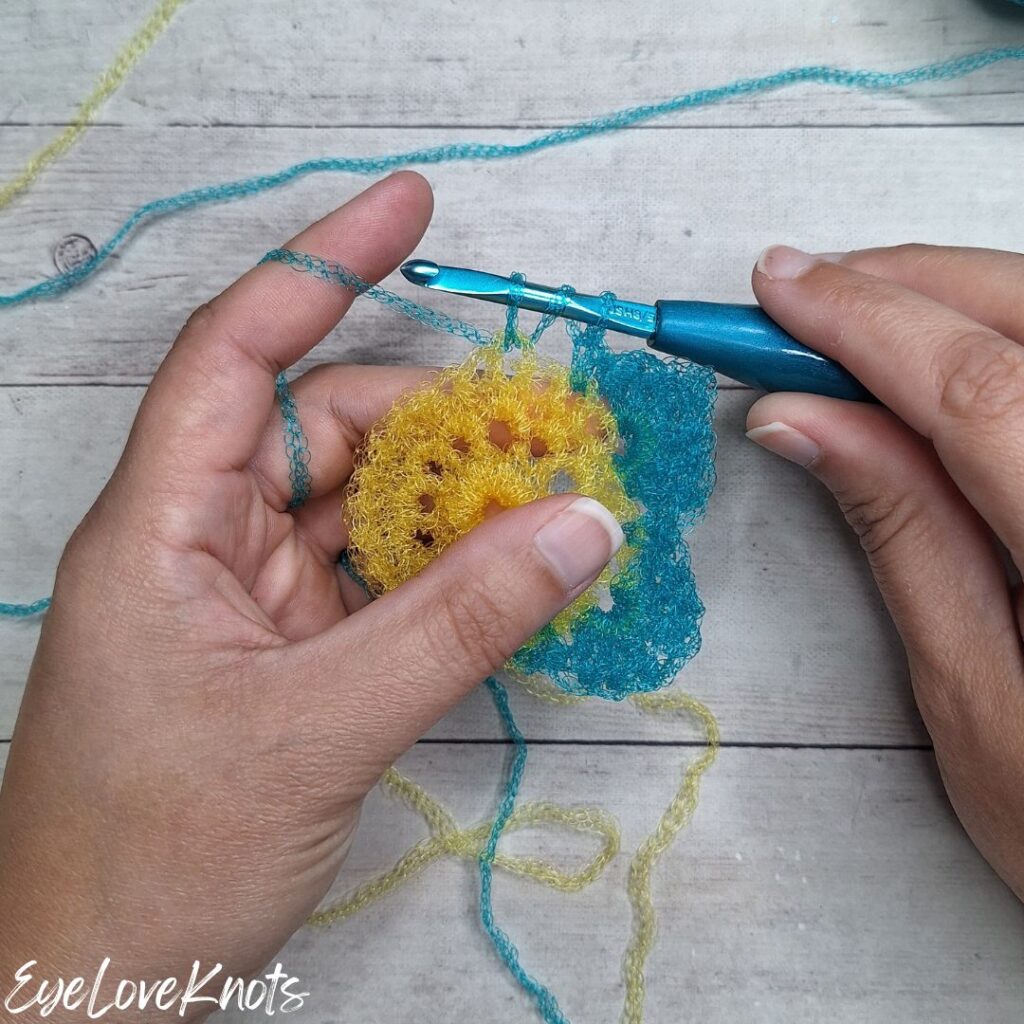
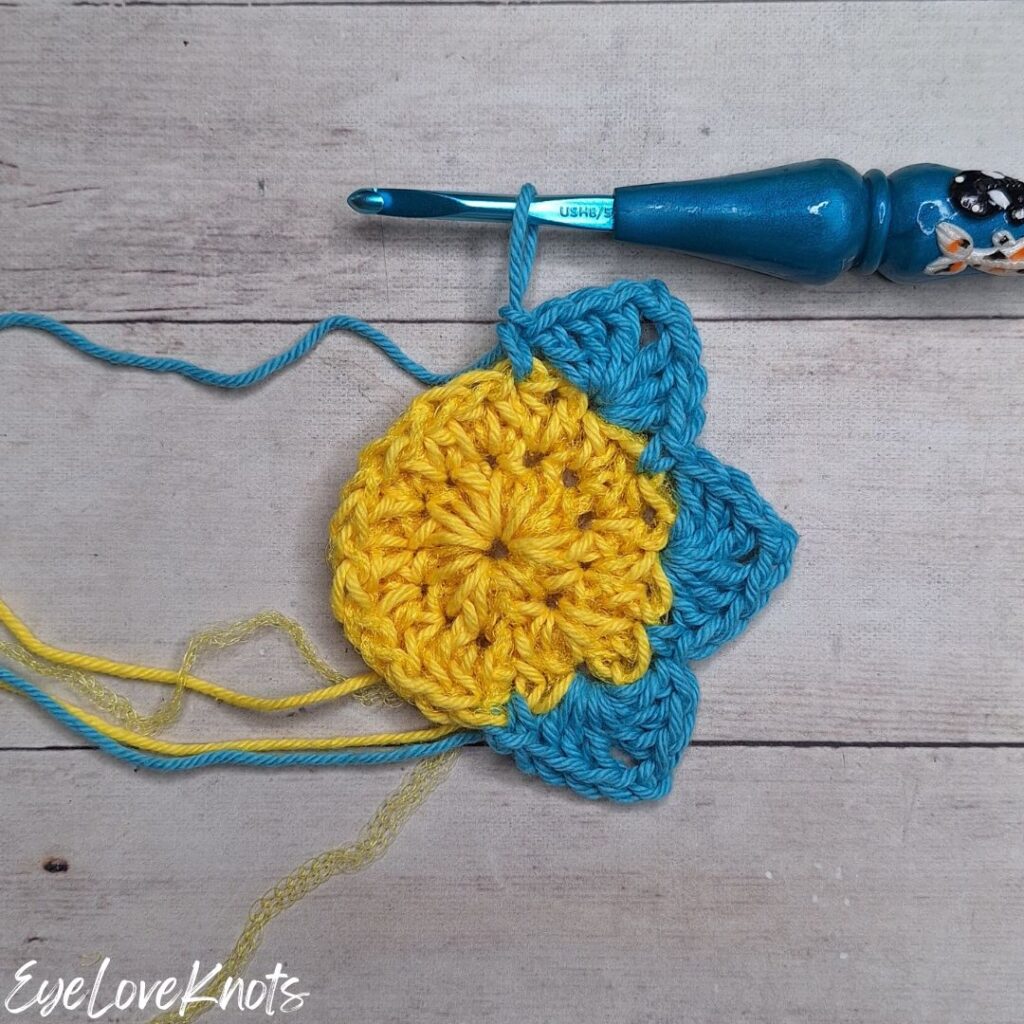
R3: In Petal Color, chain 1. SC into the 1st stitch, skip the next stitch, (3 DC, chain 2, 3 DC) into the next stitch, skip the next stitch, [SC into the next stitch, skip the next stitch, (3 DC, chain 2, 3 DC) into the next stitch, skip the next stitch] 5x. Join. (6 Petals, 6 SC)
Fasten off, and weave in ends.
Please feel free to make and sell your own items made using this pattern, but keep in mind, this written pattern and my photos are protected by copyright. Please DO NOT claim this pattern as your own nor should you sell my pattern. DO NOT re-publish my photos as your own. DO NOT copy and paste my pattern anywhere, link to it instead so other’s can visit. Making videos providing instructions how to make my projects on any social media platform is also not permitted.
Join one of our awesome Facebook groups to share your creations, and see what others are up to!
– Yarn Crafts & Coffee Community
– DIY Home On Rockwood Lane
– Alexandra Lane Lifestyle
Linked Up To…
Leave a Reply