This is a free crochet pattern and video tutorial showing how to crochet a floral mug rug that is perfect to sit your coffee/tea on and a sweet treat, or use as a doily.
This post contains affiliate links for Amazon, LoveCrafts, Etsy, Lion Brand and WeCrochet. If you make a purchase by clicking on them, I make a small commission at no extra cost to you. Thanks for your support!
Find the free crochet pattern instructions below, or purchase a printer-friendly, ad-free PDF on Ravelry by clicking here.
In a hurry? Pin this for later when you have more time.
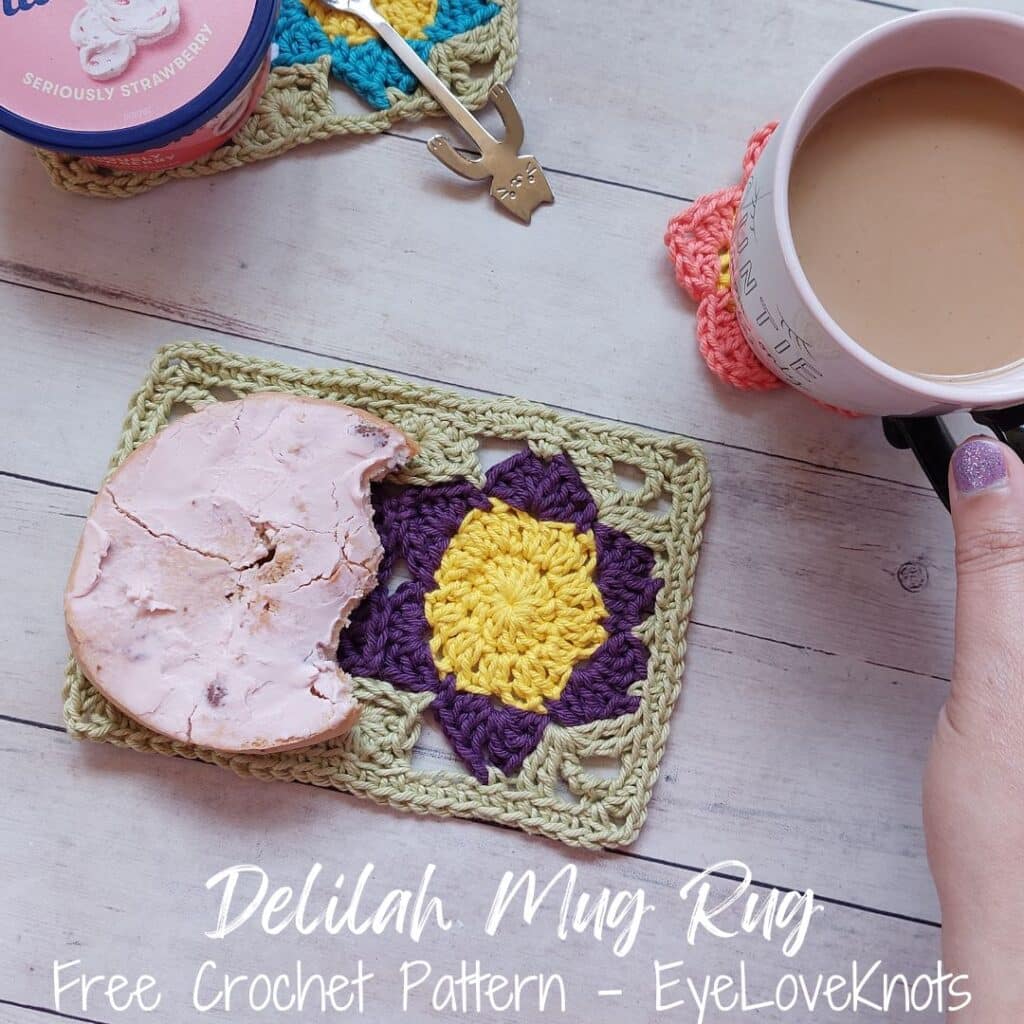
It’s May! You know what that means? Time for April Showers Bring May Flowers! Last year, I shared a Forget me Not Applique, Delilah Coasters, Delilah Coin Purse, Delilah Table Runner and Delilah Wall Hanging.
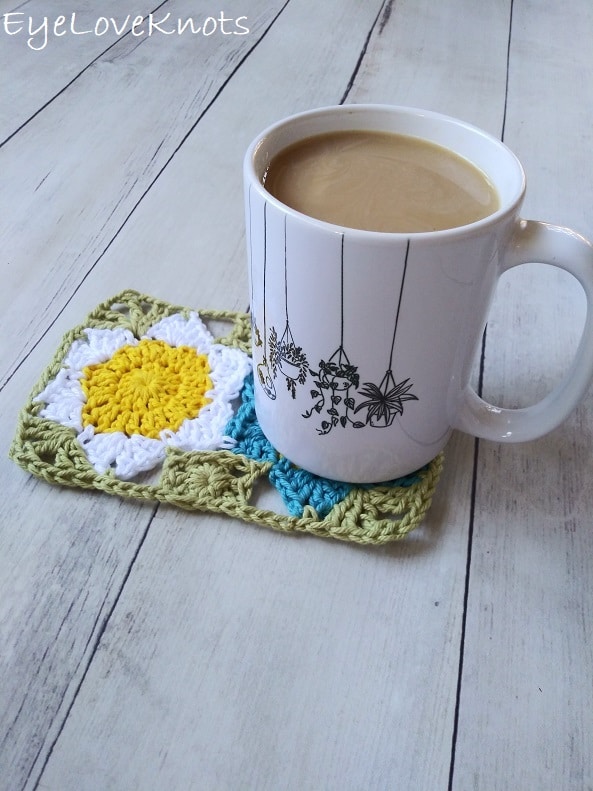
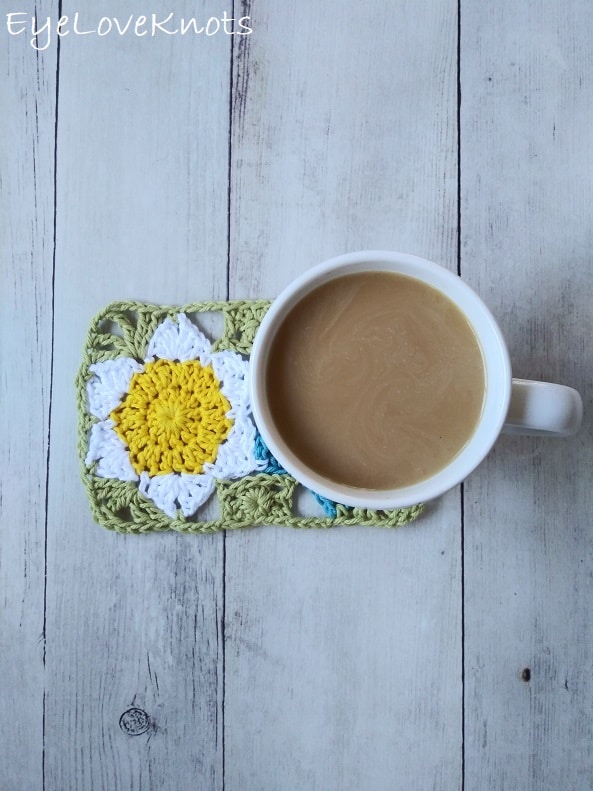
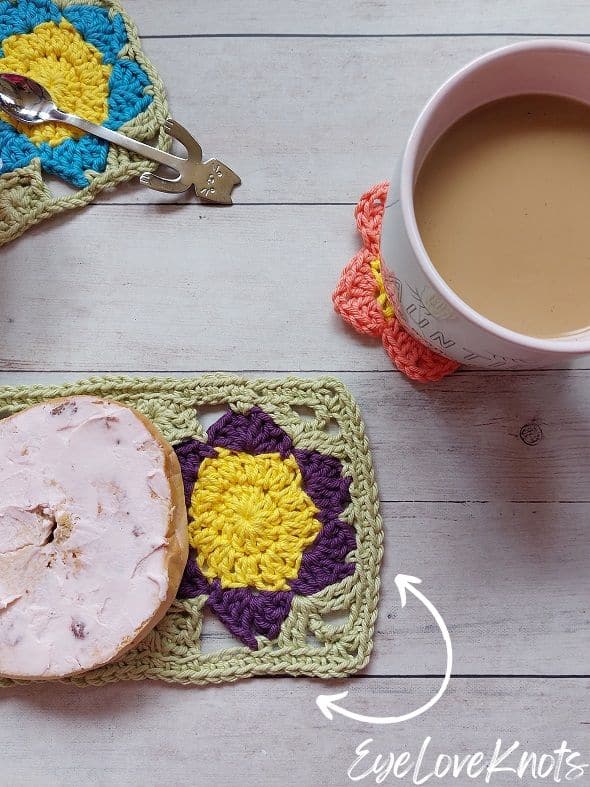
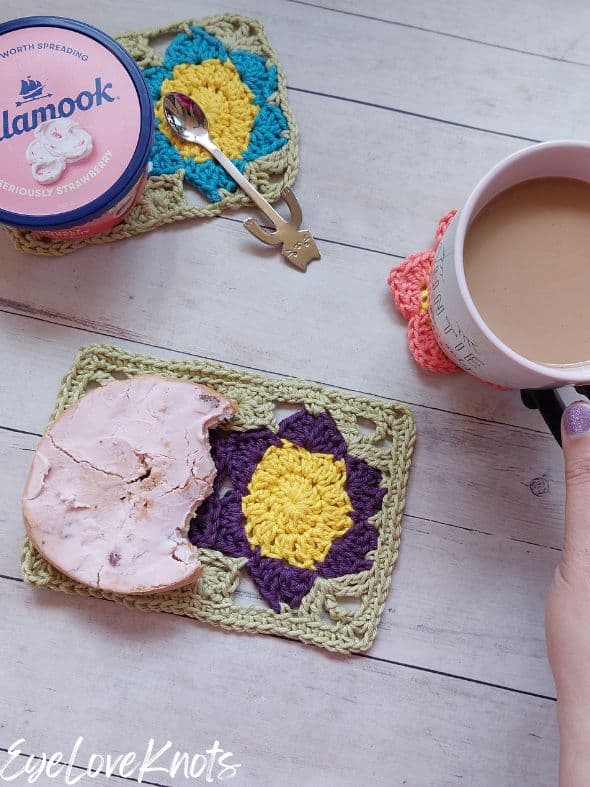
This mug rug is perfect for sitting your coffee/tea on it and a sweet treat on the other flower. I love this Hanging Plants Coffee Mug I got from MoonwakeDesignsCo on Etsy. This cup is smooth and comfortable to hold with an awesome hanging plant design. This is the larger 15 ounce one, but if I ordered another, I would like to try the 11 ounce size as I think it would be a little better for the amount of coffee I brew with my Keurig.

Or use it as a doily! This coconut soy cactus candle from InspireLites on Etsy with the Baja Cactus Blossom scent is my favorite!
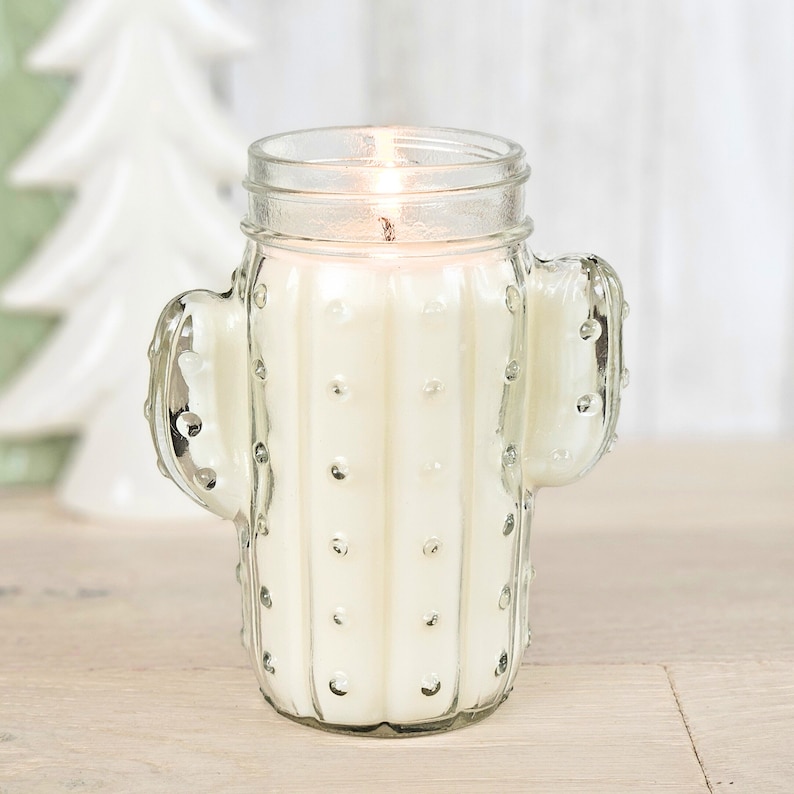
She no longer has them available with the cactus cut out, but she does have these Cactus Mason Jar Candle, and you can add the Baja Cactus Blossom scent to it or any candle in the shop!
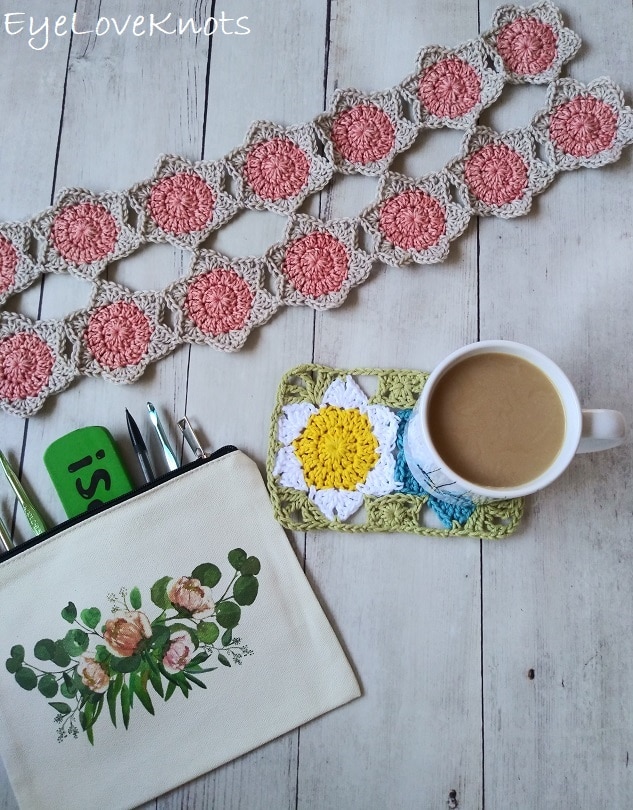
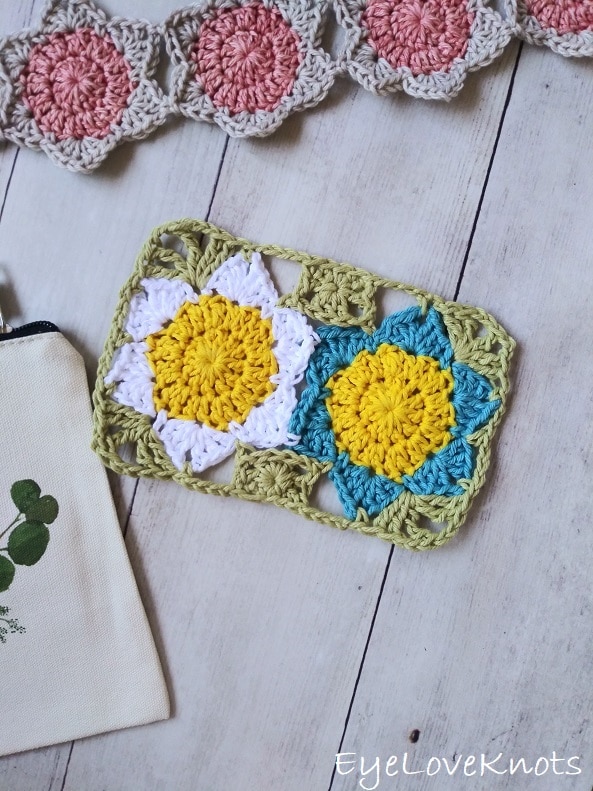
Here’s a sneak peek at one of my upcoming April Showers projects! It’s going to be a cardigan using a lightweight #3 yarn – I’m using Emma’s Comfy Cotton from Four Purls. How cute is this Eucalyptus bag I got from MoonwakeDesignsCo on Etsy?! It’s really a cosmetic bag, but the perfect size for storing and carrying around my hooks and other important tools, like scissors. This one can be personalized with a name on it, but I wanted just the flowers.
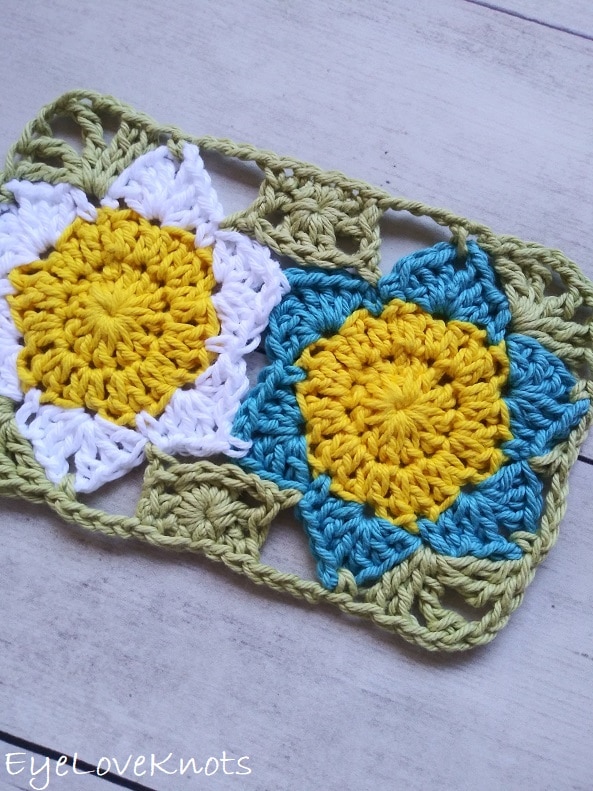
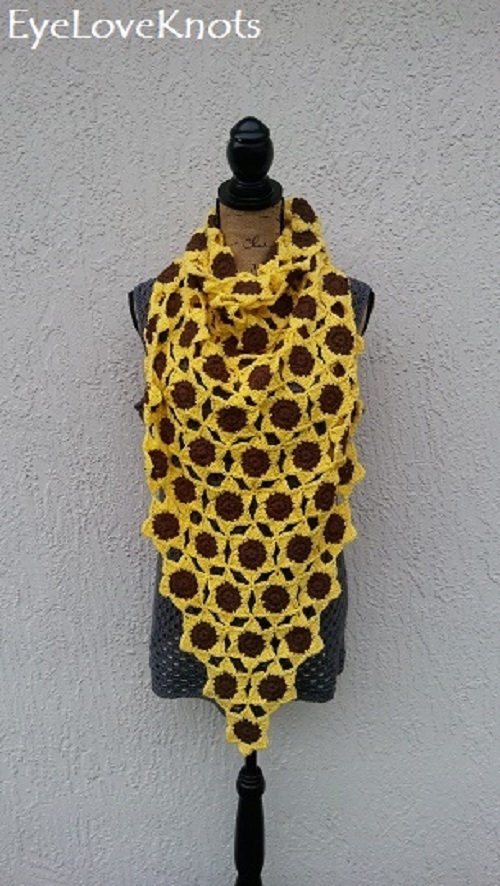
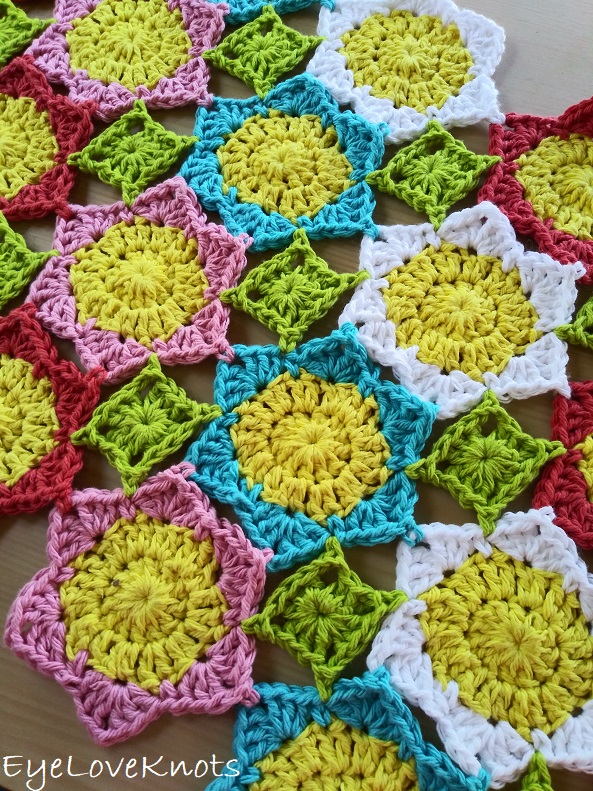
This floral motif has been one of absolute favorite little things! I have used to create so many fun free crochet patterns in the Delilah Series:
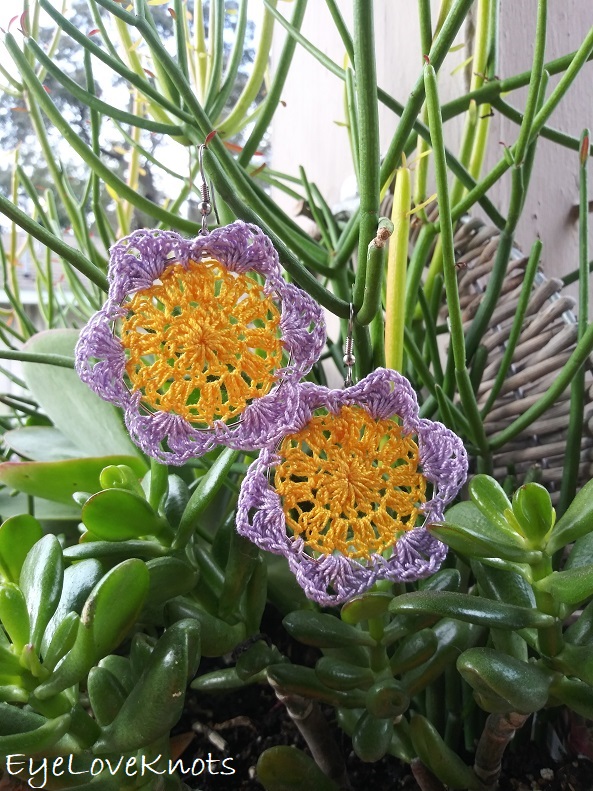
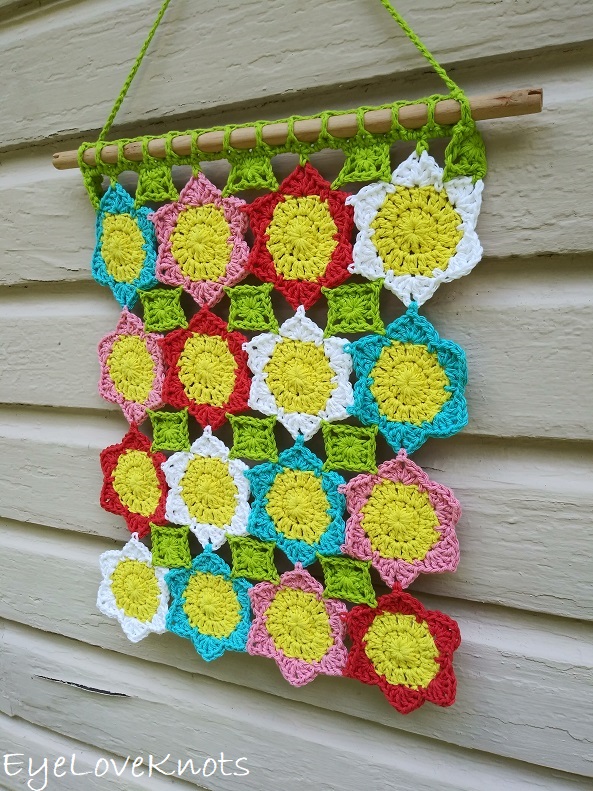
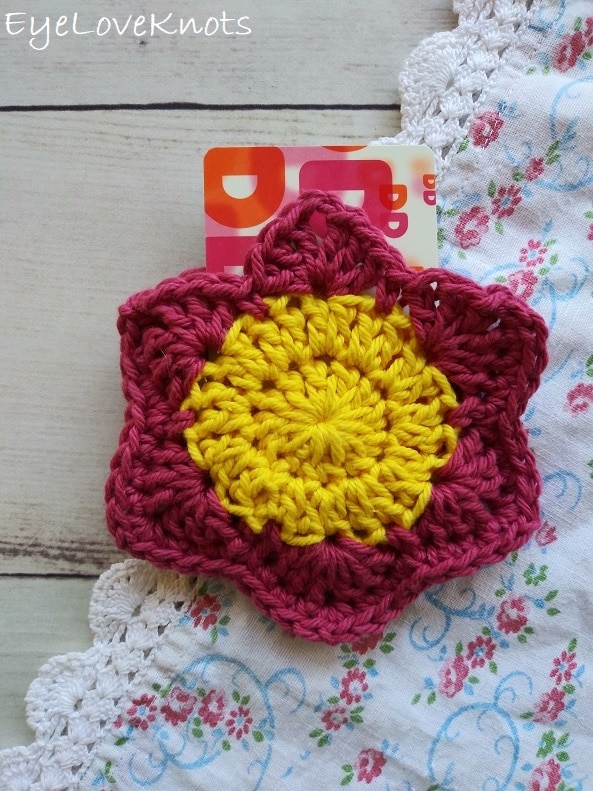
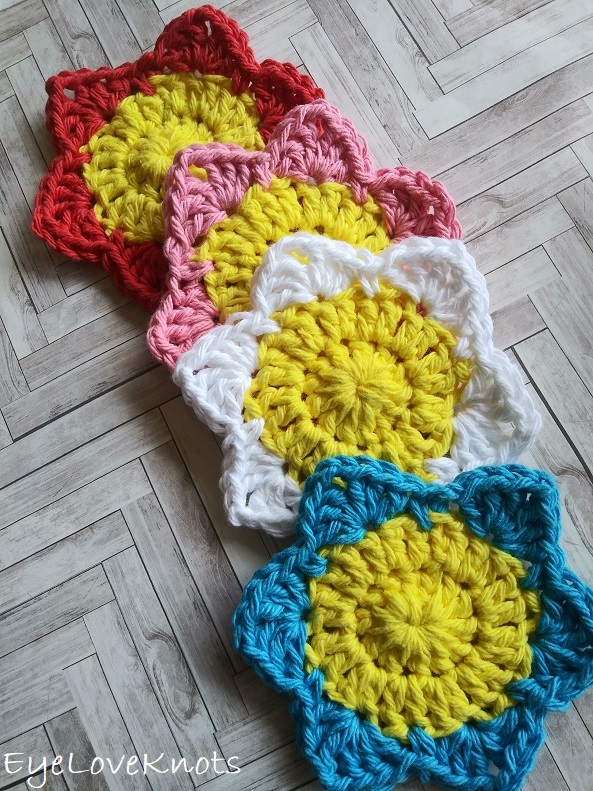
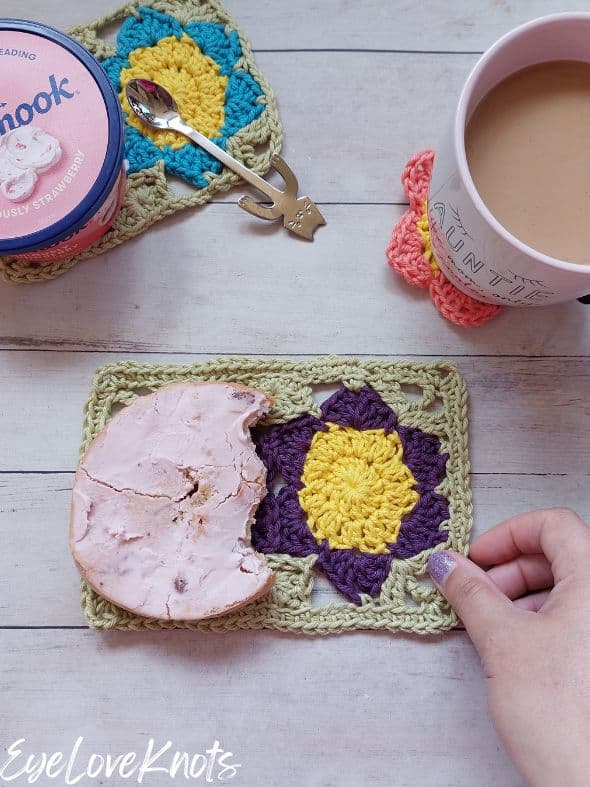
A recent request for instructions on creating a border on the Delilah Table Runner just like on this mug rug sparked this new version featuring the Purple and Yellow flowers. I decided to go a step further with this mug rug, and add one round of single crochet in the back loop only. You can easily leave it off, like the original, or continue adding rounds if you want it to be larger.
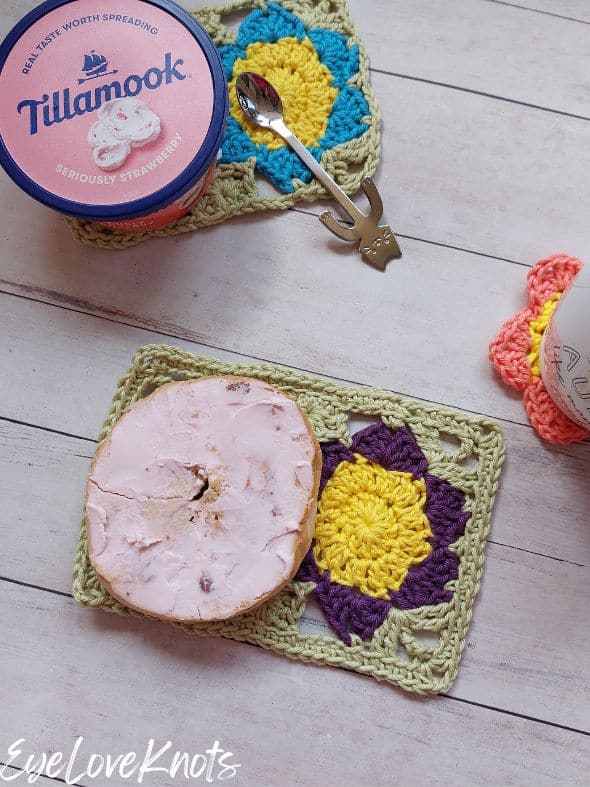
If you are looking for a delicious strawberry cream cheese – I definitely recommend Tillamook brand! I find it at my local Publix. I like to pair it with blueberry bagels.
What is a mug rug?
A mug rug is an oversized coaster (or mini placemat) that is large enough to hold to your cup and a tasty treat together – I use mine for my coffee and an afternoon snack. It keeps everything in one place, and your surface clean and free of crumbs. They also work great as mini washcloths, and doilies for things like a vase, plant (sometimes called a plant rug) and candle.
What is the difference between a mug rug and a coaster?
A mug rug and coaster are very similar in that they both hold your cup, but a mug rug is almost twice as wide as a coaster, and can hold additional items, like a snack and your coffee/tea spoon.
What size should a mug rug be?
The average size of a mug rug is 5″ by 7″, which is the size I aim for in my designs, but they do come in a range from 4″ by 6″ up to 8″ by 10″ depending on your preference.
Where do use a mug rug?
Use a mug rug anywhere you are drinking a delicious beverage and/or snacking since it is large enough to hold to your cup and a tasty treat together. It keeps everything in one place, and your surface clean and free of crumbs. Keep a mug rug handy in the kitchen, dining room, living room and office so it’s easy to grab when you need it.
Mug rugs are so versatile, they don’t stop at being used for coffee and a snack. They are great little mats, similar to doilies, that work for all sorts of items like a vase, plant, candle, pen holder, make up and lotions and more! They are also a great mini washcloth size. Mug rugs could easily work in any room of the house, and make great gifts too!
What is the best yarn to use to crochet a mug rug?
I used WeCrochet Dishie Yarn for my mug rug. I like using WeCrochet Dishie because it’s colorfast, which means the colors are set, plus cotton is more durable and absorbent, but you can use any worsted weight yarn out of your stash! I have a few mug rugs I’ve made myself using Red Heart Super Saver Yarn, which is a 100% acrylic yarn. A hot cup of coffee is not hot enough to melt synthetic fibers, and while it doesn’t quite absorb the same way with cold beverages, it still holds the water and does not seep through to the surface. Lion Brand Wool Ease is another lovely yarn for mug rugs that I have used for some in my personal collection, and the wool adds to the durability and absorbency.
Gauge is not essential for this project so you can easily substitute another weight yarn that might be in your stash, such as a Lightweight #3 Yarn like Lion Brand 24/7 Cotton DK, or a Chunky Weight #5 Yarn like Lion Brand Hue and Me – you may need to test to make sure your mug or glass will sit well on the fabric if using a Chunky Weight Yarn.
Are mug rugs washable?
I like to use yarns for mug rugs that I know are easy to wash, like WeCrochet Dishie, Red Heart Super Saver and Lion Brand Wool Ease. They both hold up well to use, and machine washing and drying, though hand washing and laying flat to dry is always best to preserve your crocheted items. With the yarns I mentioned, I know I can throw the mug rugs into the washing machine (on gentle and in cold water) and then into the dryer (on low heat) when it’s time to clean them.
Do I need to work a border around my mug rug?
To add structure to the two flowers as a mug rug, I do recommend the half leaves and the first round of the border. Additional rounds to the border are optional.
Ad-Free, Printer Friendly PDF:

EyeLoveKnots newsletter subscribers get access to Exclusive Subscriber Content, like the free PDF of this pattern! Click the box below and Sign Up for Free! Grow will pop up, and you can enter your email address and create a password that you will enter each time to see Exclusive Content on EyeLoveKnots, or other designers blogs if they use Grow as well. If you already have a Grow account, simply click the button that says Switch to Log In. If you need to, you can reset your password or login in the Grow Publisher Portal.
For a Limited Time:

Through 02/29/24 at 11:59pm EST, you can grab a free copy of the PDF for the Delilah Mug Rug on Ravelry using code FREECROCHET202407. I earn my income from the number of pageviews my blog sees, so please do not share the code, but instead share the link to this post so others can find it. Thank you!
After 02/29/24 or for non-subscribers, if you would like a PDF version of this post, you may get one through either my Etsy Shop, Ravelry Shop or LoveCrafts Shop for a small fee. This fee is to compensate for the views lost when you no longer need to return to the blog to for the information, as you will have your own copy. In a hurry? Pin this for later when you have more time.
Save this to your Favorites on: AllFreeCrochet, FaveCrafts, Cheap Thrifty Living, Crochet Pattern Bonanza, DIYideaCenter, AllFreeHolidaysCrafts, Free Crochet Tutorials
Materials:
- 31 (1 Round of Border) – 35 (2 Rounds of Border) Yards of Worsted Weight Yarn Total – I used WeCrochet Dishie in Bumblebee for the flower centers, in White, Azure and Mulberry for the petals, and in Honeydew for the Leaves
- H8/5mm Crochet Hook – I love my Koi Fish Ergonomic Clay one from SiennasBowtique on Etsy
- Tapestry Needle for Weaving in Ends
- Optional, Jewelry Pliers
Material Notes:
Cotton Yarn Alternatives: Lily Sugar n Cream, Bernat’s Handicrafter, Lion Brand Re-Up Bonus Bundle
Each flower requires almost 12 yards of yarn (6 yards for the center of the flower, and 6 yards for the petals), the half leaves are about 2 1/2 yards each, and the rest is for the border. This project is excellent for scraps of yarn – flowers and greenery come in all different shades.
As a mug rug, I prefer cotton yarn. As a doily, acrylic, like Red Heart Super Saver, works (though I would probably still use the cotton). Cotton yarn is more durable, and absorbent.
Gauge is not essential for this project so you can easily substitute another weight yarn that might be in your stash, but it will change the overall size of the mug rug.
Jewelry pliers are an excellent tool to use to help weave in ends, as cotton yarn can be quite tough on the fingers when weaving in with just fingers and a tapestry needle.
Time Spent:
- Flowers: Just over 15 minutes each.
- Half Leaves: 3 minutes each.
- Mug Rug: Just under 1 Hour – Just over 1 Hour (depending on if you do 1 Round or 2 for Border)
Measurements:
- Flower: Taken from the position of one petal at the top center, 3 5/8″ wide by 4 1/8″ from tip of top petal to tip of bottom petal
- Mug Rug: 4 3/4” tall by 7 1/4” wide
Gauge – Not Essential:
Diameter taken after Round 2: 2 1/2″
Abbreviations (US Terms):
- SC – Single Crochet (Photo Tutorial)
- DC – Double Crochet (Photo Tutorial)
- TR – Treble Crochet aka Triple Crochet (yarn over 2x)
- DTR – Double Treble Crochet aka Quadruple Crochet (yarn over 3x)
- HDC – Half Double Crochet (Photo Tutorial)
Pattern Notes:
Beginning chain does not count as a stitch, except for in the leaves.
Join to the first stitch of the round, not the beginning chain.
While you can also work in the more traditional ways of pulling new color through in the last yarn over of the previous stitch (I do have a photo and video tutorial for this technique – How to Change Yarn Colors in Crochet), I find that doing so in this manner distorts the fabric and disrupts the colors. For the most seamless color change, I recommend after joining the round as normal to yarn over and pull through with the new color, then pull the original color tight (it will disappear), or to fasten off the center color, and rejoin the new color in any stitch.
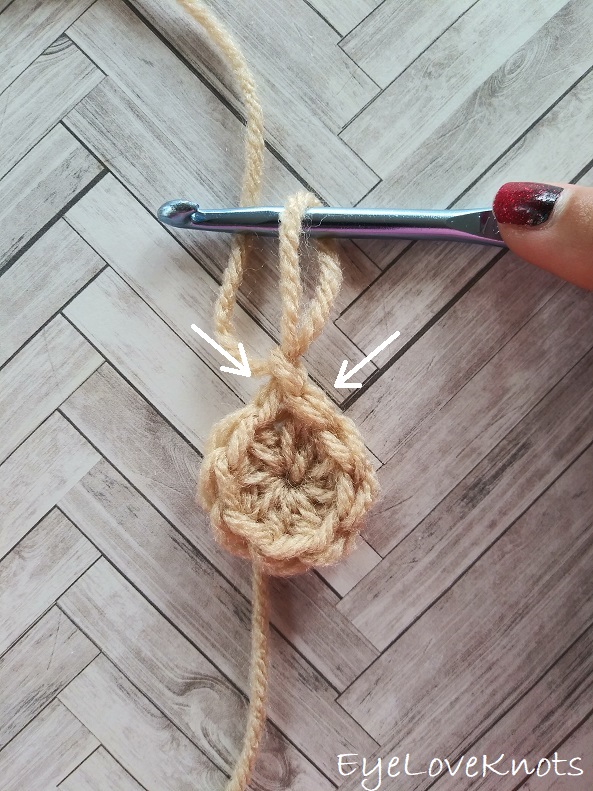
I work my increases a little different than most, and that is that the first stitch from the first set of increases is done in the first stitch of the round, which will appear just to left of the beginning chain, then the round will be worked as normal, and the final stitch of the round will be the second stitch of the first set of increases, and it will be worked into the same stitch as the first, and appear just to the right of the beginning chain. You can see a photo tutorial of this in my How to Keep a Straight Seam post.
Though there are only three rounds, and a straight seam isn’t really an issue, this is my preferred method – you can work in your preferred increase method for the center as long as you end up with 24 stitches.
Delilah Mug Rug Video Tutorial:
Outline:
You will work the first flower, then work the second flower using the join-as-you-go (JAYG) technique to attach it to the first, then work and attach the half leaves to the center gap between the flowers, also using the JAYG technique, then work a final border around.
1st Flower:
In Center Color, chain 5. Slip stitch to the first chain to form a ring. Chain 1. Work 12 DC into the ring. Join. (12 DC)
R2: Chain 2. DC into the 1st DC, 2 DC into each of the next 11 DC, DC into the same DC as the 1st. Join with Petal Color, and fasten off Center Color. (24 DC)
R3: In Petal Color, chain 1. SC into the 1st stitch, skip the next stitch, (3 DC, chain 2, 3 DC) into the next stitch, skip the next stitch, [SC into the next stitch, skip the next stitch, (3 DC, chain 2, 3 DC) into the next stitch, skip the next stitch] 5x. Join – I’ve done so to the same DC that the first SC is worked into to keep the shaping consistent with the rest of the petals, but you can experiment with joining here, to the first SC or even to the first DC. (6 Petals, 6 SC)
Fasten off, and weave in ends. If you’ve joined at the end to the same DC as the first stitch, you’ll sew the two layers together before weaving in your ends.
2nd Flower:
R1 – 2: Same as 1st Flower.
R3: In Petals Color, chain 1. SC into the 1st stitch, skip the next stitch, (3 DC, chain 2, 3 DC) into the next stitch, skip the next stitch, SC into the next stitch, skip the next stitch, (3 DC, chain 2, 3 DC) into the next stitch, skip the next stitch, SC into the next stitch, skip the next stitch, (3 DC into the next stitch, chain 1, from behind: SC into the corresponding chain space of the previous flower, in current flower: 3 DC into the same stitch, skip the next stitch, SC into the next stitch, skip the next stitch) 2x, (3 DC, chain 2, 3 DC) into the next stitch, skip the next stitch, SC into the next stitch, skip the next stitch, (3 DC, chain 2, 3 DC) into the next stitch, skip the next stitch. Join – I’ve done so to the same DC that the first SC is worked into to keep the shaping consistent with the rest of the petals, but you can experiment with joining here, to the first SC or even to the first DC. (6 Petals, 6 SC)
Fasten off, and weave in ends. If you’ve joined at the end to the same DC as the first stitch, you’ll sew the two layers together before weaving in your ends.
Photo Tutorial Showing How to Work Behind:
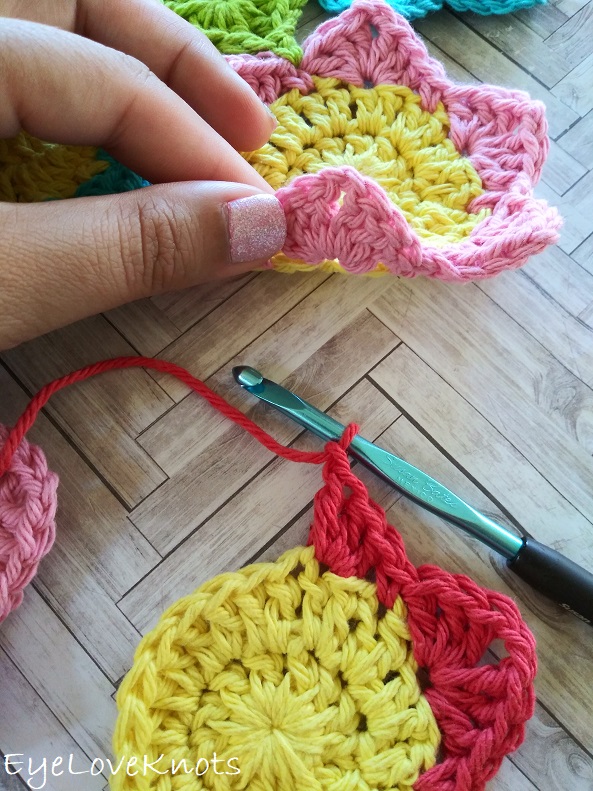
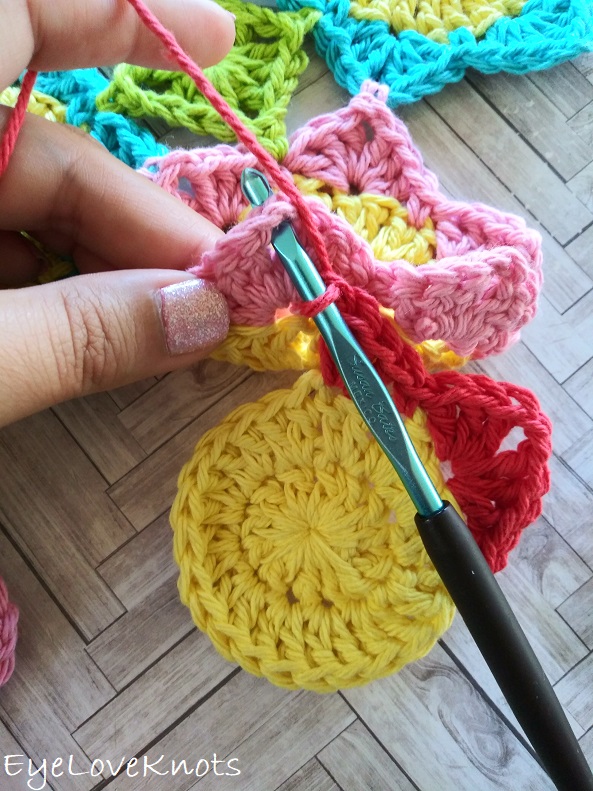
Insert hook into the petal chain space of the previous flower…
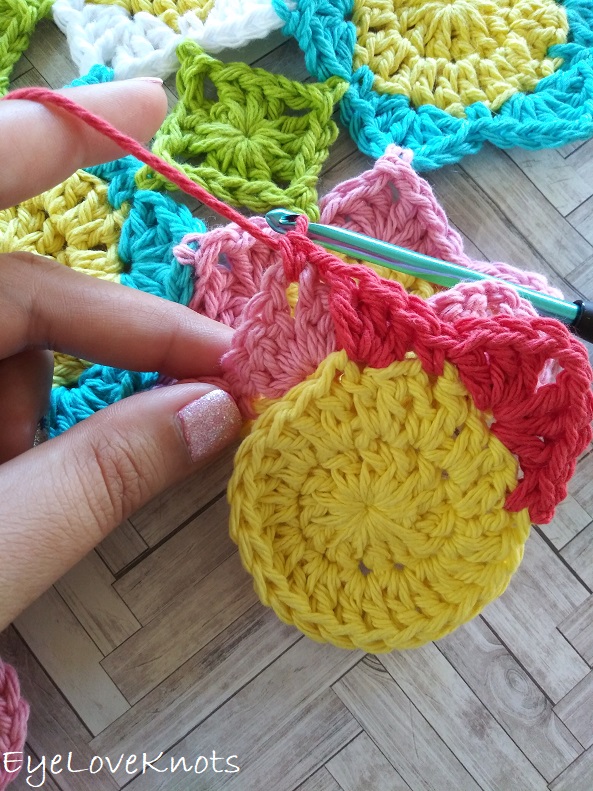
… and complete SC.
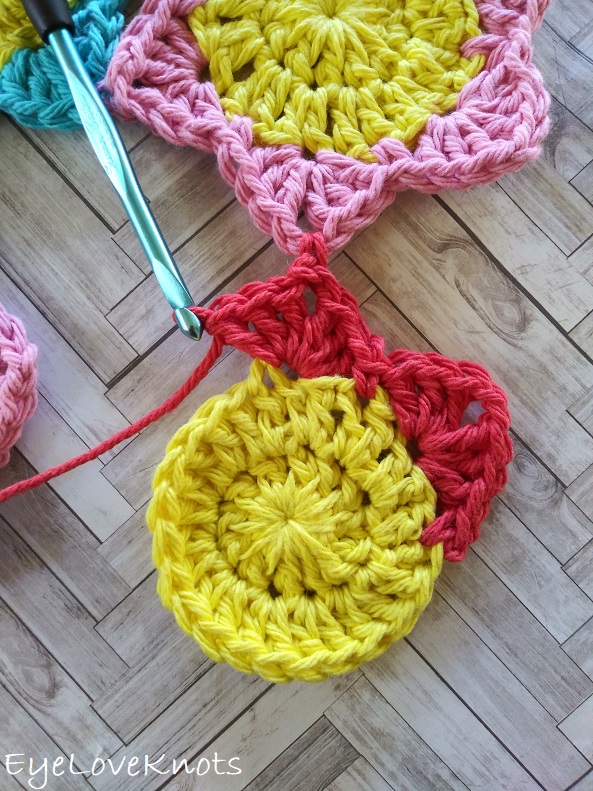
… in current flower: 3 DC into the same stitch to complete petal.
Half Leaves in the Center Between the Flowers – Work 2:
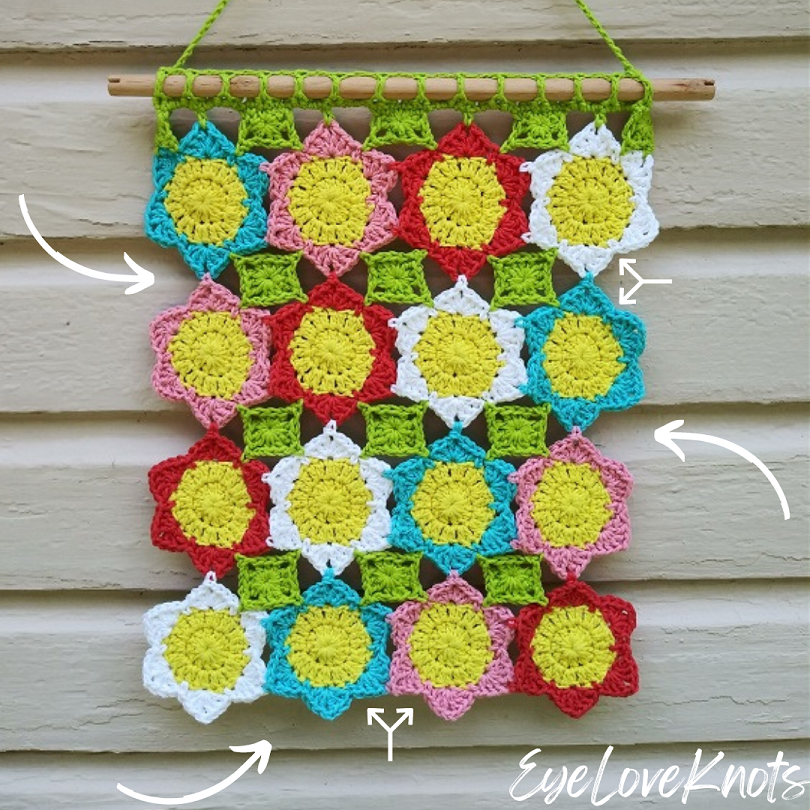
Half leaves are worked into the outside center 2 SC that are in between the rows on the sides, and in between flowers on the top and bottom. In the graphic above, you can see arrows indicating where half leaves get placed, including which two SC stitches, and you can see some half leaves worked along the top of the Delilah Wall Hanging. You will leave the corner most space on all four corners for the Border (currently shown at the top with a half leaf on each side).
In Green, chain 5. Slip stitch join to the first chain to form a ring. Chain 2, 2 DC into the ring, chain 1, from behind: SC into a SC that is in between petals, 3 DC into the ring, chain 1, from behind: SC into a SC that is in between petals, 2 DC into the ring. Fasten off.
You can weave in your ends now, but I find it most helpful to do so after adding the Border so the fabric has more stability, plus the center ring of the Half Leaf is easier to work into before it’s woven in.
Border:

Join yarn on the flower on the right at the top center petal chain space. Chain 1. SC into this 1st stitch, [chain 4, evenly work 5 SC across the side of the half leaf with the 1st into the 1st half of the DC, the 2nd into the 2nd half of the DC, the 3rd one in the center ring, the 4th one into the 1st chain, and the 5th into the 1st DC (not 2nd chain), chain 4, SC into the center of the next petal chain space, (2 TR, chain 2, DTR, chain 2, 2 TR) into the next SC, SC into the next petal chain space, chain 3, HDC into the next SC, chain 3, SC into the next petal chain space, (2 TR, chain 2, DTR, chain 2, 2 TR) into the next SC], SC into the next petal chain space, repeat [ … ], then join to the 1st SC.
How do I add more rounds to the border? Do I need to add more rounds to the border?

You can either stop here, fasten off and weave in ends, or you can add additional rounds to the Border. Completely up to you! You can keep it simple with just a couple rounds of single crochet, finish by working into the back loop only or reverse single crochet, or use any stitch combination you like!
To add additional rounds to the Border, you’ll simply work one stitch into each stitch and per chain (that’s means if there is a chain 4 space, then you work 4 stitches into that chain 4 space) all the way around making sure to increase in the corner most stitch of the corners. If I were working in single crochet, I might increase into the DTR as (single crochet, chain 2, single crochet).
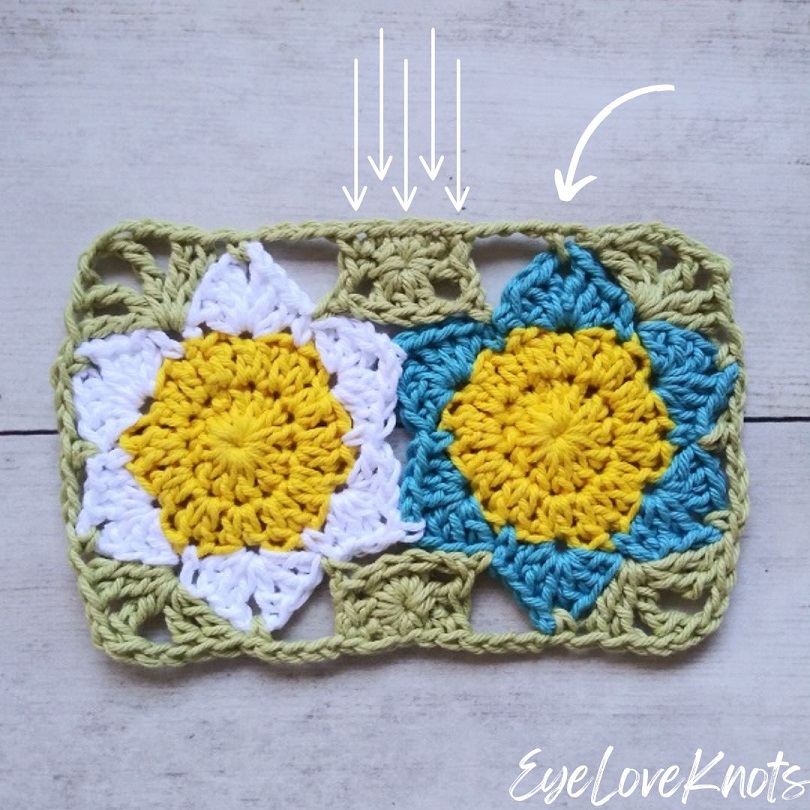
I’ll share how I added an additional round worked into the Back Loop Only:
Chain 1. All into the BLO: SC into the first SC, SC into each of the next 4 chains, SC into each of the next 5 SC, SC into each of the next 4 chains, SC into each of the next 3 stitches, SC into each of the next 2 chains, (SC, chain 2, SC) into the corner most stitch, SC into each of the next 2 chains, SC into each of the next 3 stitches, SC into each of the next 2 chains, SC into the next SC, SC into each of the next 2 chains, SC into each of the next 3 stitches, SC into each of the next 2 chains, (SC, chain 2, SC) into the corner most stitch, SC into each of the next 2 chains, SC into each of the next 2 stitches.
You’ll find yourself in the same position as where you started, just on the other side. Repeat the same instructions again to get back to the beginning. Slip stitch join.
WHY DO MY EDGES LOOK UNEVEN AND WONKY? HOW DO I FIX WONKY EDGES?
It’s possibly your edges may look uneven and wonky. There are a couple different fixes:
- You can use your fingers to manipulate the fabric to give it shape.
- You can add additional rounds to the border.
- You can block the finished piece.
FASTEN OFF, AND WEAVE IN ALL ENDS!
Please feel free to make and sell your own items made using this pattern, but keep in mind, this written pattern and my photos are protected by copyright. Please DO NOT claim this pattern as your own nor should you sell my pattern. DO NOT re-publish my photos as your own. DO NOT copy and paste my pattern anywhere, link to it instead so other’s can visit. Making videos providing instructions how to make my projects on any social media platform is also not permitted.
Join one of our awesome Facebook groups to share your creations, and see what others are up to!
– Yarn Crafts & Coffee Community
– DIY Home On Rockwood Lane
– Alexandra Lane Lifestyle
Linked Up To…
Farmhouse Friday Link Party #203 – County Road 407
Ginx Woolly Linx Party May – Ginx Craft
Linky Ladies Party #210 – The Purple Poncho
The Loop Scoop #13 – Moogly Blog
All About Home #90 – Common Ground
Home Matters Linky Party #330 – Modern on Monticello
Craft Schooling Sunday – Creative Jewish Mom
Happiness is Homemade 373 – Decor Craft Design
Handmade Monday #226 – Sum of their Stories
The Really Crafty Link Party #265 – Keeping it Real
Craftastic Monday Link Party – Sew Can Do
Creative Crafts Linky Party #40 – Creatively Beth
Creatively Crafty Link Party #274 – Life Beyond the Kitchen
Artsy-Fartsy Party #343 – Artsy-Fartsy Mama
You’re the Star Blog Hop – Decor Craft Design
Unlimited Link Party 25 – Grammy’s Grid
Hearth & Soul Link Party – April, the 21st Century Housewife
Fabulous Party 370 – Lou Lou Girls
Party in Your PJs #357 – The Apple Street Cottage
{Wow Me} Wednesday #503 – Ginger Snap Crafts
Your Whims Wednesday #510 – My Girlish Whims
The Wednesday Link Party 397 – Oombawka Design
Thursday Favorite Things #488 – An Artful Mom
Encouraging Hearts & Home Blog Hop – Scratch Made Food
Traffic Jam Weekend Linky Party #280 – My Bijou Life
Create Bake Grow & Gather Party #467 – Shabby Art Boutique
Funtastic Friday Link Party #331 – Simply Beautiful by Angela
A Morning Cup of Joe Linky Party – The Cottage Market
Snickerdoodle Create Bake Make Link Party 384 – EyeLoveKnots
Party in Your PJs #358 – The Apple Street Cottage
One More Row – Free Crochet Link Party #32 – Loops and Love Crochet




Hi! I made the pattern all the way through the half flowers between the flowers. Is there part of the pattern missing for the final border round?
Thanks!
You are so right! Sorry about that. I just updated the post with the final border round.
Thanks! I actually went and bought the pattern so now I’m covered both ways 🙂
I love the term rug mug instead of coaster! It’s too cute! And the rug mug turned out so well! Love the pretty flowers and bright colors!
Thank you! You are so right! Coaster does seems outdated. I had a lot of fun working this one up, and like having the extra space. It will be the first of many.
That is just adorable. I would love to try this. Thanks for the tip about using cotton yarn. I’ve featured it at the TFT party. 🙂
I really appreciate that Pam! Thank you so much for the support.