How to Crochet into the Back Loop Only with Photo and Video Tutorials. This is a very easy, beginner crochet tutorial for a versatile stitch pattern that can be used for many projects!
This post contains affiliate links for Etsy. If you make a purchase by clicking on them, I make a small commission at no extra cost to you. Thanks for your support!
In a hurry? Pin this for later when you have more time.
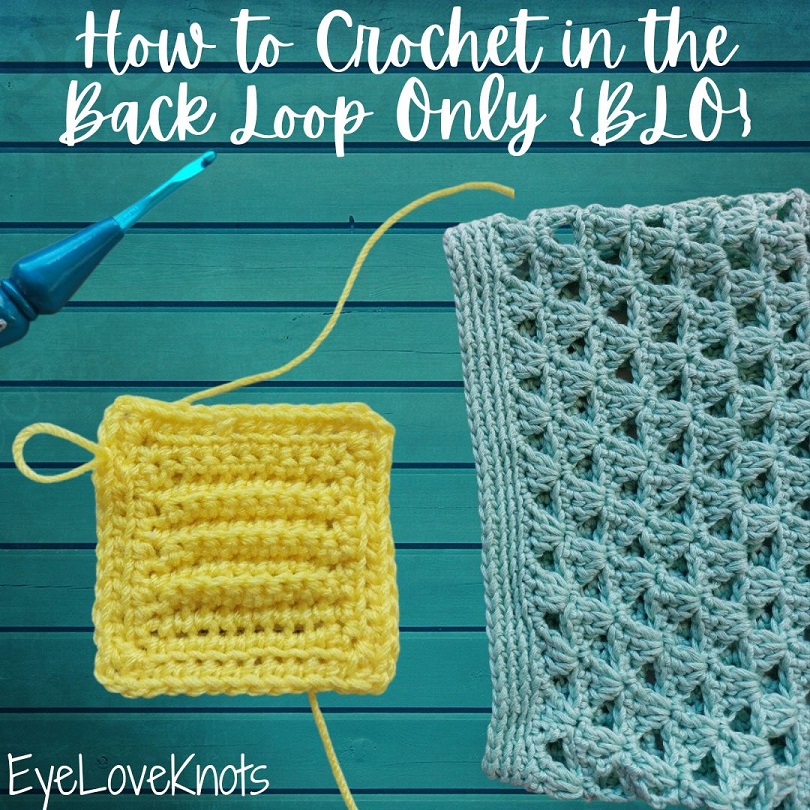
Crocheting into the back loop only creates such a fun texture that’s so easy to achieve. Working in turned rows produces a stretchy, ribbed fabric that’s perfect for projects like cowls, scarves and afghans, and working in un-turned rounds is such a lovely way to work the edging of a garment or hat, or the border of an afghan or hand towel.
I’ve enjoyed working in the back loop only on several projects. Actually, one of my first designs back in 2014 was an easy scarf pattern worked with half double crochet stitches in the back loop only, the Super Chunky Brett Haylee Scarf. It’s been a favorite from the beginning regardless of whether it’s in rows or rounds or in single crochet, half double crochet or double crochet. I will show examples of all of these, and this post will continue to be updated with the information as I go.
I am not creating anything new here, but I did take the time to take the photos, edit them, and put this tutorial together, so please respect my work. Do not pin or share any of the tutorial images – just the main photo. Provide the link for others to find my page (help out me and my blog with the traffic). Do not copy and paste my work anywhere. Thank you!
Throughout the first 4 weeks of May, Sweet Potato 3 is hosting the Crochet Borders & Edges Blog Hop, and I am excited to join in! So many fantastic border and edging tutorials have been shared already, and will continue to be shared throughout the month. Each tutorial will have a full photo tutorial and most will have a video tutorial so if you’ve been wanting to learn to crochet or practice new stitches, this is a great blog hop to check out. Most of these are quick and would look amazing on practically any crochet project. Make sure to visit with her for all of the details and links to each tutorial as they go live. And if you’re looking for even more – check out the Stitch a Day Blog Hop she hosted this past March!
What is the Back Loop Only? How do you Crochet into the Back Loop Only?
Typically when working stitches, we insert our hook into the stitch picking up both loops of the V-shape. When working into the back loop only, we insert our hook into the top center of the stitch pushing towards the back, or the wrong side of the fabric, picking up just the back loop on your hook, leaving the front loop unworked.
You can work into the back loop only in any stitch pattern. If you work in turned rows, this stitch pattern produces a stretchy, ribbed fabric that’s perfect for projects like cowls, scarves and afghans, and is often used to form the ribbing edge of sweaters and cardigans. If you work in un-turned rounds, this stitch pattern is such a lovely way to work the edging of a garment or hat, or the border of an afghan or hand towel.
I also want to add that my blog is written in US terms. What does that mean? There are alternative names for some of the stitches in UK terms, which equates to different stitches.
What is the Abbreviation for Back Loop Only in Crochet?
The abbreviation for crocheting in the back loop only is BLO. You may see it as “SC in the BLO”, and that would translate to “Single Crochet in the Back Loop Only”.
What is the right side and the wrong side?
The right side is the front side of the fabric, which may look prettier and more defined than the wrong side, and the wrong side is the back, less defined side of the fabric.
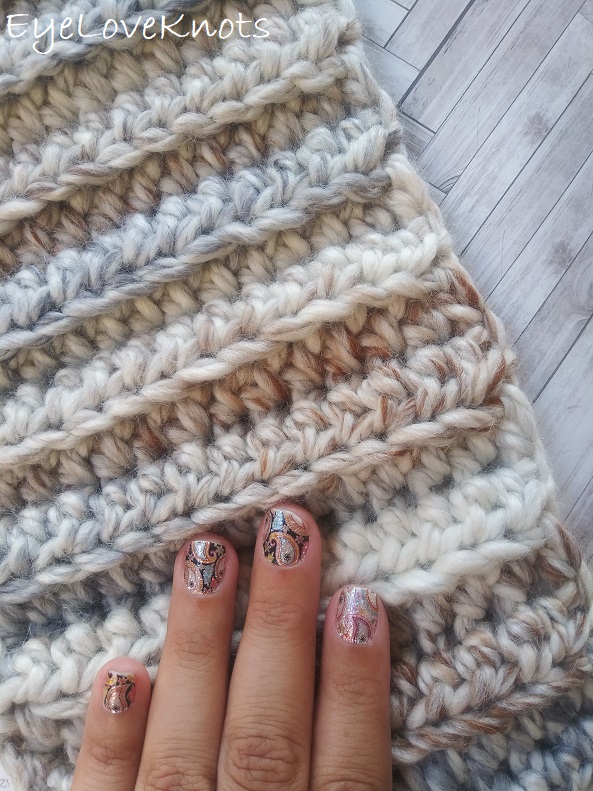
When worked in turned rows back and forth, either side can be the right side or the wrong side as they will both appear the same, but after you turn your work to begin on Row 3, you will see the difference in appearance from Row 1 and Row 2. Row 1 is considered the right side, and Row 2 is considered the wrong side. In the photo above, the raised rows are showing the wrong side, and the lower rows are showing the right side, but both sides of the fabric look like this.
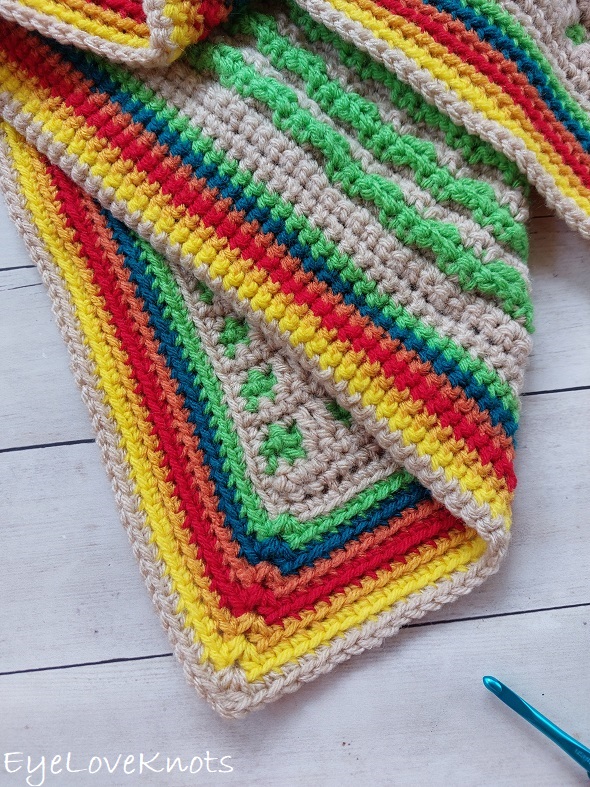
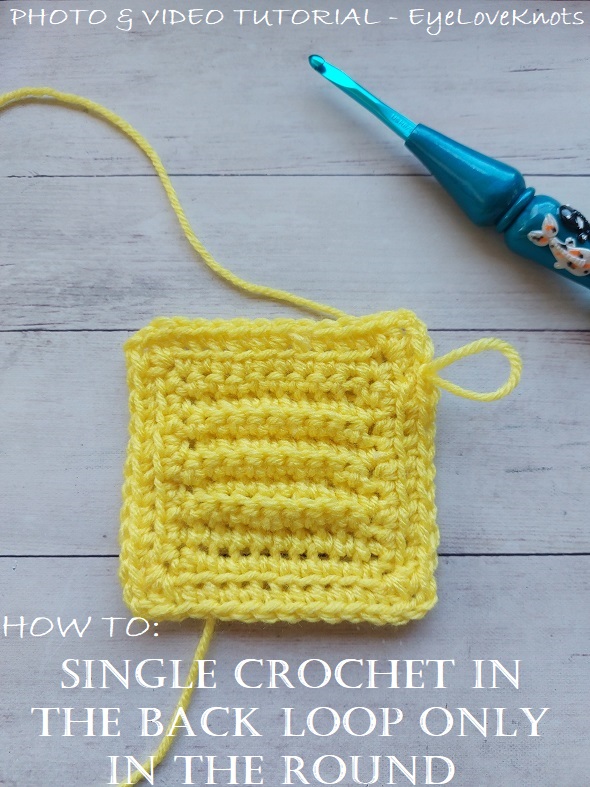
When working in the round, you’ll want to start working with the front of your project facing you, and work all rounds without turning. In this photo above, you can see how the front of the border has the appearance of ridges formed by working in the back loop only, and the back side of the border is flat.
What Can I Make Crocheting into the Back Loop Only?
I’ve used the back loop only in several projects.
Here are some of them worked in rows:
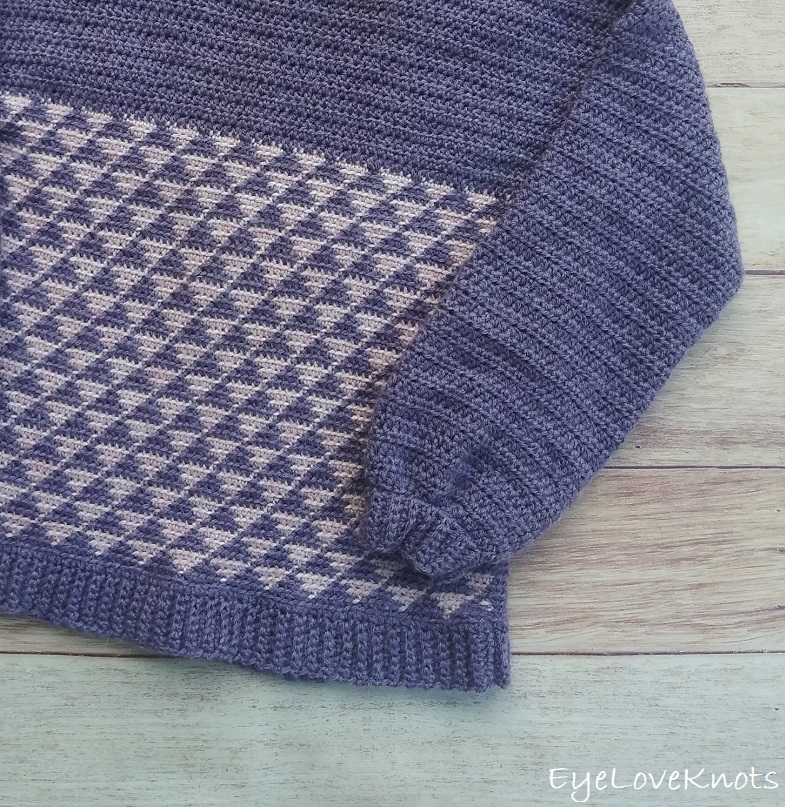
Tessellated Triangles Sweater, Free Crochet Pattern
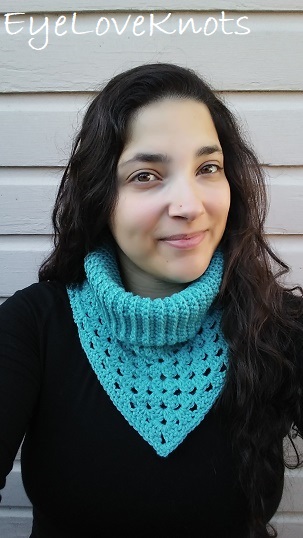
Ribbed Granny Stitch Cowl, Free Crochet Pattern
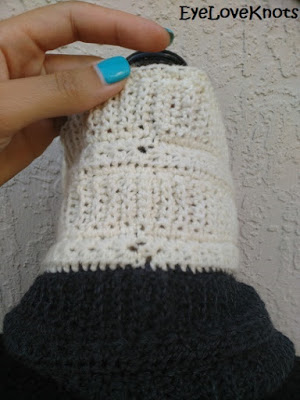
Gradually Cowl, Crochet Pattern Review
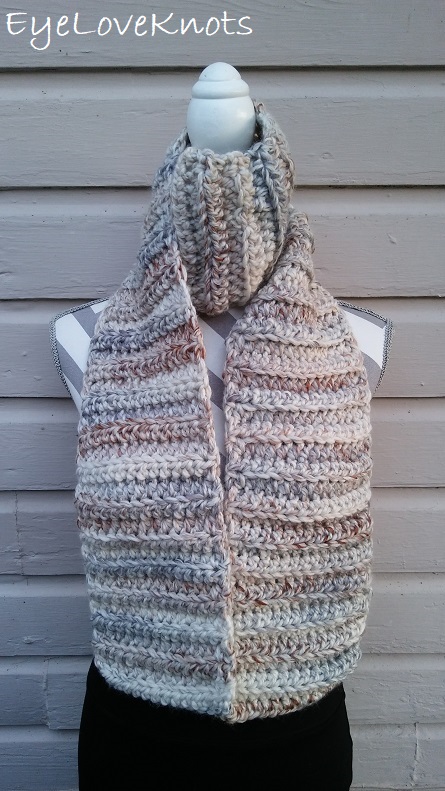
Super Chunky Brett Haylee Scarf, Free Crochet Pattern
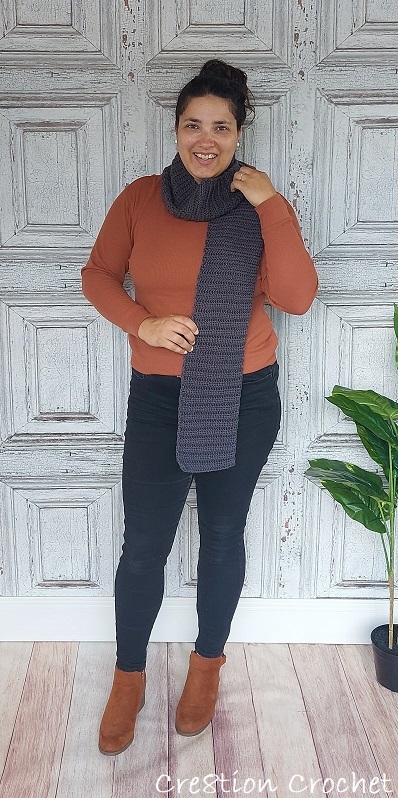
Brett Haylee Scarf, Free Crochet Pattern
Here are some of them worked in rounds:
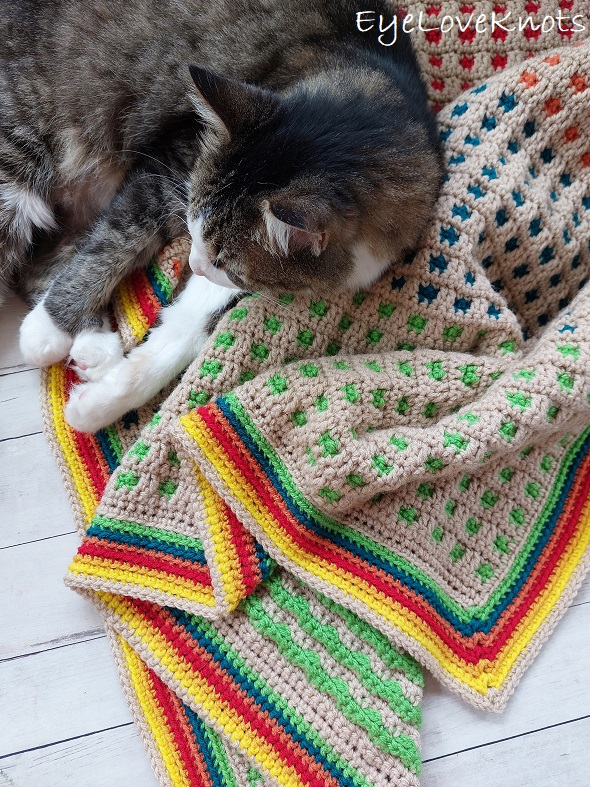
Through the Window Afghan, Free Crochet Pattern
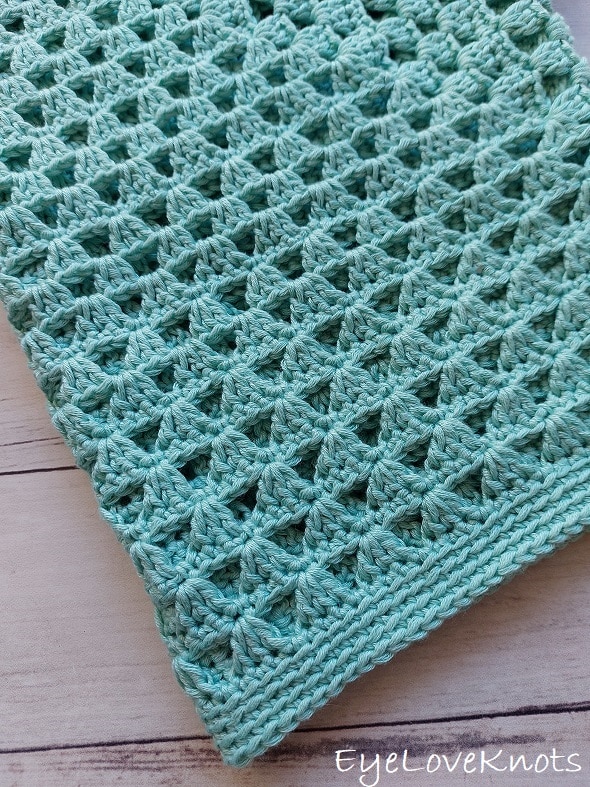
Country Grace Pullover, Crochet Pattern Review
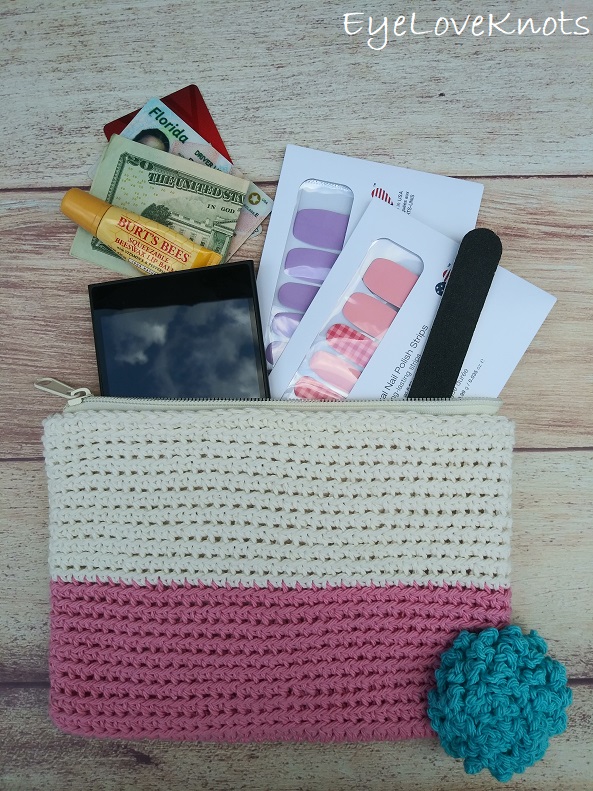
Dip Dyed Cosmetic Bag, Free Crochet Pattern
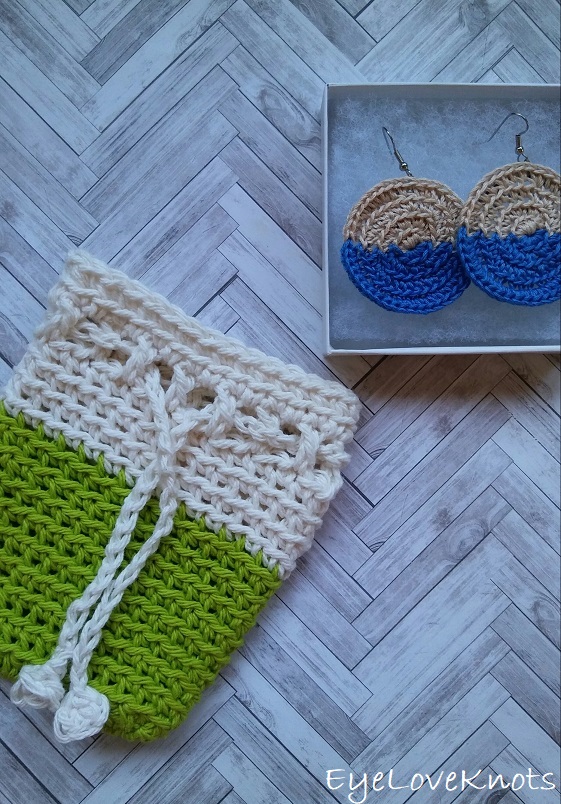
Dip Dyed Soap Cozy or Small Bag, Free Crochet Pattern
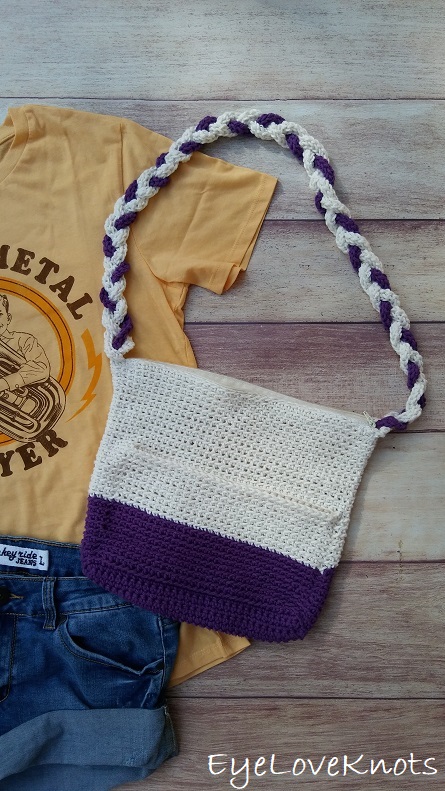
Dip Dyed Shoulder Bag, Free Crochet Pattern
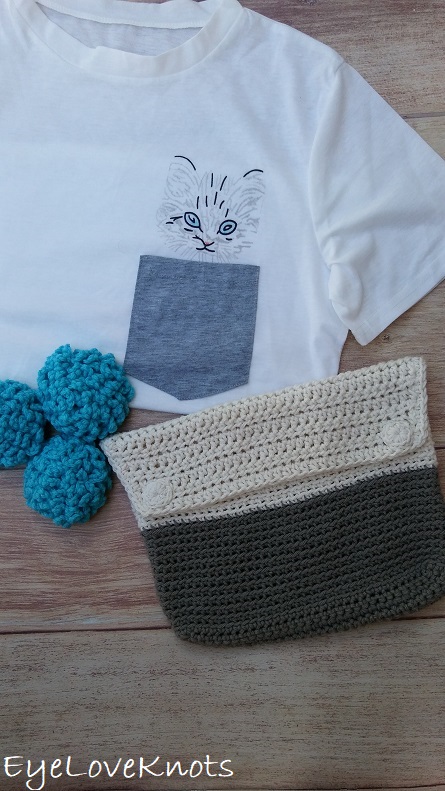
Dip Dyed Clutch, Free Crochet Pattern
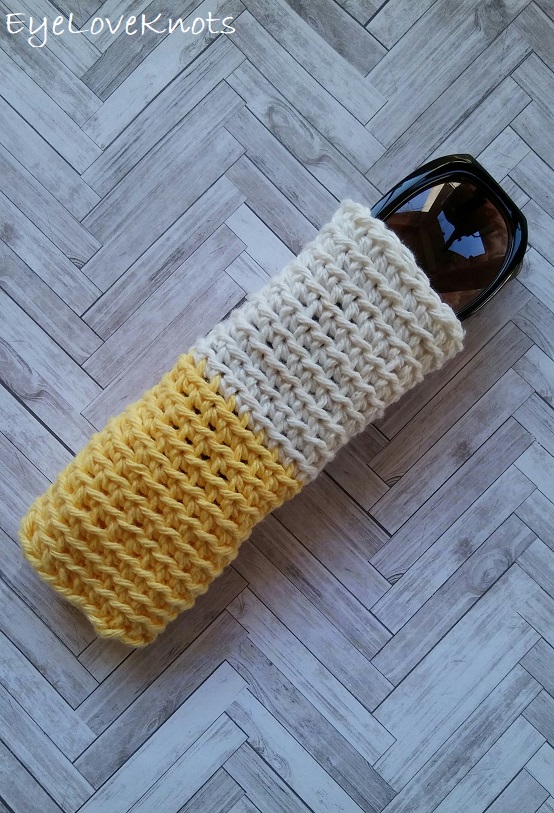
Dip Dyed Sunglass Pouch, Free Crochet Pattern
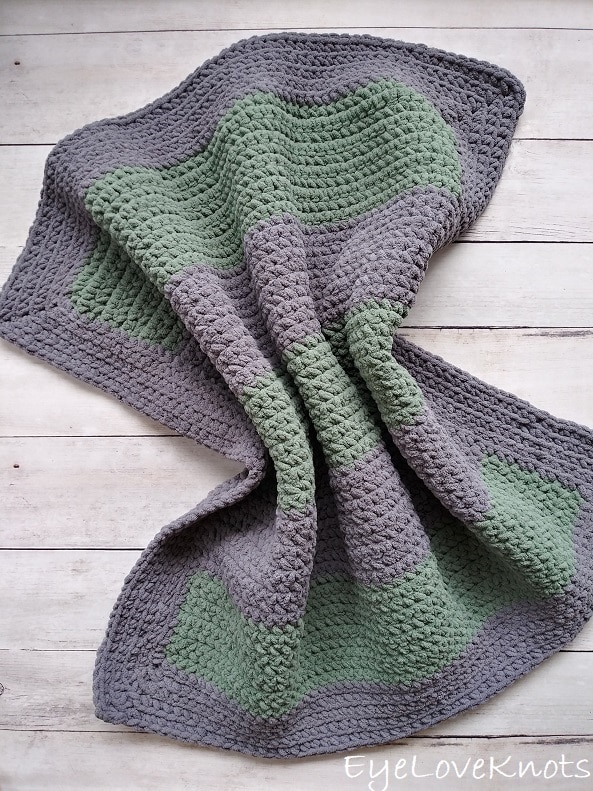
Super Chunky Striped Shay Afghan – Free Crochet Pattern
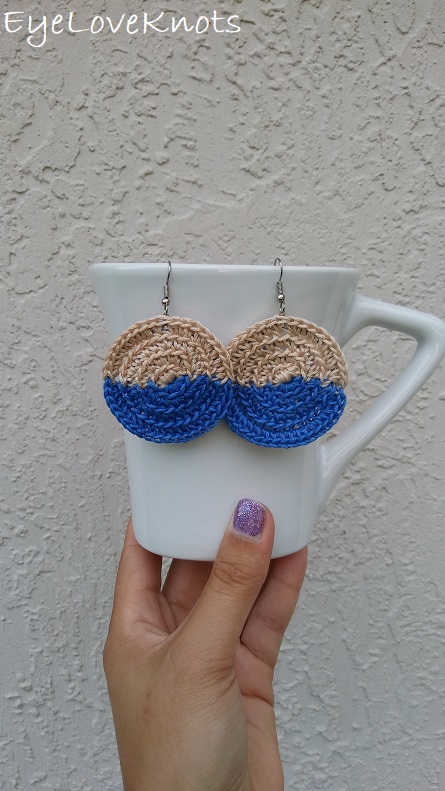
Round Dip Dyed Earrings, Free Crochet Pattern
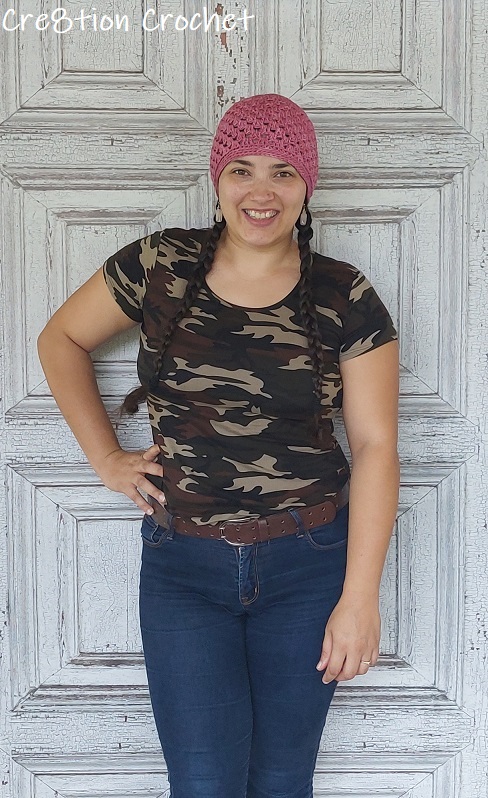
Lightweight Grace Tinley Beanie, Free Crochet Pattern & Video Tutorial
Abbreviations (US Terms):
- BLO – Back Loop Only
- SC – Single Crochet
- HDC – Half Double Crochet
How to Single Crochet into the Back Loop Only in the Round | SC in the BLO in the Round | Video Tutorial
COMING SOON! I just need to final run through watch it, and then can upload, and will embed it here once ready, but in the meantime, you can check out the border instructions in my Through the Window Afghan video – go down to the Time Stamp in the description box, and click on 43:05.
How to Single Crochet into the Back Loop Only in the Round | SC in the BLO in the Round | Photo Tutorial
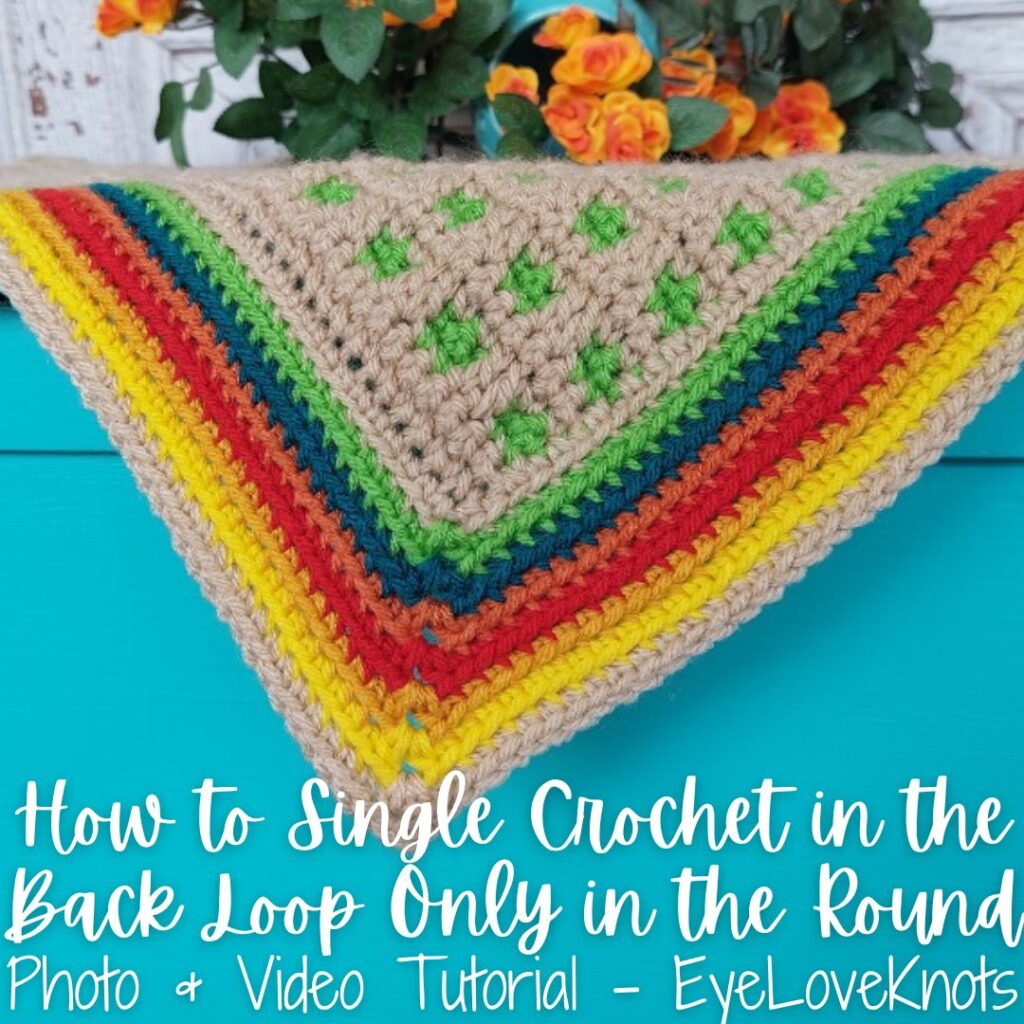
One of my favorite ways to finish a garment or afghan is to work several rounds of single crochet into the back loop only. The ridges left from the front loops being unworked adds just enough little detail, and if worked in multiple colors, really helps them pop.
Working into the back loop only as an edging or border is done so from even stitching so if you’ve just finished working, for example, a scarf or afghan with uneven edges aka not with the same v-shape stitches you have on the top and bottom, then you’ll want to work a round of even stitching before beginning.
When I worked my foundation round of single crochet around this yellow square, I began with (single crochet, chain 2, single crochet) into the first stitch, and then worked around, ending with a slip stitch join to the first single crochet. My next round where this tutorial begins starts from this point, but if you begin your foundation round with one single crochet into the first stitch, then work around, and end with a second single crochet into the first corner, chain and then join, you can follow the same tutorial beginning at that point – same concepts apply.
Also, I worked my corners the same way throughout, just with half double crochets for the rounds worked into the back loop only. If you alter your corners in any way, for example: work 3 stitches to form the corner instead, then you’ll want to continue to work your corners into the center stitch. If that happened to be 3 single crochets, then you could work the entire corner into the back loop as well – I picked a chain space, so I’m working into the chain space.
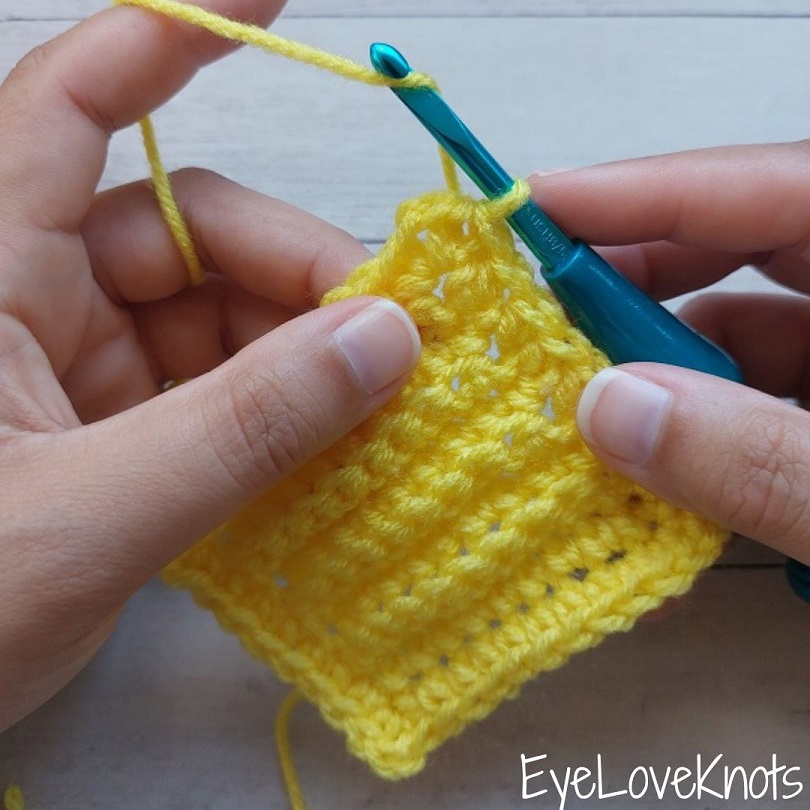
Yarn over…
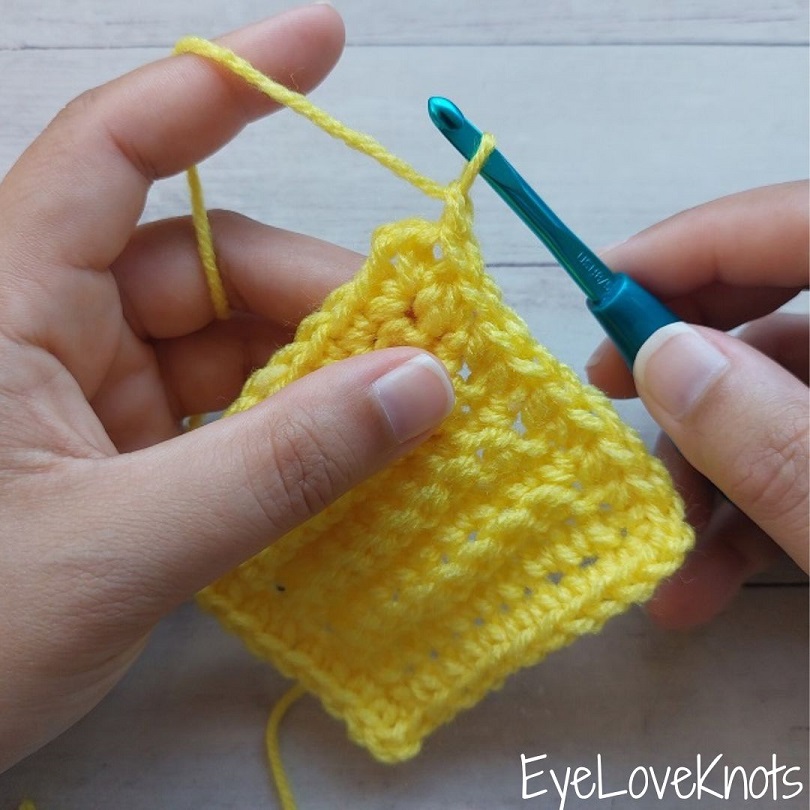
… and pull through to complete a chain 1.
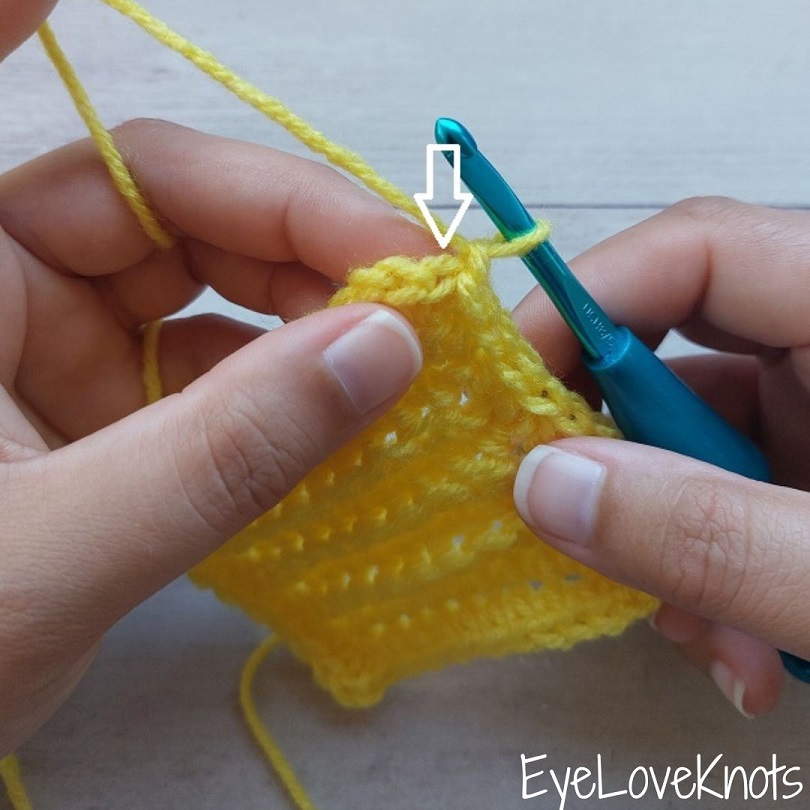
The first single crochet will be worked into the first stitch that the chain 1 is coming out of. Looking to this stitch, you will see the V-shape with a leg on the bottom aka the front loop and a leg on the top aka the back loop, indicated by the arrow.
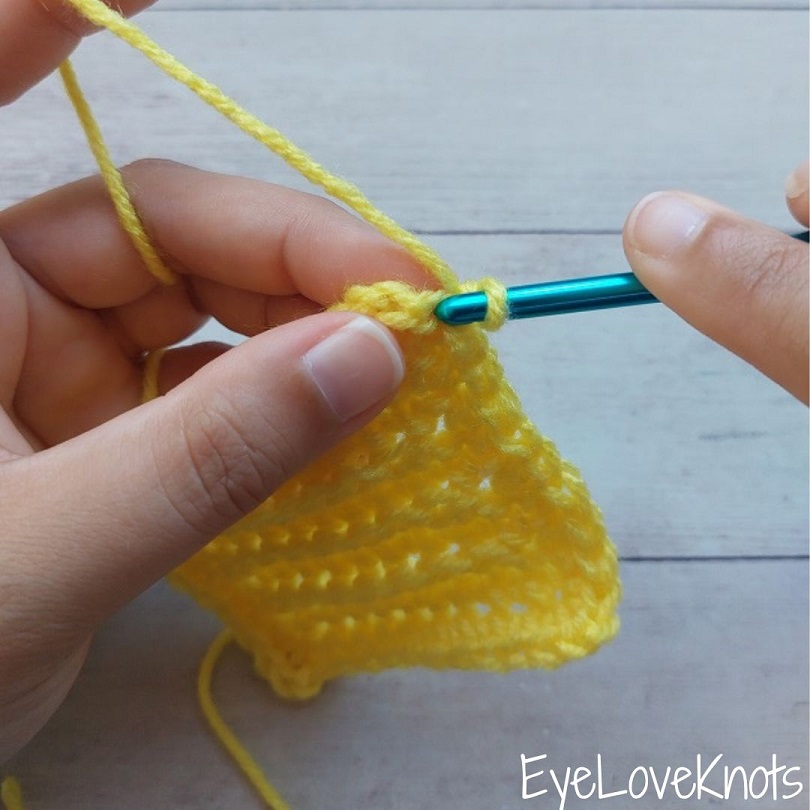
Insert your crochet hook directly into the center of this stitch…
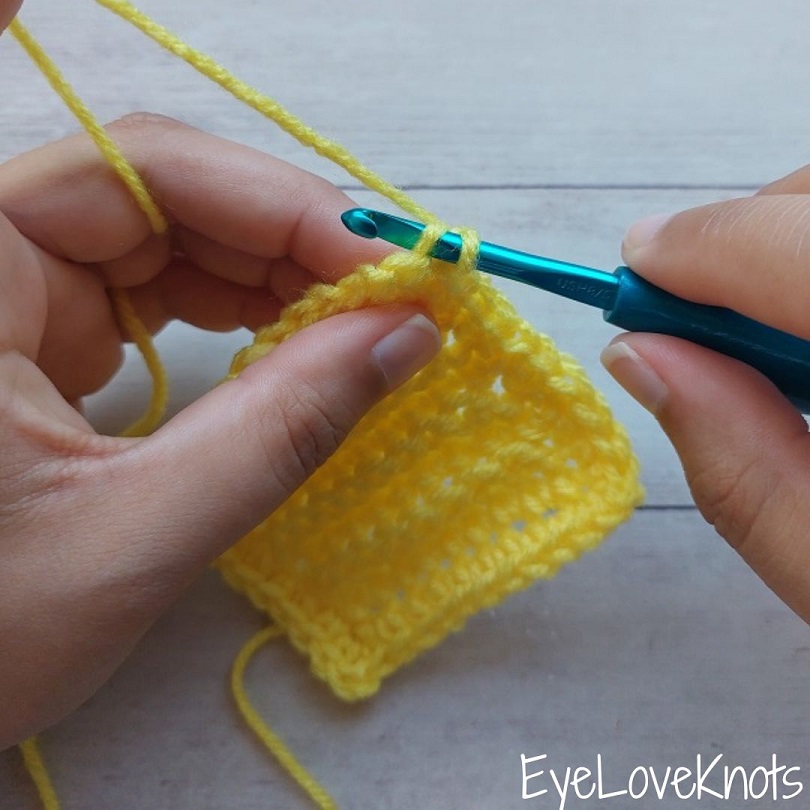
… pushing towards the back or wrong side of the fabric picking up the back loop only on the hook.
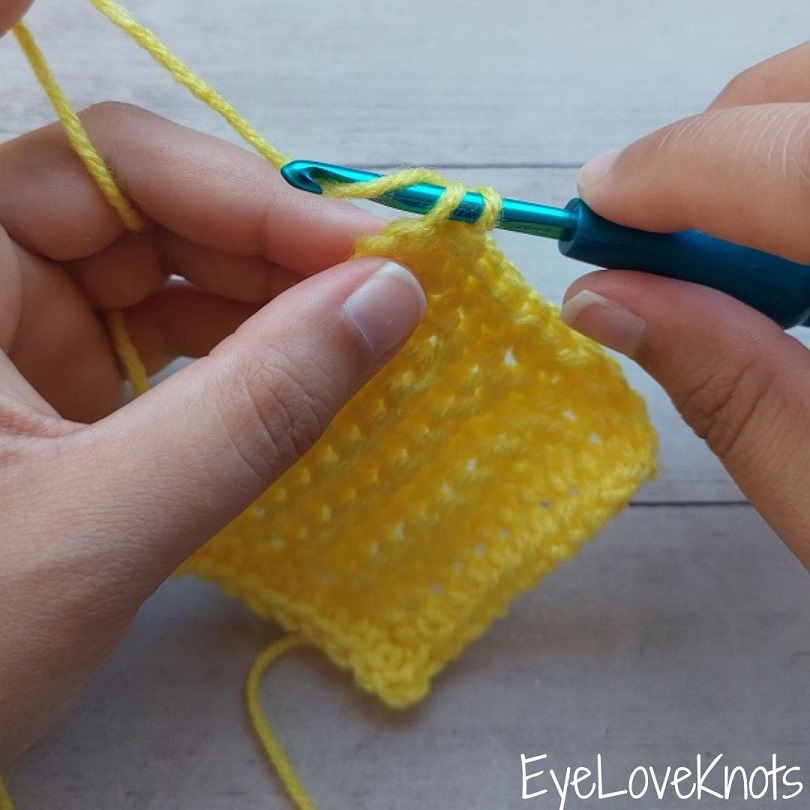
Yarn over…
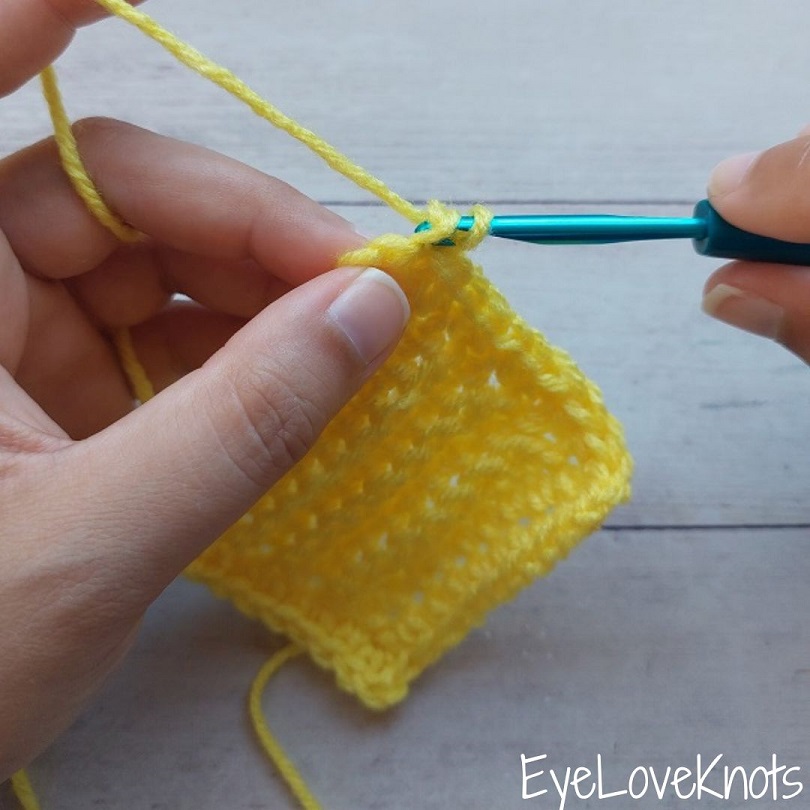
… and pull through…
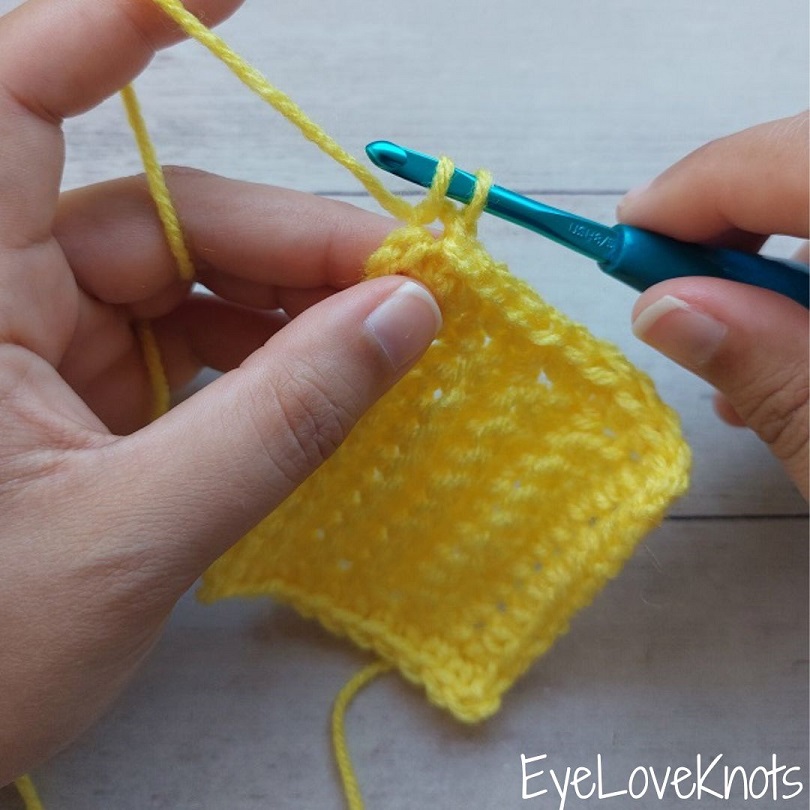
… 2 loops are on the hook…
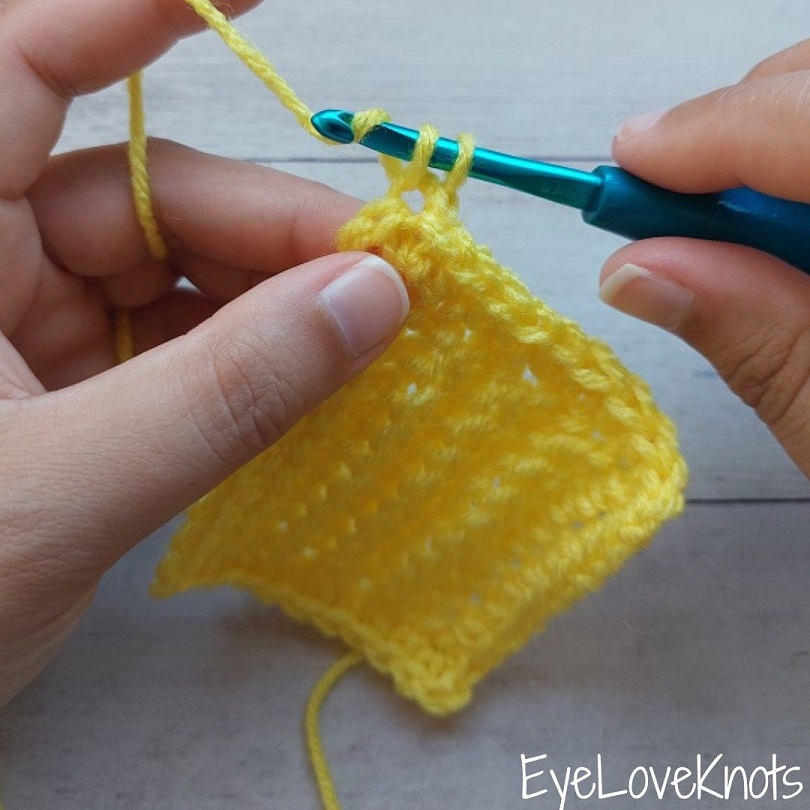
… yarn over…
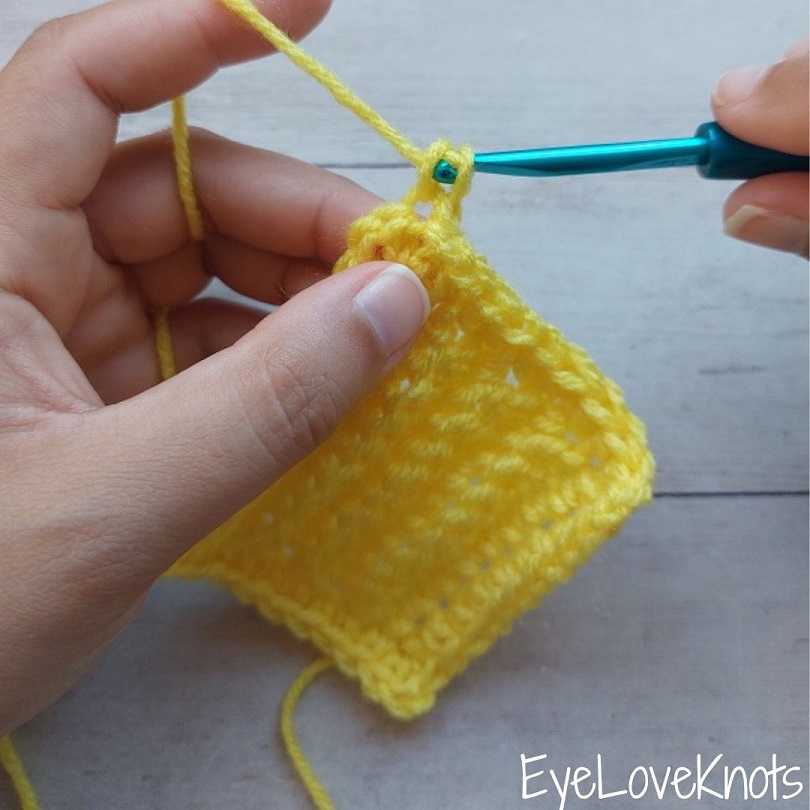
… and pull through to complete a single crochet.
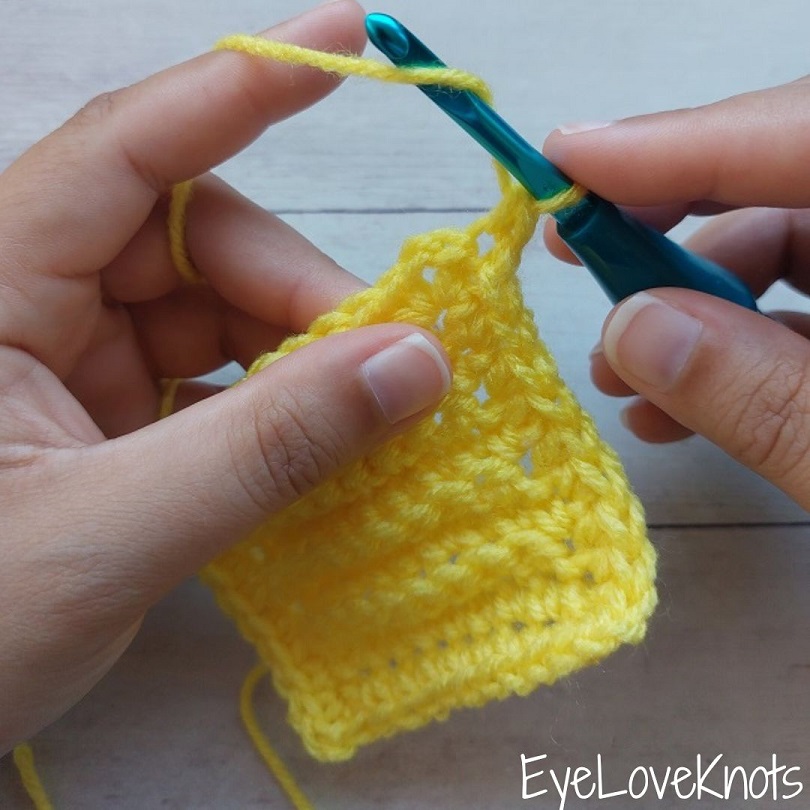
When working in single crochets, I like to work my corners as half double crochets into the chain space – it gives it enough height to be equal to the single crochet stitches worked in the back loop.
To begin, yarn over…
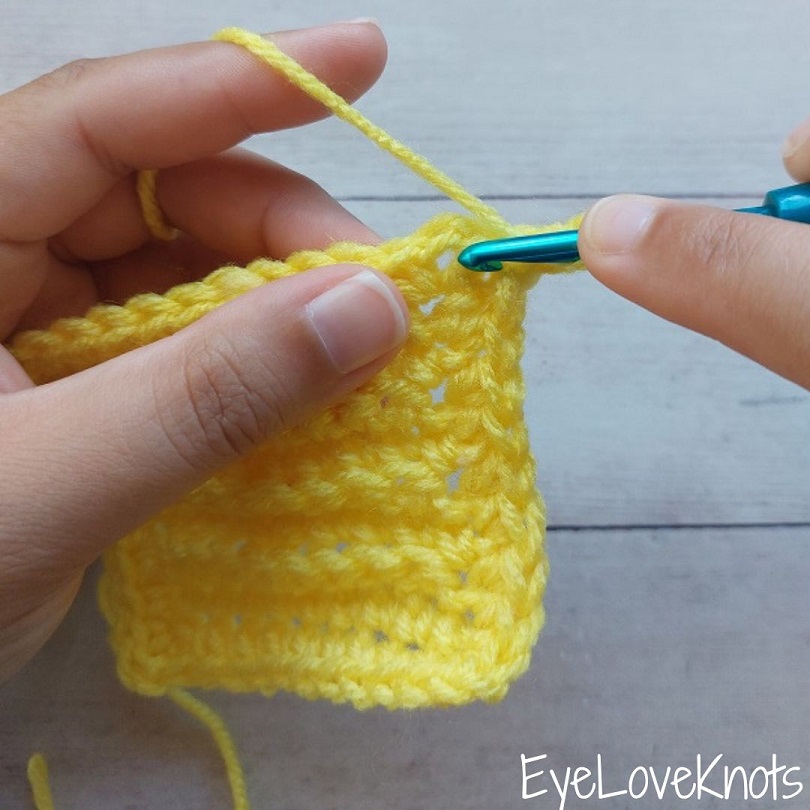
… insert hook into the center of the chain space of the corner…
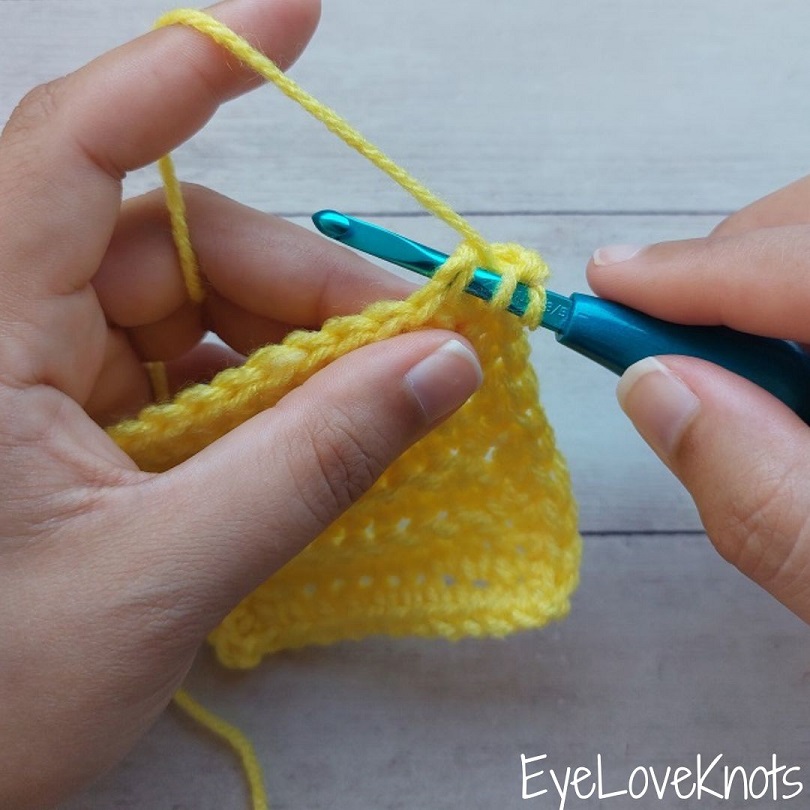
… keeping the stitches of the chain space on your hook to work over…
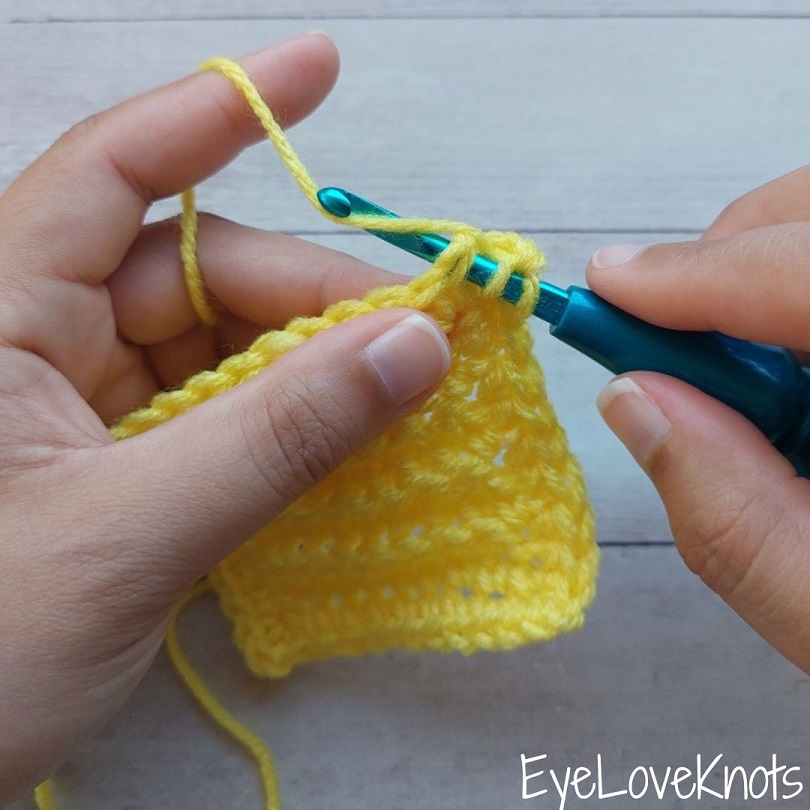
… yarn over…
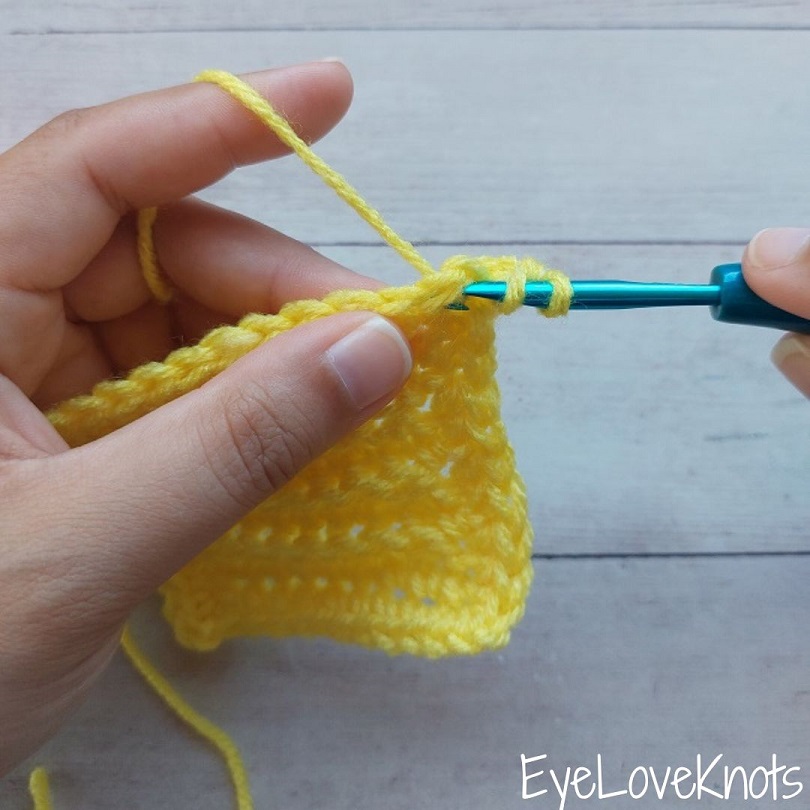
… and pull through…
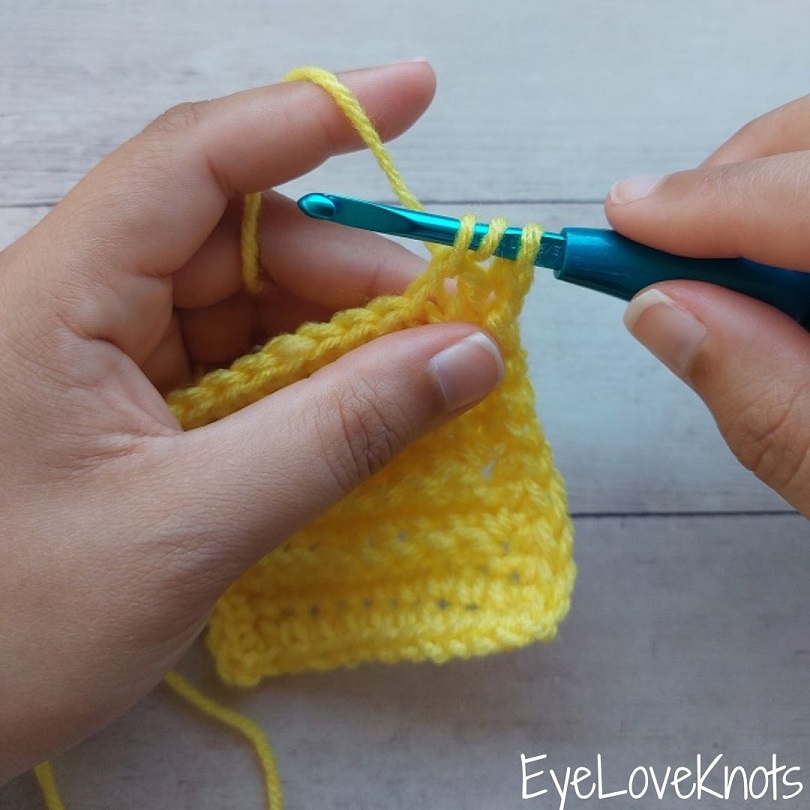
… 3 loops on the hook…
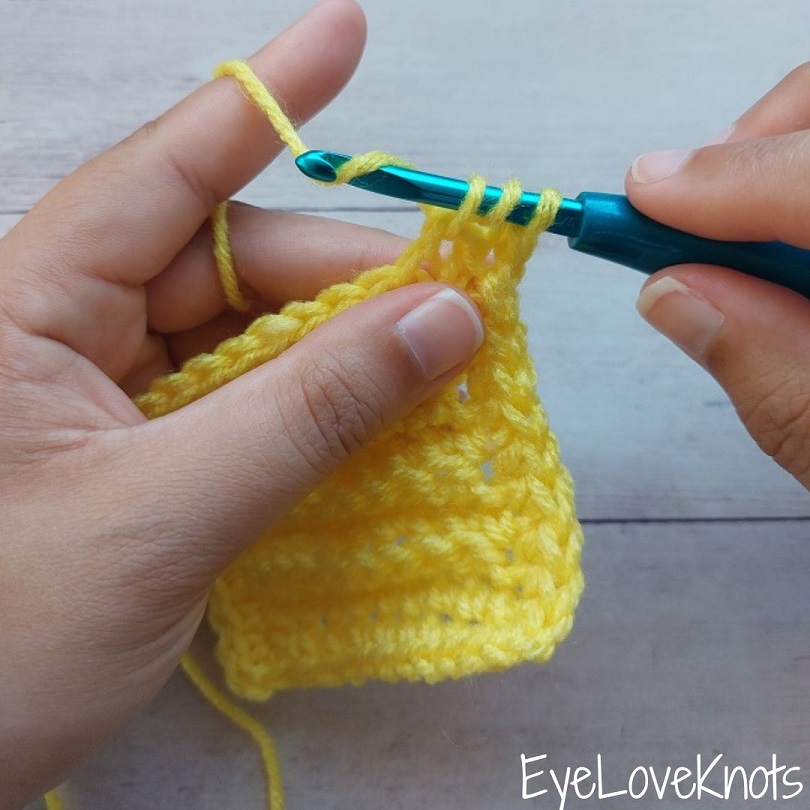
… yarn over…
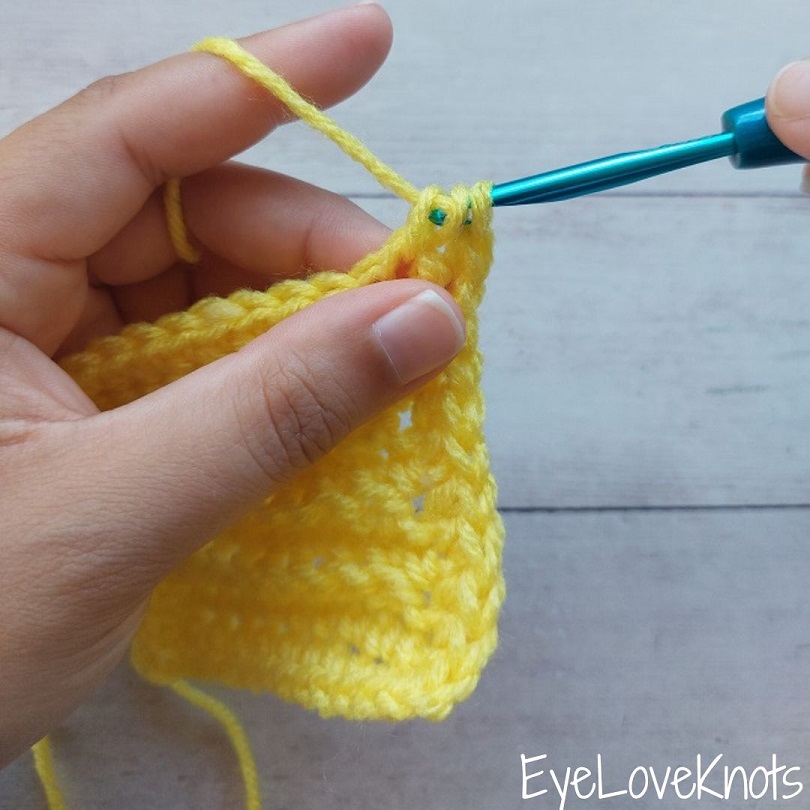
… and pull through to complete the half double crochet.
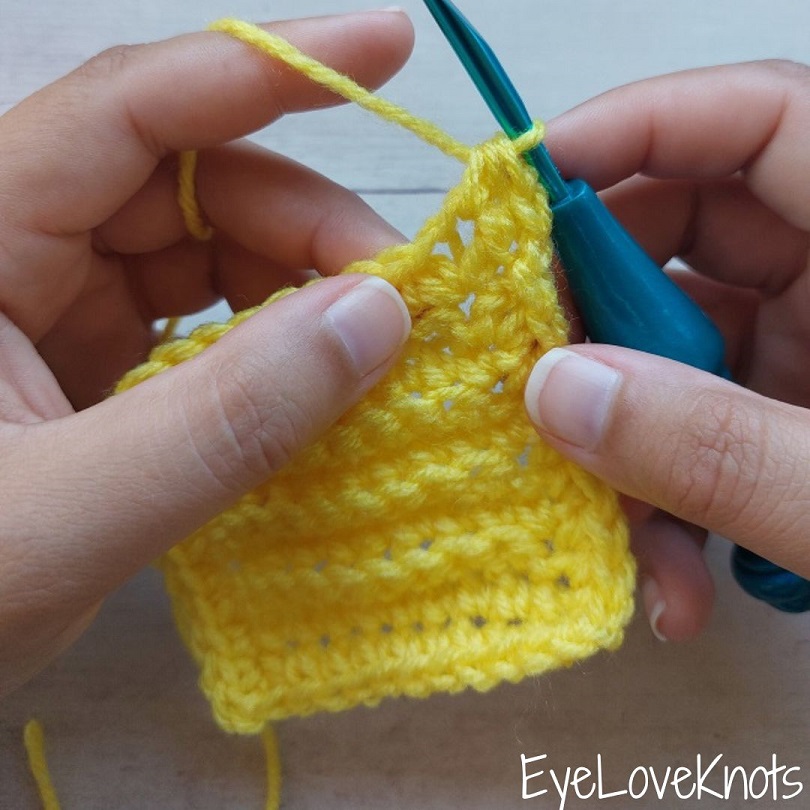
Here’s the first half double crochet of my corner.
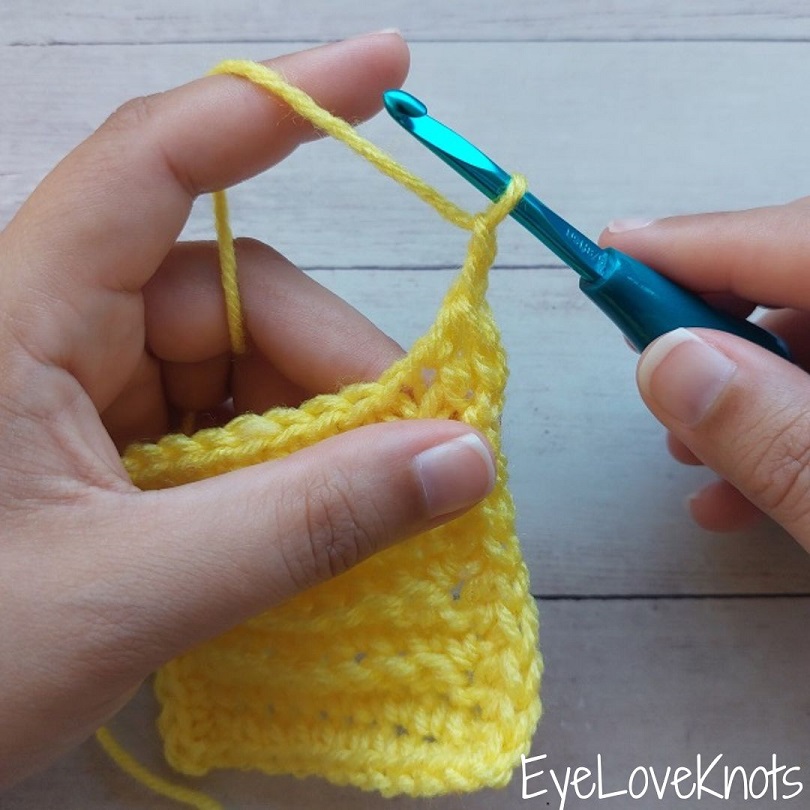
Chain 2.
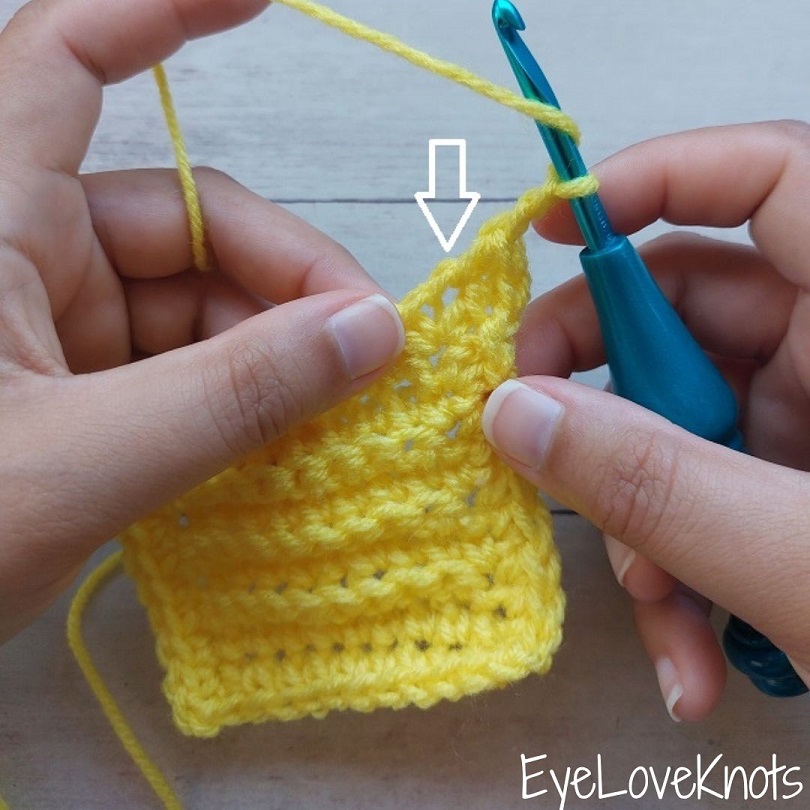
Yarn over, then into the same chain space that the first half double crochet was worked into…
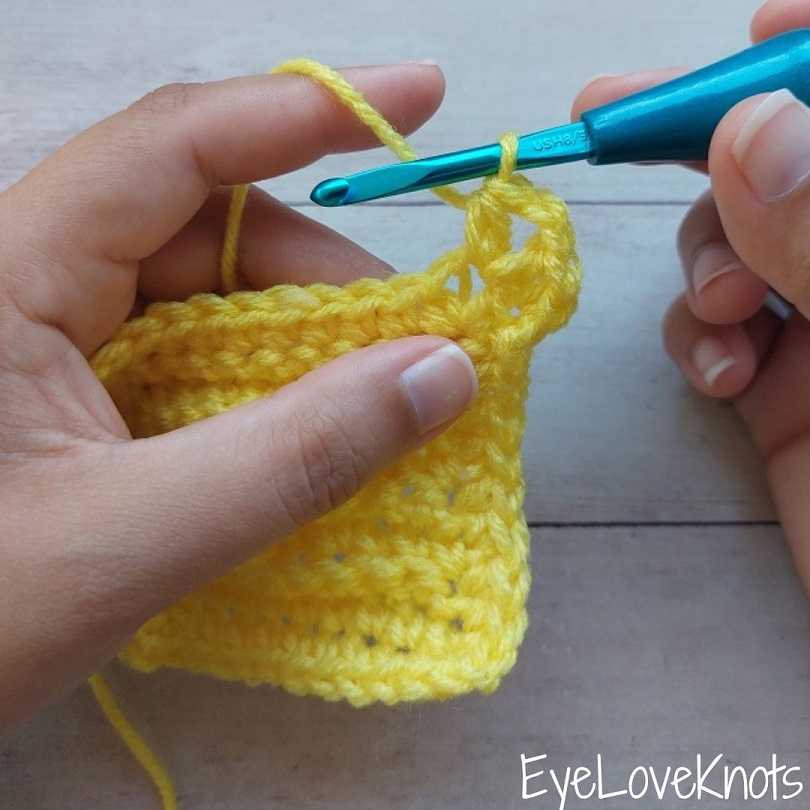
Insert your hook into the chain space, yarn over and pull through, yarn over and then pull through all 3 loops to complete the second half double crochet of the corner.
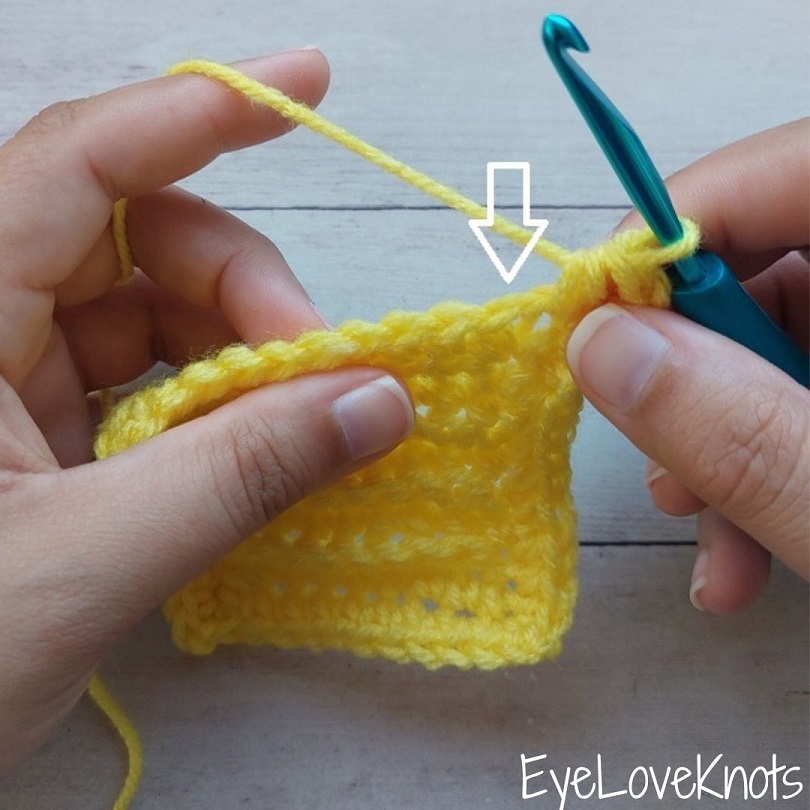
In the next stitch (mine is a single crochet)…
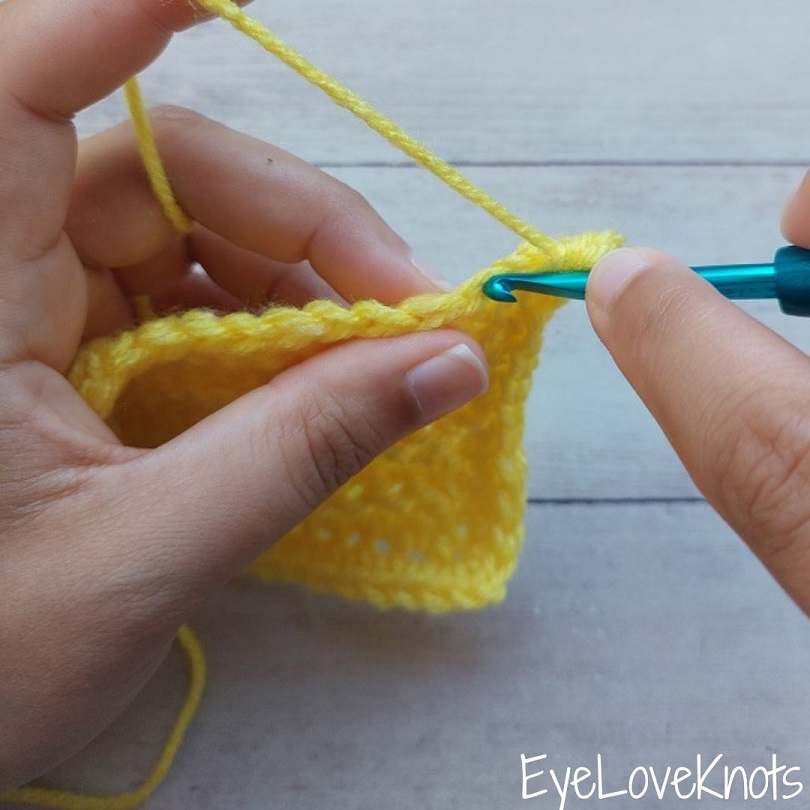
… insert your hook into the center of the stitch…
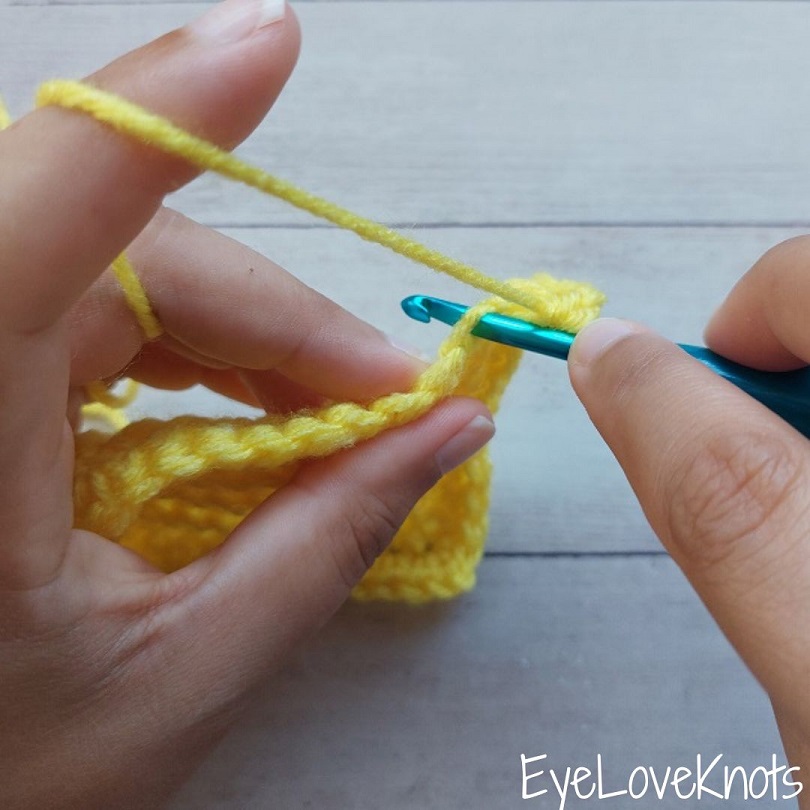
… pushing towards the back or wrong side of the fabric picking up the back loop only on the hook.
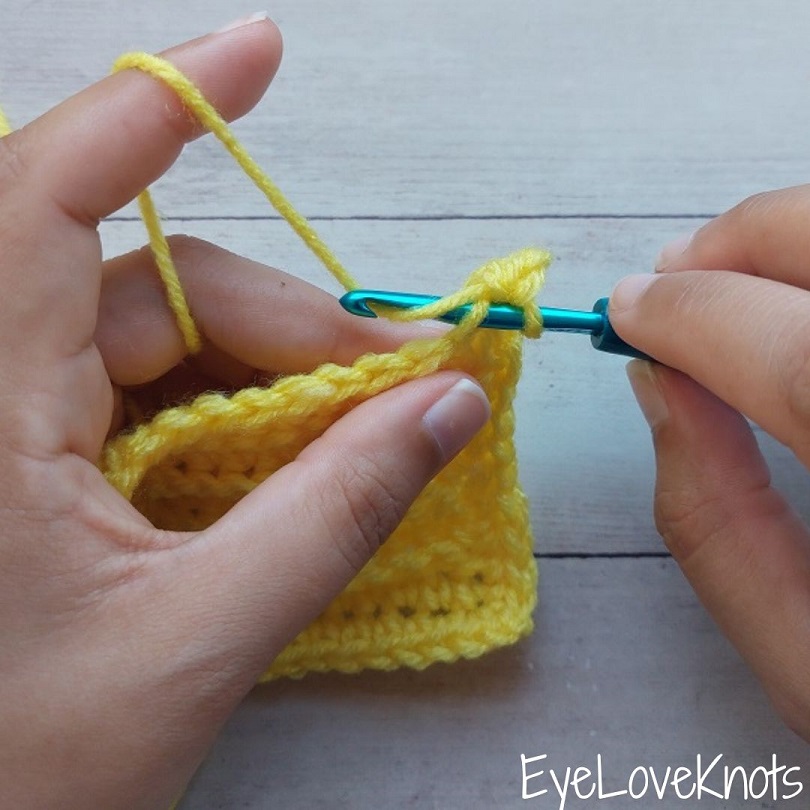
Yarn over, and pull through…
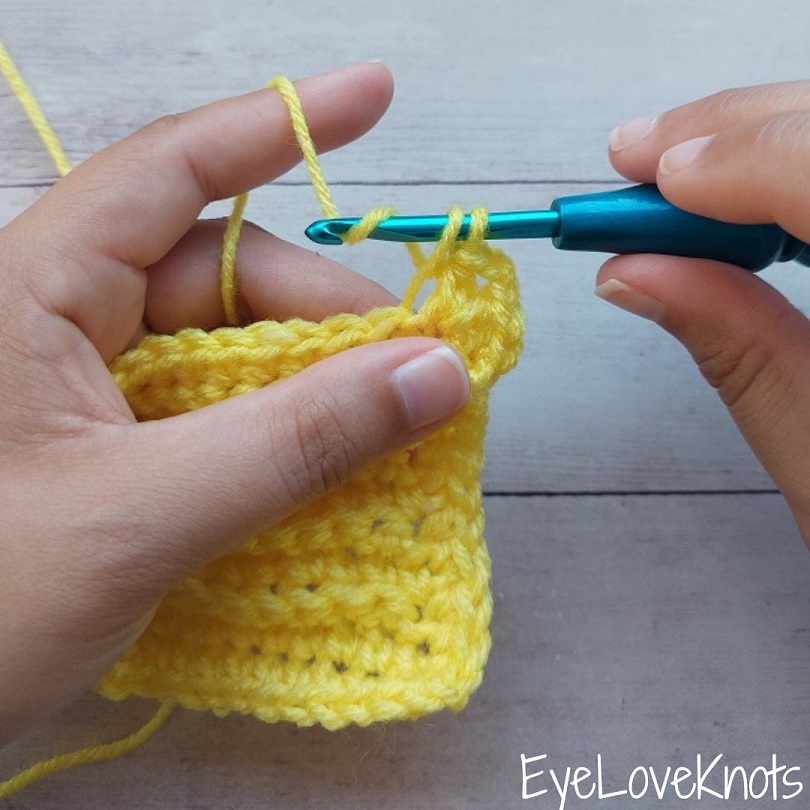
Yarn over, and pull through both loops to complete the single crochet.
Continue to SC in the back loop only into each remaining stitch across over to the last stitch, (HDC, chain 2, HDC) into the last stitch to form a corner, in the BLO SC into each stitch down the side to the last stitch, (HDC, chain 2, HDC) into the last stitch to form a corner, in the BLO SC across the opposite side of the foundation chain over to the last stitch, (HDC, chain 2, HDC) into the last stitch to form a corner, in the BLO SC into each stitch up the side to the first stitch.
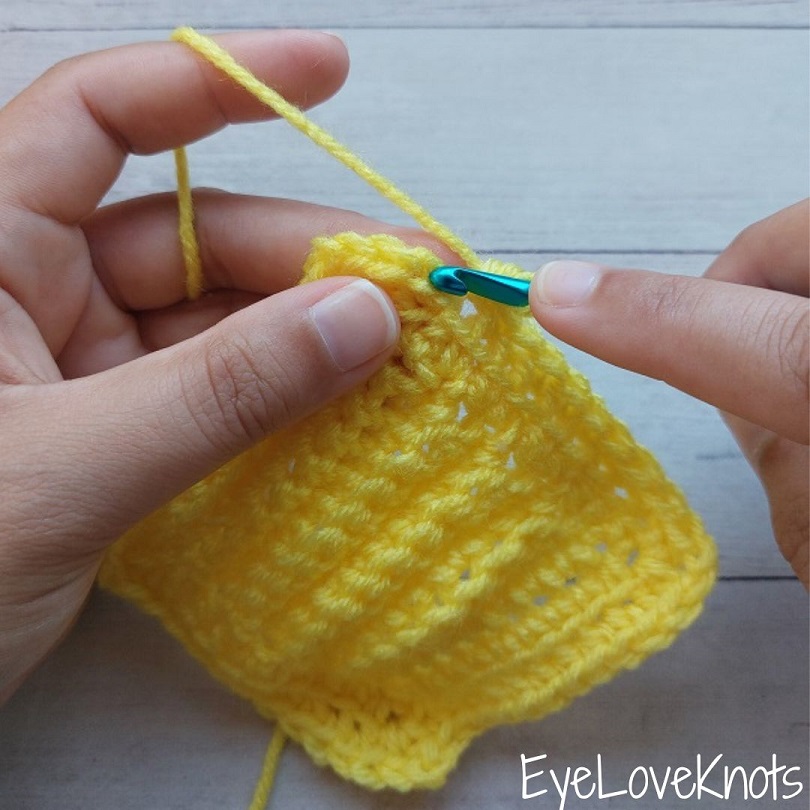
To slip stitch join in the back loop only, insert hook into the center of the first stitch…
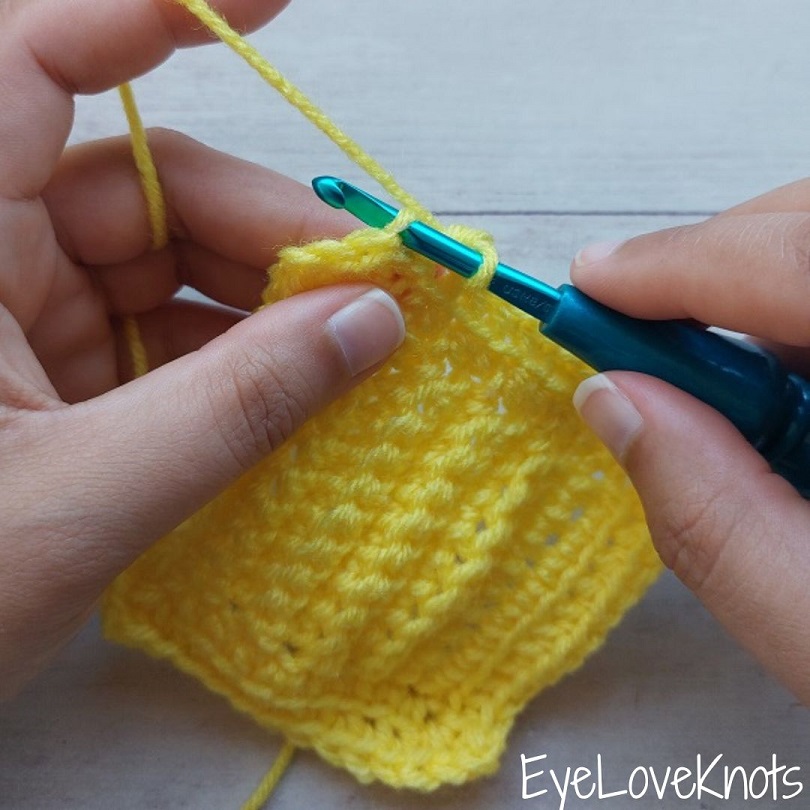
… pushing towards the back or wrong side of the fabric picking up the back loop only on the hook.
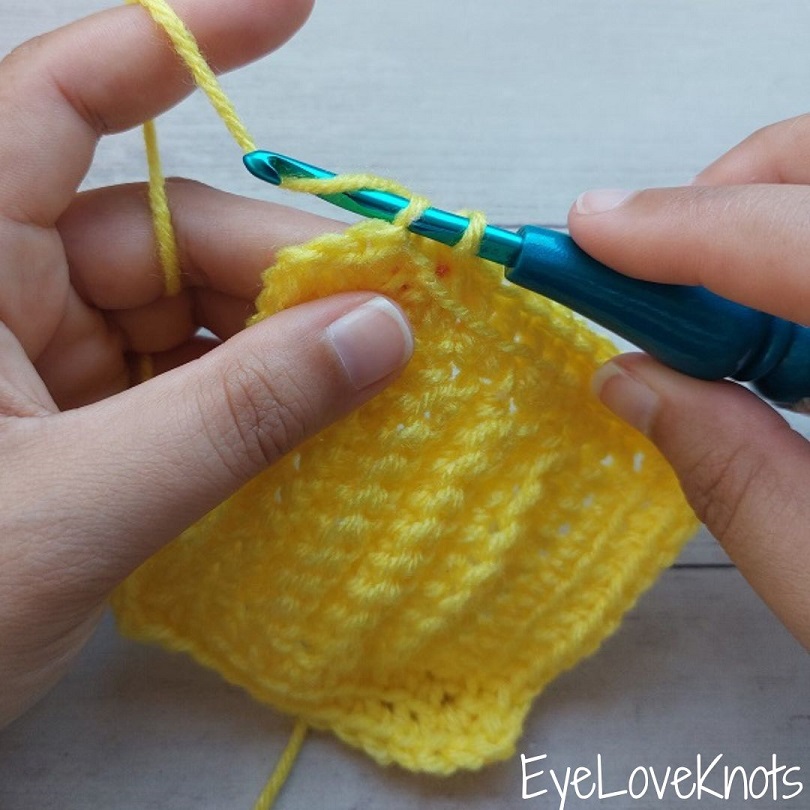
Yarn over…
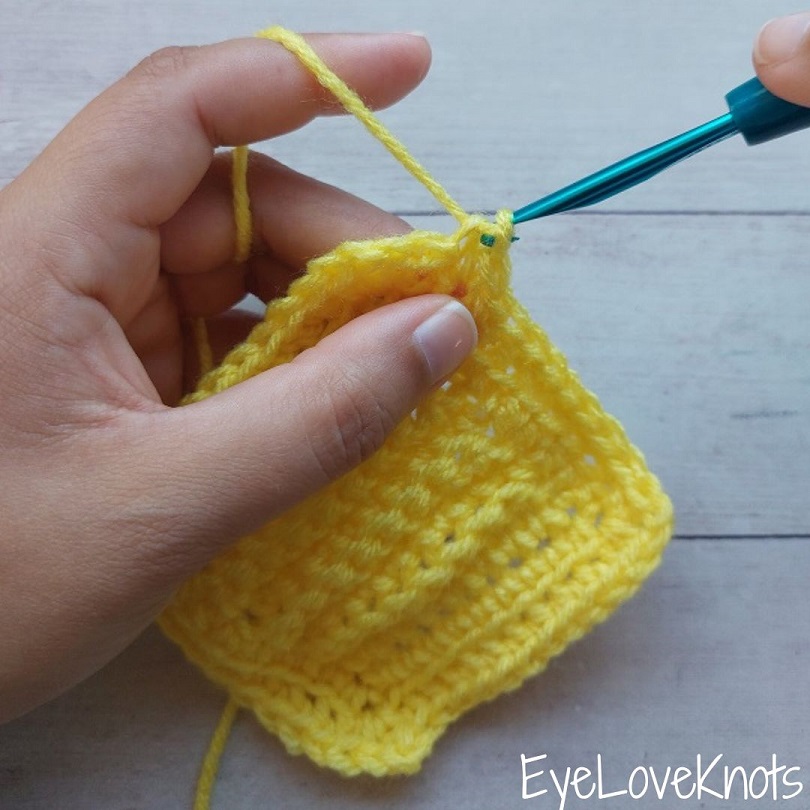
… and pull through that stitch, plus the loop that’s on the hook.
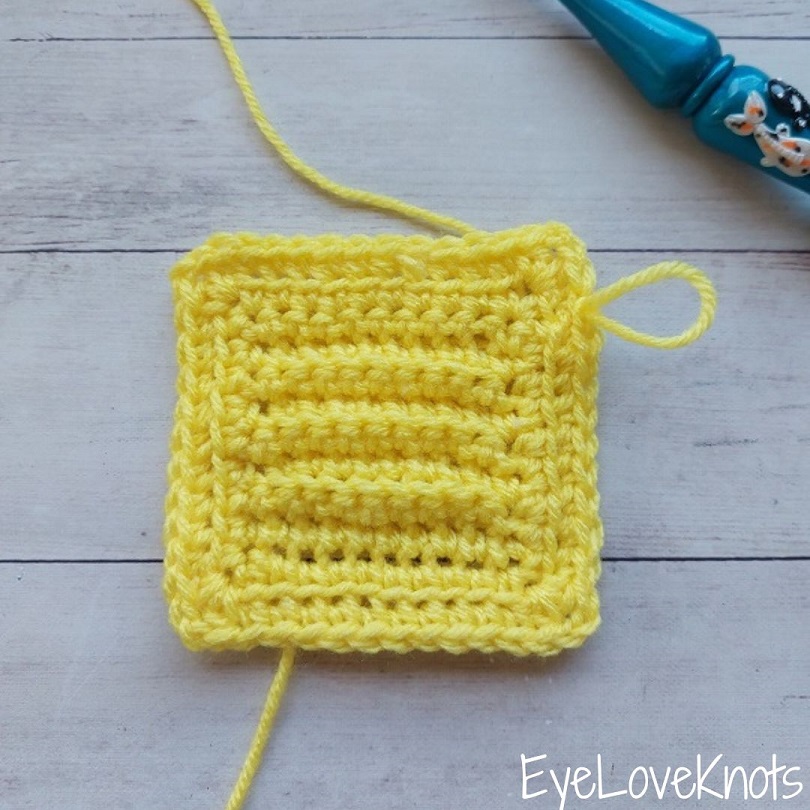
Ta-dah! Round 1 of working into the back loop only is complete!
All the remaining rounds will be worked in the same manner. From here to begin, you can:
- Chain 1, SC in the BLO over to the chain space, and continue in pattern, OR
- Loosely slip stitch over to the chain space working each stitch in the back loop only, then chain 1, and begin in pattern starting with the corner, OR
- Fasten off, and re-attach yarn strand in the next chain space, chain 1, and begin in pattern (this is how I work when I am switching to a new color)
Join one of our awesome Facebook groups to share your creations, and see what others are up to!
– Yarn Crafts & Coffee Community
– DIY Home On Rockwood Lane
– Alexandra Lane Lifestyle
Linked Up To…
Craftastic Monday Link Party – Sew Can Do
Vintage Charm Party 390 – My Thrift Store Addiction
Team Creative Crafts Link Party #147 – Artsy-Fartsy Mama
The Wednesday Link Party 504 – Oombawka Design Crochet
Creatively Crafty Link Party #361 – Try It – Like It – Create It
Grace at Home No 507 – Imparting Grace
Saturday Sparks Link Party 567 – Pieced Pastimes
Talent-Sharing Tuesdays Link-Up 66 – Scribbling Boomer
Linky Ladies Party #236 – The Purple Poncho
Loop Scoop 62 – Moogly Blog
Sundays on Silverado #146 – The House on Silverado
Happiness is Homemade 480 – Decor Craft Design
You’re the Star Blog Hop – Decor Craft Design
Craft Schooling Sunday – Creative Jewish Mom
Handmade Monday #328 – Sum of their Stories
The Really Crafty Link Party #366 – Keeping it Real
Hello Monday – Pink Lady
Anything Goes Linky 379 – My Random Musings
684th Inspire Me Tuesday – A Stroll Thru Life
Fabulous Party 476 – Lou Lou Girls
Wonderful Wednesday Blog Hop – My Life Abundant
The Wednesday Link Party #349 – To Grandma’s House We Go
Encouraging Hearts and Home Blog Hop – My Slices of Life
Linky Party – Karins Kottage
Crafty Creators Link Party #67 – Life as a LEO Wife
Thursday Favorite Things #611 – An Artful Mom
Funtastic Friday Link Party #439 – Simply Beautiful by Angela
Create, Bake, Grow & Gather Party #574 – Shabby Art Boutique
Pink Saturday – How Sweet the Sound
A Morning Cup of Joe – The Cottage Market
Thank you for this tutorial. I have made small items such as dishcloths using back loop only but when I did the border I just used a simple 1 round of single crochet. Now that I have seen this blanket with multiple rows of single crochet BLO and the added touch of HDC for the corners I feel like the lights just came on. What a wonderful border this makes…and it’s not even complicated.
Thank you for sharing your creative inspiration! I will definitely use this border on my next baby blanket.
That makes me so very happy to hear, Trish! I am so glad I could inspire. I love that it’s not complicated, and doesn’t require any specific number of stitches or rows/rounds, and the texture wins me over every time. Happy crocheting! Would love to see your next baby blanket 🙂
The BLO is a great way to add texture and interest! I love it for a final round or two on a crocheted hat too 🙂 Thank you for linking up at our weekly Link Party! You are being featured at our Wednesday
Party #505 this week. Here’s the direct link to the post in case you’d like to share your feature:
https://oombawkadesigncrochet.com/boho-table-runner-small-gift-bag-and-how-to-blo-link-party-505/
Hope to see you again next week! Rhondda
Love this stitch and I use it in my patterns! Thank you for this tutorial!
Glad you enjoyed the tutorial! Isn’t it such a fun stitch to use in projects? The texture wins my heart over every time.
I love how that creates texture. I need to give this a try because it seems simple enough for me! I’m happy to tell you I’ll be featuring this today at Thursday Favorite Things. 🙂
The texture is one of my favorite things! You got this! And it’s so great to use as a main stitch, or border, and works in any stitch pattern too like in single crochet, double crochet, etc.